Blender interface tutorial
Section 2: Editing buttons
BACK
Now I will show you the editing buttons accessible from the
darken button below.
![]()
If you are in Object Mode you get these options
When in Edit Mode you get those options and more

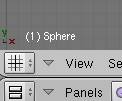
You can tell which mode you are in by this box.
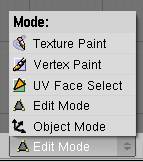
The current selections lets us know that where in Edit Mode.
There are some things I don’t know about here, but I will tell you what I do.
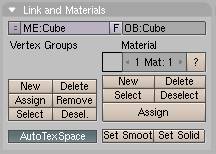
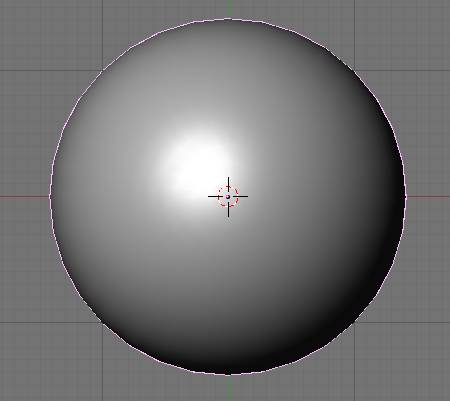
the Set Smooth and Set Solid buttons let you make you object smooth or solid looking.
Here is the difference between the two
Solid
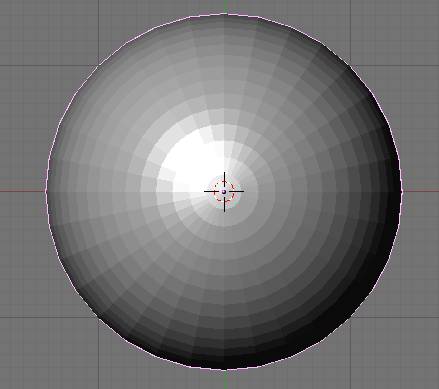
Smooth
These buttons as far as I know are only used for animation purposes. They allow you to set which vertices are parented to which bones, or armatures.
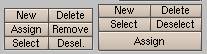
by selecting the verts you want associated with a given bone, you can press assign or remove.
This is where you name your object
![]() , and
materials, you can also name you materials in the materials window
, and
materials, you can also name you materials in the materials window
You can also see the name of your currently selected object in the bottom left of the 3d window
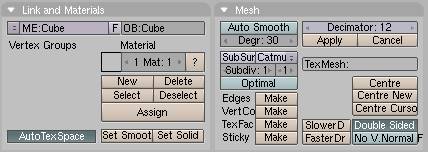
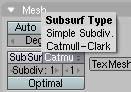
Now the Mesh Tab
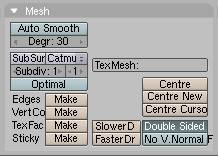
for SubSurfs you will need to press the button that says SubSur, you can choose what kind of Sub surf you want by clicking the Catmu menu, you can choose between Catmull Clerk or Simple Sub Divide
Just below that you can choose how much you want the Subsurf to effect the objects looks.
The higher the settings the Smoother the object will be. But the longer the render time.
The first number is for you 3d view, and how smooth the object is there, the second number is for you rendered picture and how smooth it is there.
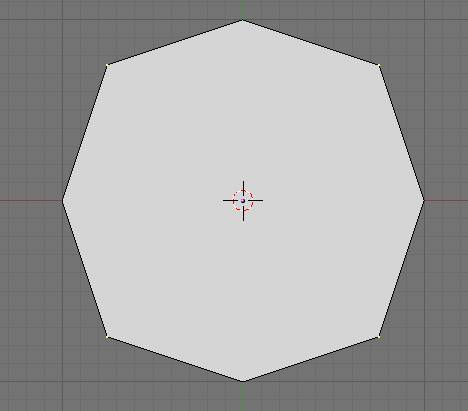
Optimal will give you a view of the lines of an object when editing it with subsurfs on.
For example this is a cube with sub surfs off

and this is one with it turned on
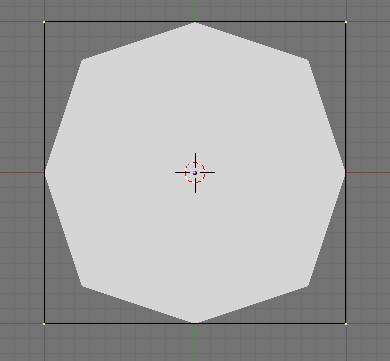
if you turn on Optimal the lines connecting the vertices will snap to the object for better feel when editing
see how the vertices are closer to the object.
Now for these buttons
![]()
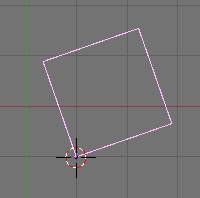
some times when you are editing your object you may notice that when you rotate it, it seems to be off axis, that may be because the object may have been move from its center, that happens if you are moving around you object in edit mode, or if you make one side of the object longer or whatever. To get the object centered again, you can press the Centre button.

The little pink dot on the right there is the center. Or when you rotate you object it will move around that as if the center. When you press the Centre button, the object will snap to that.
Another way to do it, to make sure that the center is in the exact center of the Object is to use the Centre New button.
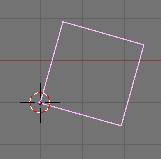
If you would like to move it to a different place on your object for some reason, you can do so by click somewhere in the 3d window where you would like it to be. And pressing the Centre Cursor button, that will move the center of the object to where ever the target cursor is located in 3d space, you must pay attention to the placement of it in all three axis (Z, X, and Y).
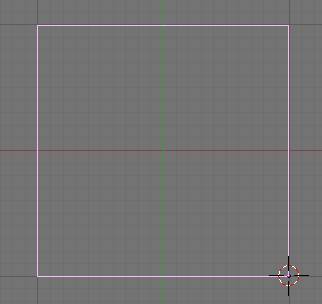
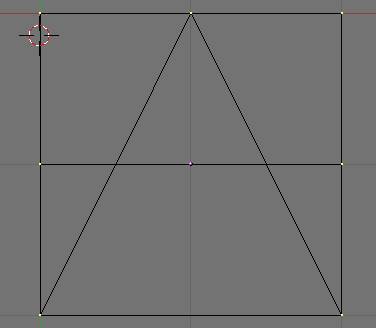
For example say I want the center to be at the corner of the cube. I would put the target thing at the corner,

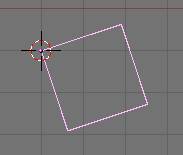
and press the Centre Cursor button and the pink dot will go to where the target is

one reason you may want to do that is to be able to rotate the object around the corner instead of the center. Like this,
the rest of that tab I don’t know much about. So I’ll skip to the next one.
Mesh tools tab
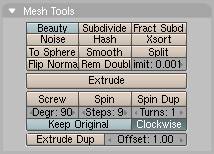
this tab is accessible if you are in edit mode.
The sub divide button will split the selected face into quarters,
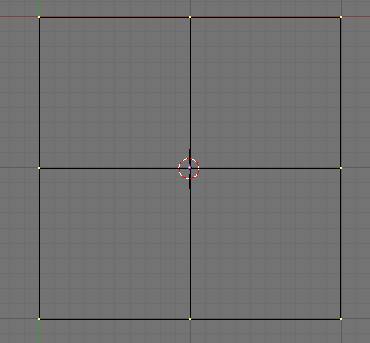
giving you more vertices to manipulate.
if you have the beauty button pressed and hit the subdivide button it will divide it in a different way. It says in halves instead of quarters.
The fractal subdivide will divide it in a random manor by how much you would want.
When pressed it will ask by what factor you want it divided, from 1 to 100.
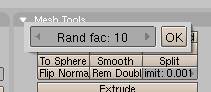
Clicking ok will divide the object randomly.
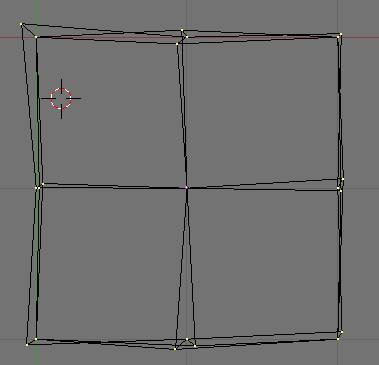
I don’t really know the point in this but I guess it would be ok for a random look to things.
The Noise button is used in conjunction with your textures. You can add a texture to you object, if you have your object, a plane for example subdivided and press the Noise button it will move the vertices according to how the texture is on the plane.
I added a grid for the example because it already has a lot of vertices.
And added a cloud texture
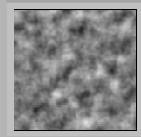 (I’ll go over the textures in materials
tutorial.)
(I’ll go over the textures in materials
tutorial.)
here is the grid in side view

the more you press the noise button the more it will effect the shape of the grid
here it is after the noise button is pressed once

here it is after I pressed the button a couple more times and set it smooth
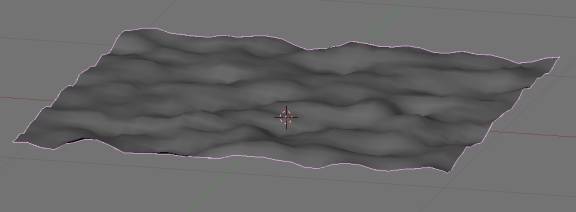
you can see how there are waves in the object. This is a good way to make terrains.
I don’t know what the Hash and Xsort does.
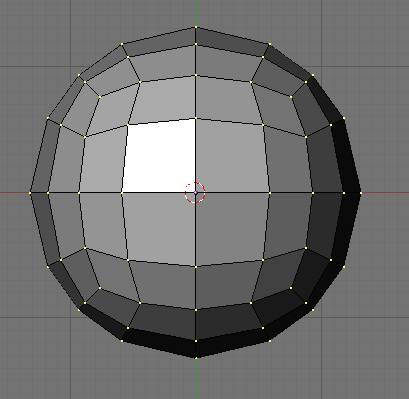
To Sphere does just as it implies and more the selected verts in outward into a spherical shape. I sub dived a Cube a few, and press the button
And left it at a 100
Smooth button flattens the angles on the Faces to smooth the model out a I guess, it kind of shrinks it a little in the process though.
I don’t really know what Split is for.
The flip Normals button is used when working with Sub Surfs. It may be used with nurbs but I don’t know, I don’t use nurbs that often.
If you are modeling a Subsurf object, some times you may end up with Black areas around somewhere that you have extruded or changed in some way. If you select the vertices around that area and press the Flip Normals button, it will fix that most of the time. Some times you can select the whole object and press it, most of the time it will fix it that way, but now and then it may mess up a different area. I don’t have any examples for it you to see, because I don’t know exactly how to cause it to happen, just how to fix it when it does.
The Remove doubles button is used when you have vertices on top of each other. Like if you have a tube, and you extrude the top of the tube into a flat surface, to close off one side, you press that button and it will remove the excess verts, but they have to be exactly on top of each other. If you want to close off an area like the bottom of a tube. Extrude the top vertices, Press the S key to resize that area, and press 0 on the numbers about the letters. That will move all the vertices selected into the same spot. Then you press the remove doubles button and it will remove all the excess vertices, and only leave one with all the faces connected to it.
Here is a tube with the top of the verts selected.
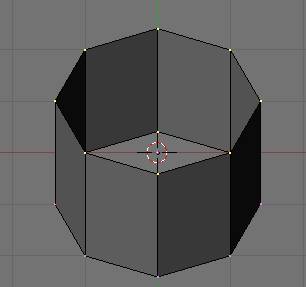
Extrude the vertices with E key, and press the S key to resize them to bring them closer
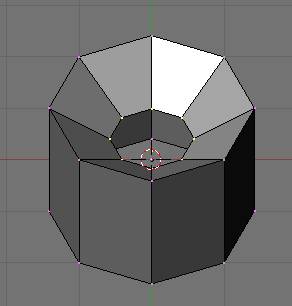
will you are still resizing them press 0 and the all the selected verts will snap the the same point
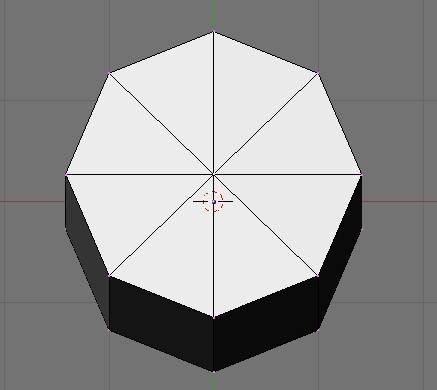
now if you moved then one by one you would have problems with it, so making sure they are all selected, press the Remove doubles button
here it says that 8 are being removed
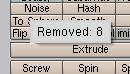
now you can move it around with no problems.
The button right beside that, ![]()
allows you to control how far away the doubles will be removed.
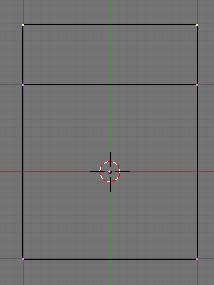
The extrude button just beneath will extend the current models adding another section of vertices. Like if you select the top of a cube, press that button and you can extend the cube, and arrange those vertices to a point, making a house kind of shape.
Top verts selected
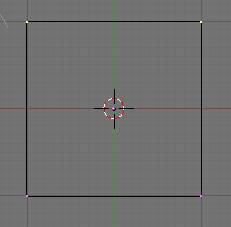
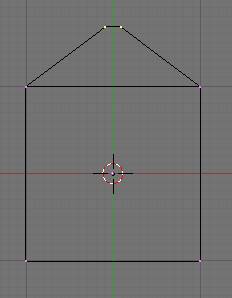
extrude button press, you can also use the E key
now you can resize it in any direction, or what ever is needed done
for the last buttons in this menu, I don’t know a lot about, so I’m going to skip over them and move on the another tutorial. When I get more familiar with them I may come back in and finish this tut, or just add another section, because this tutorial is a little bigger then I had anticipated