
CountryRoads Quilt Guild
Directions for Pocket Ornaments
from our November 2004 meeting.
updated
1/5/07
|
CountryRoads Quilt GuildDirections for Pocket Ornaments |
updated |
||||
|---|---|---|---|---|---|---|
| To asssemble your ornament, you will need . . . * Finished ornament front (from the foundation pieced patterns we provided, or any other square or rectangular piece created from the method of your choice). * Backing - cut the the same width as the ornament front and 1/2" shorter in length. * Pocket - cut to same width as ornament front and 1 1/2 times longer in length. * Hanger - approximately 6" of narrow ribbon or cord. (1) Pin edges of ribbon to ornament front over the center of the top with raw edges pointing away from the ornament (don't get the loop caught in step 4!) |
|||
| (2) Fold pocket piece in half, wrong sides together. | 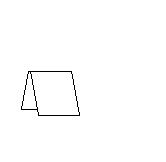 |
||
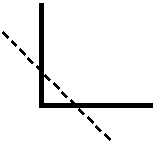
| (3) LAYER as follows: - Ornament Front, right side up - Pocket, place at bottom, line up raw edges at BOTTOM and sides - Backing, right side down, line up raw edges at TOP and sides - bottom edge will be 1/2" higher than bottom edge of front. (Double check this! You may need to trim your backing piece so it is shorter than the front!) |
|||
| (4) - Stitch entire way around ornament. Turn once with back (press), then turn again with pocket. Don't forget to trim the corners before turning! |
 |
||
| That's it! Ask Sue M or Terry if you have any questions. Enjoy. |
|||