 |
| How to build a WEEVIL wing 101. |
|
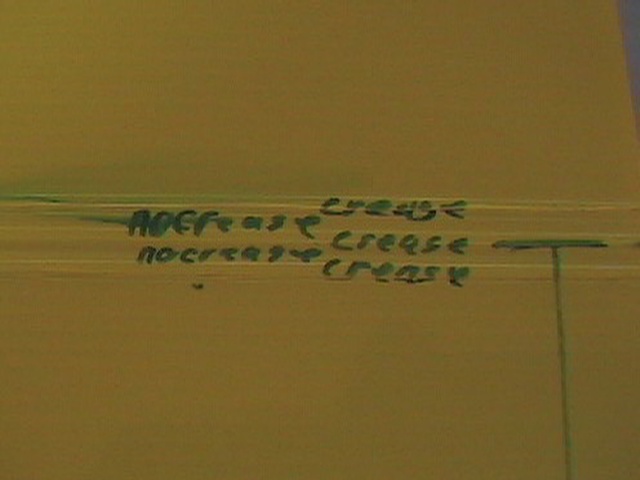
| Crease three flutes to make a nice round leading edge on your piece. Because the spar is so tall in places I use this trick for my leading edge. Crease the first flute on the LE line, skip one flute in either direction and crease the next one. This make a bend over 5 flutes but because only every second one is creased it forces it to remain a gradual bend. |
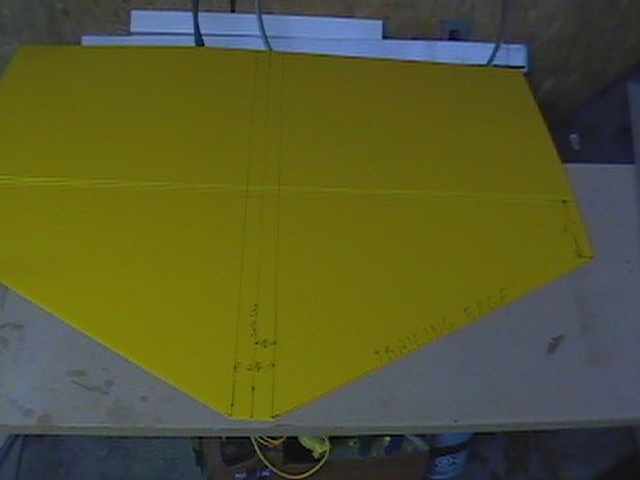
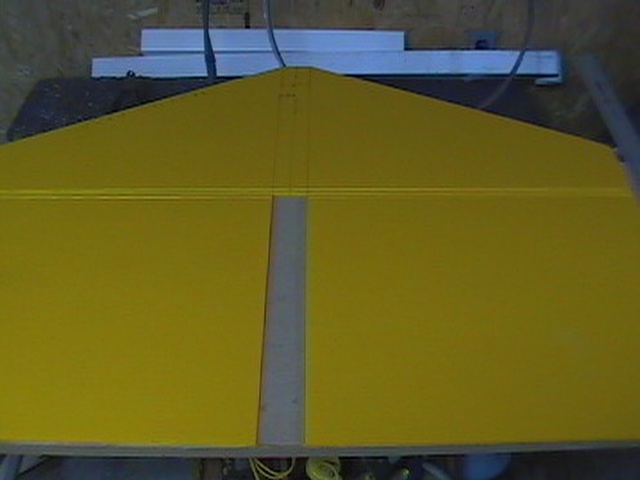
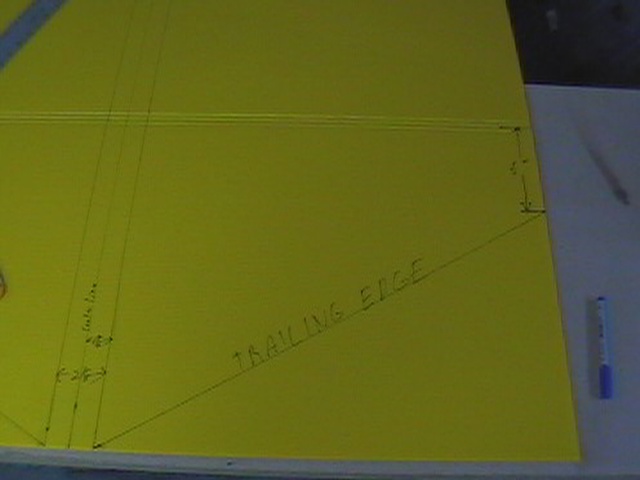
| Find and mark the center line of your piece against the flutes. mark a line 1 3/16" on either side for you fuselage, assuming of course your using Canadian gutter pipe. |
| On the outer edges mark 6" behind the leading edge on both sides and connect to the rearmost part of the fuselage lines you just drew. this will be the trailing edge of your wing. |
| Feel free to cut away this excess material now |
 |
 |
 |
| You may also remove the excess material between the fuselage lines of the upper wing section. |
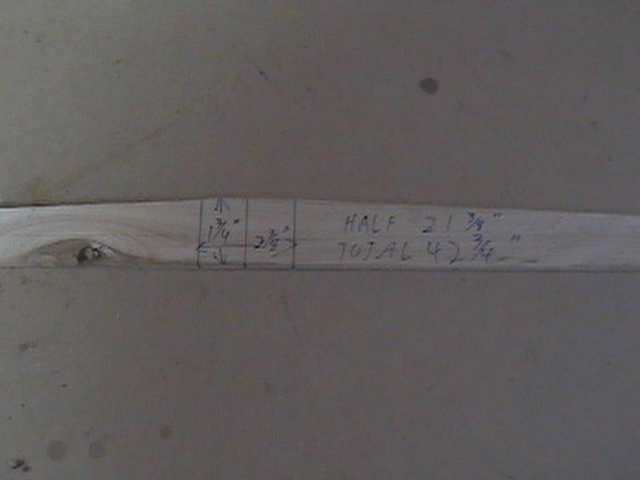
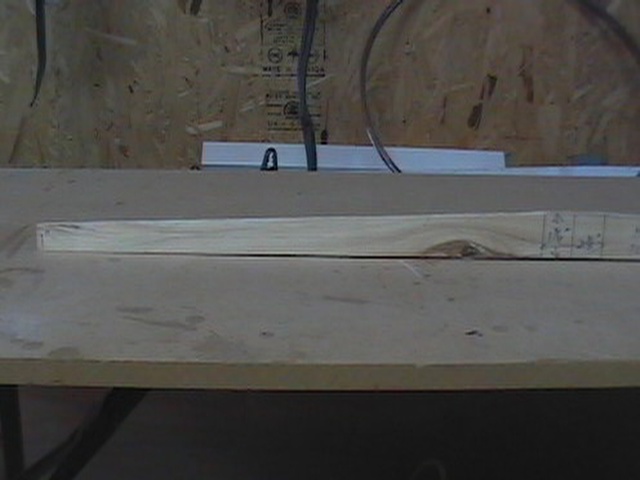
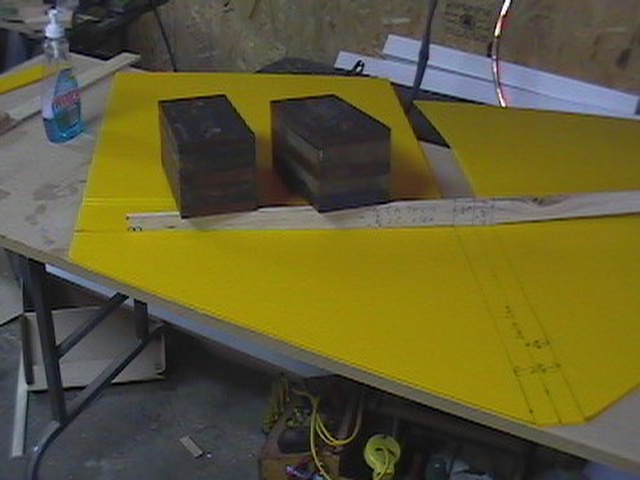
| Now let's make our spar, I used 5/16th cedar 1 3/4" tall and 42 3/4" long, why the strange numbers, it's what I had handy. I normally wouldn't use the knots but I was in a pinch. Mark center and 1 3/16" either side of center for alignment points. |
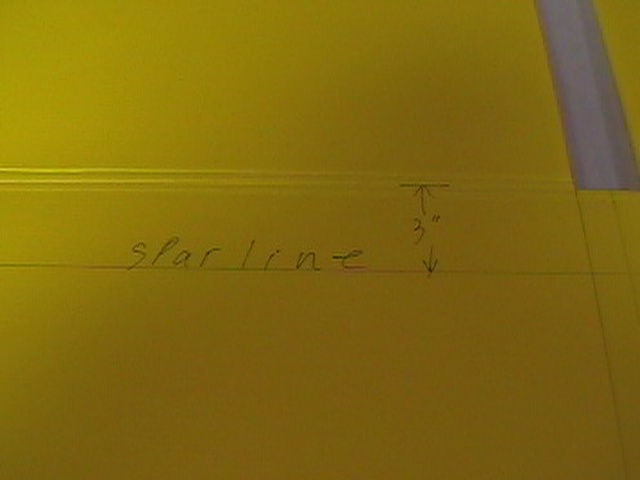
| Three inches from your leading edge mark the line for the spar. |
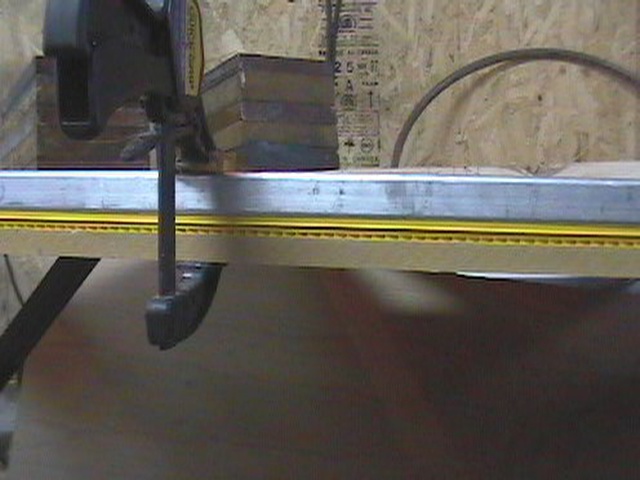
| Start gluing in the spar by gluing in the 2 3/8" flat section first. I cannot stress enough the importance of flaming the coro before gluing. |
 |
 |
 |
 |
 |
 |
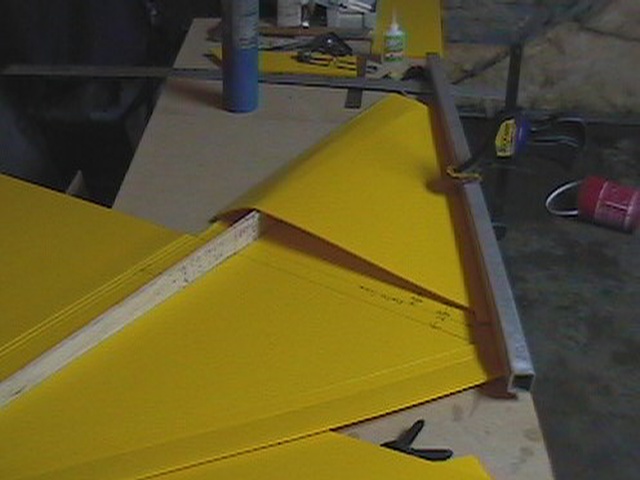
| The next step is to glue one side of the spar down to the lower wing section. The picture says it all. Again flaming is the key. |
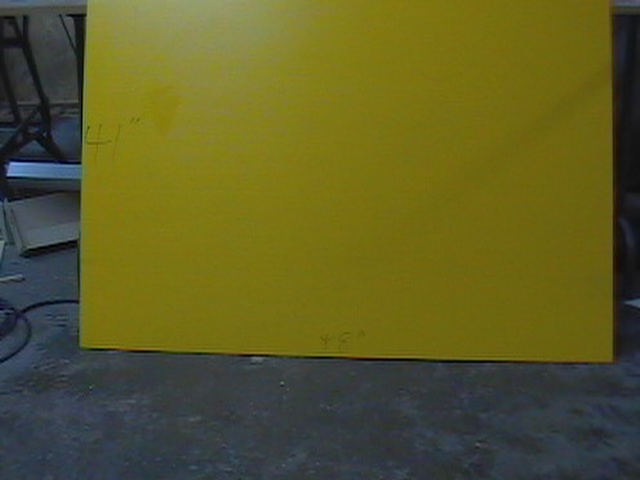
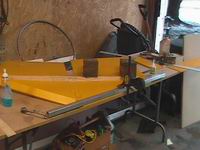
| Start with a 48" by 48" piece of coropolast in the color of your choice. Cut |
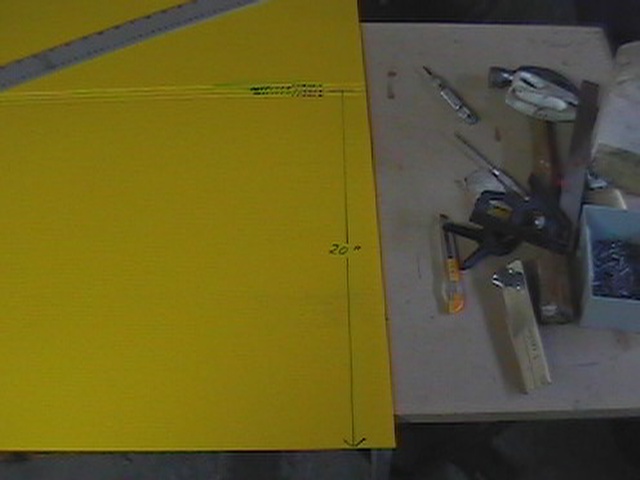
| Measure in 20" across the flutes and mark your leading edge along the flutes |
 |
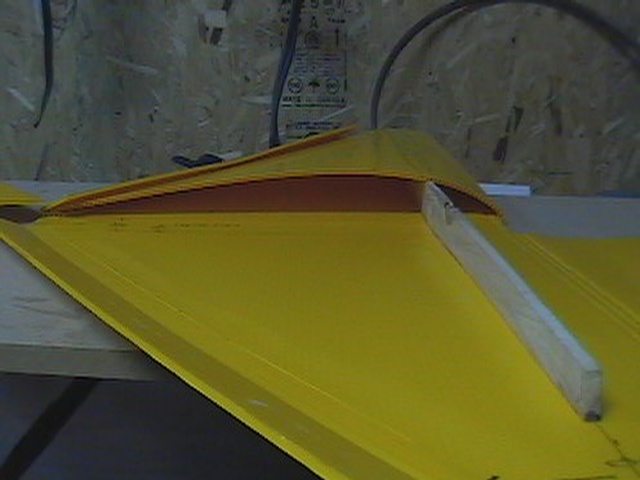
| Mark the tips of your spar to leave 1" and cut from the tip of the outer alignment marks to this mark. Did I make it confusing enough. We want to taper the wing from 1 3/4 at the root to 1" at the tips on the bottom edge. This will give us a bit of dihedral on the bottom of the wing. 1 1/2" to be exact The picture shows the spar upside down. |
| Since the wing is now stuck in the same position with one side flat. let's glue in the same elevon, Did I mention how important flaming is yet? |
| Same thing for the other side of the spar and elevon. I recomend flaming the coro first. |
| You can now see what I had meant by leaving the leading edge five flutes in width, isn't that purdy? |
 |
 |
 |
 |
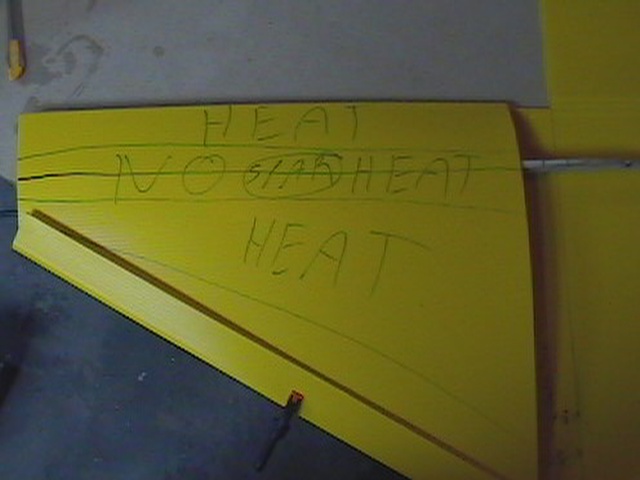
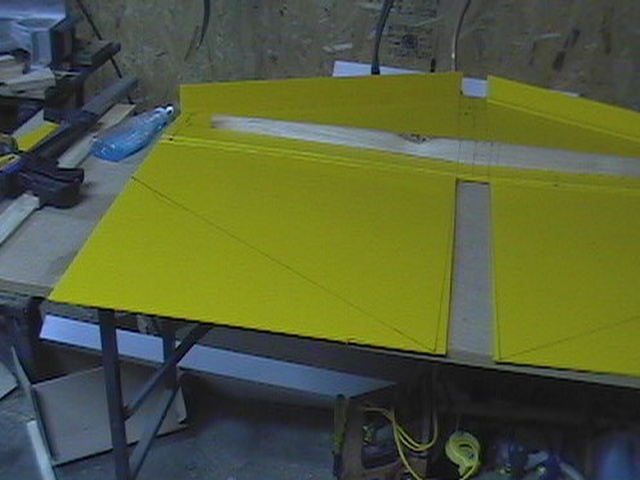
| Here's how I got that really nice curve to the top of the wing. I heated the top of the wing ahead of and behind the spar but not on it. This allowed the coro to bend easily where I wanted it to and not where I didn't. See the picture for more details. |
| Now we can glue the top panels to the elevons as the wing takes shape. You should flame it first though. |
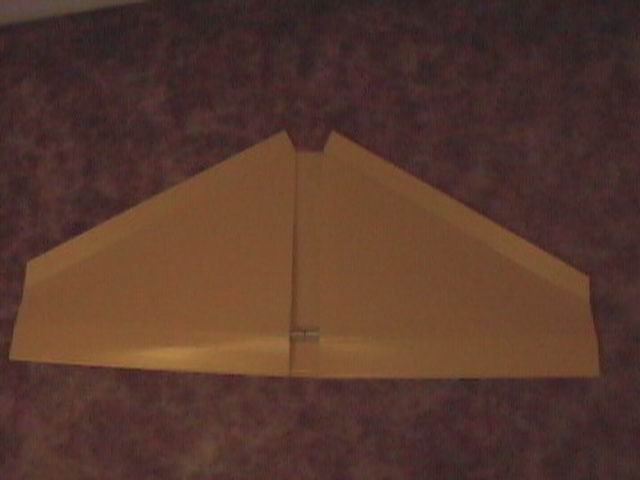
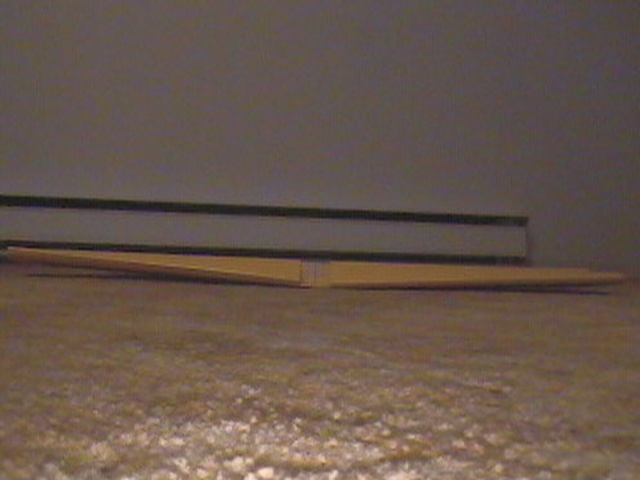
| One weevil wing ready for installation of hardware and ready to mount to a fuselage. |
| Notice the small amount of dihedral on the bottom of the wing and none on the top. I've made a few people scratch their heads on that one. |
 |
 |
 |
 |
 |
 |
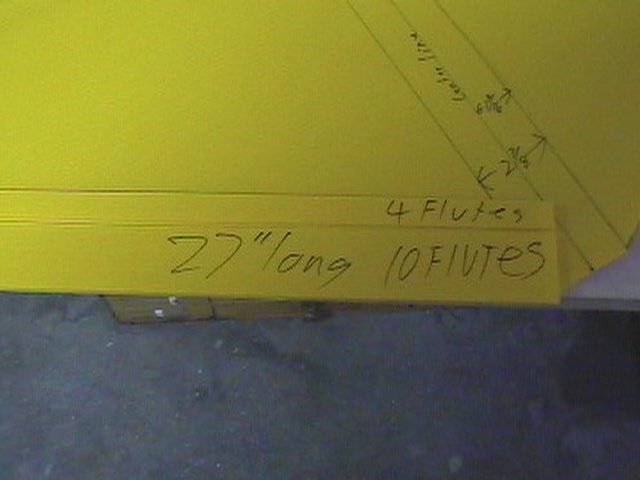
| Might as well make the elevons as that is given a chance to dry, They are 27" long and 15 flutes wide. 4 for glue, 1 for hinge and 10 for elevon. |
| Fold the upper panel over the lower, heating it as explained in the next step and mark where to cut away excess material. |
| Did I make the point of how important flaming is? I know it's irritating, less irritating then a seam coming apart in mid flight though. |