 |
| How to assemble your WEEVIL |
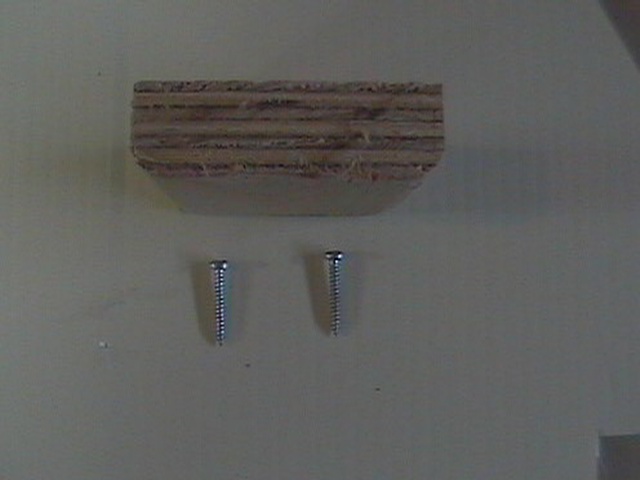
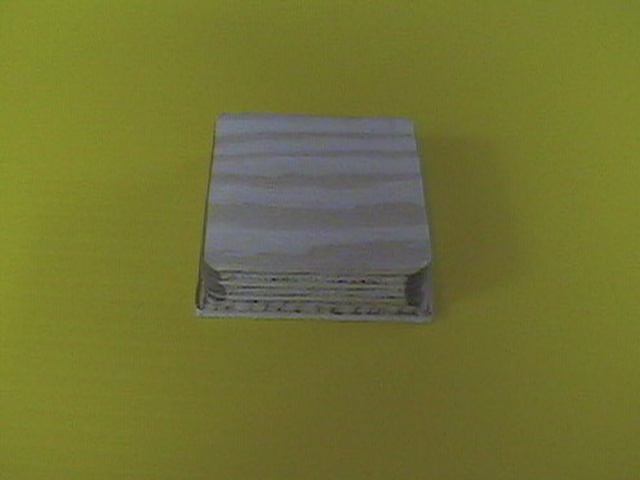
| Speaking of wing mounts. This is what I use, cut a pice of 1/2" or 3/4" ply to fit your fuse and round the bottom edges. Two small screws will be used to hold it in place when the wing is off. |
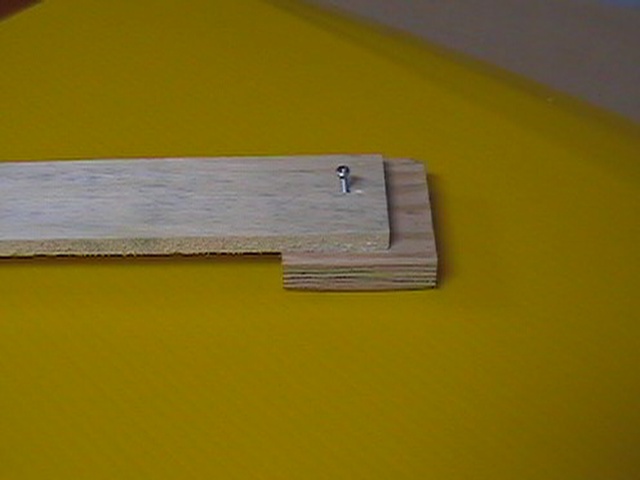
| This is how I install it into the fuse. the screw barely holds the wood untill the hold down screws are installed. A simple twist then releases the alignment bar. Place the bar in the fuse so that the block is even with the front of where the wing will mount and screw it into place. |
| This will give us a firm mount to drill and tap for a wing hold down. |
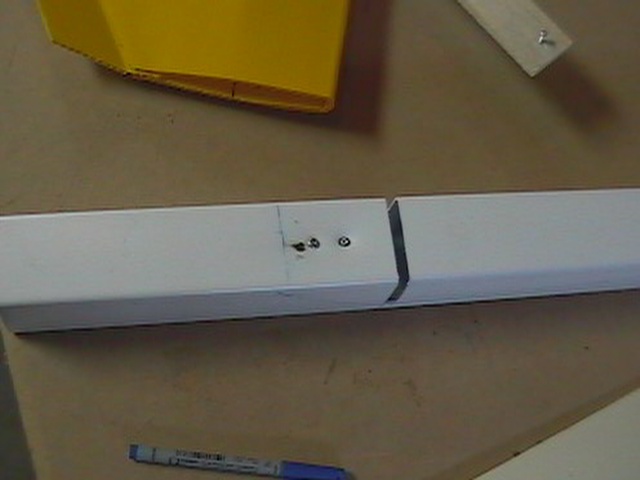
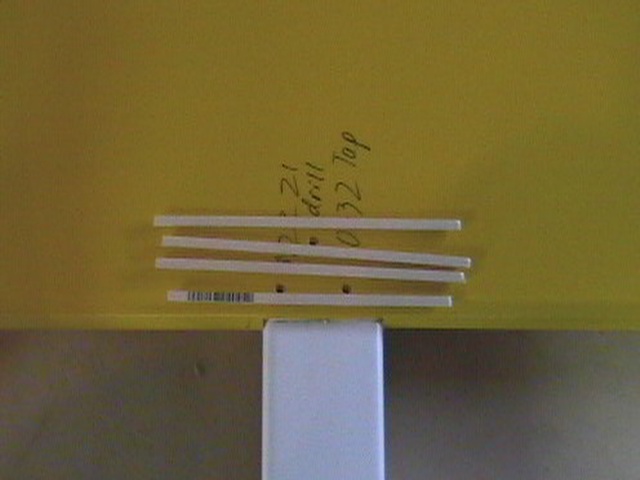
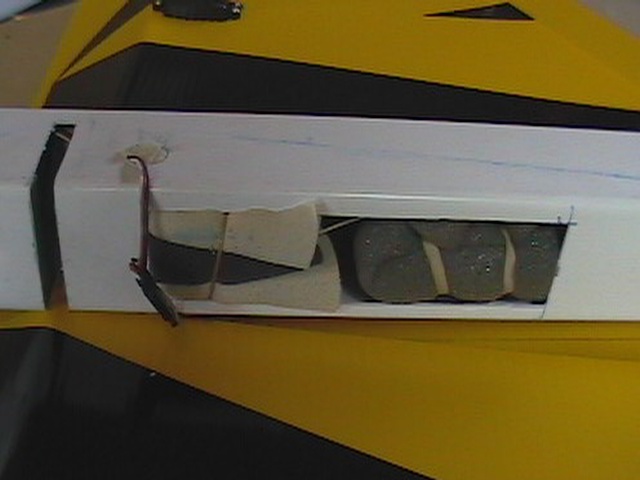
| Place gear on plane and drill holes with a #21 bit. This will allow for a 10-32 tap later and the wing will be held on with 10-32 nylon bolts. |
| Some spacers are inserted into the flutes at the gear mounts for some added rigidity. |
| The same thing is done for the rear of the wing. |
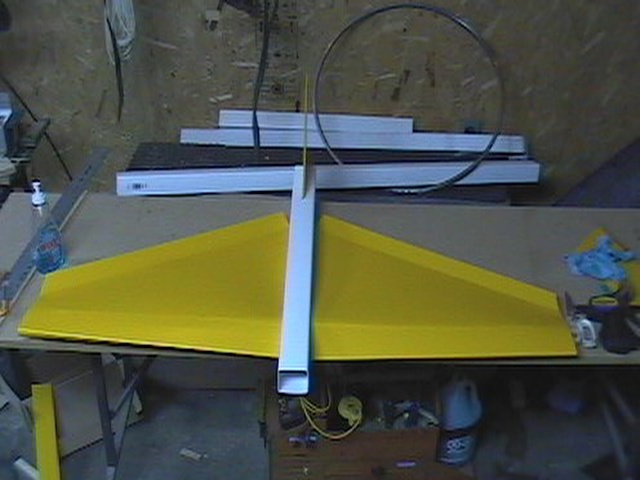
| Test fit your fuse into your wing and trim axcess material where required for a nice fit. Mark the wing line onto the fuse as shown in the next picture. |
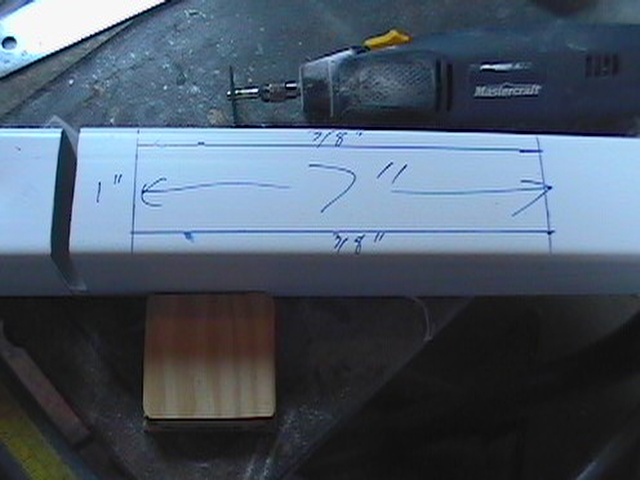
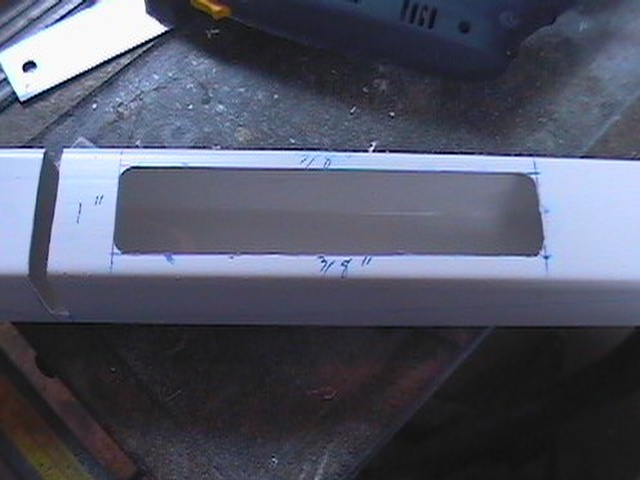
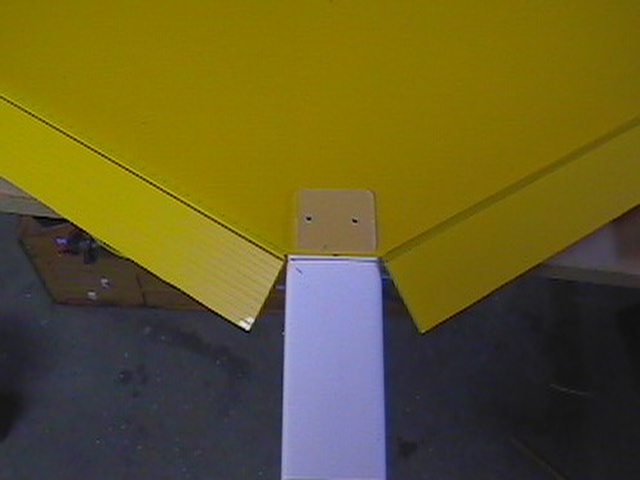
| Mark a 7" hole 1" behind the spar slot and3/8" from the edges of the fuse. This will be your radio acces hole. |
| This gives us a few reference points. For example where we can install our throttle servo and where to mount the wing blocks. |
| The end of this section. You plane should now be about ready to go for a test flight. Click back and onto the setup and testing section for what I did. |
|
 |
 |
 |
 |
 |
 |
 |
 |
 |
| Like so. |
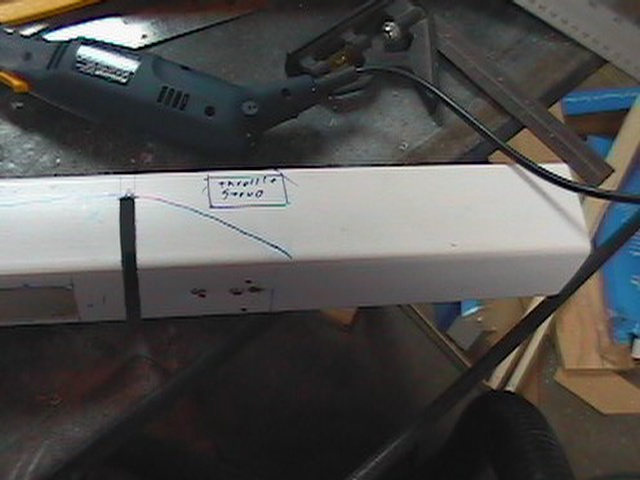
| Mark and cut where the throttle servo will be mounted. Usually the right side of the fuse. |
| Now mark the rudder servo cut out. I try to keep it on the opposite side of the exhaust outlet. Keeps it a bit cleaner |
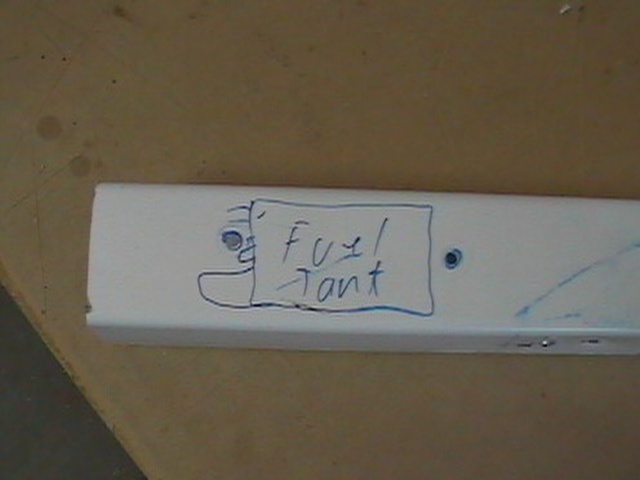
| Now place the tank on the side of your fuse where it will be aligned later in the fuse. Drill a small hole for and aft of it for electrical ties to keep it in place later. I use the great planes 8 ounce tanks. |
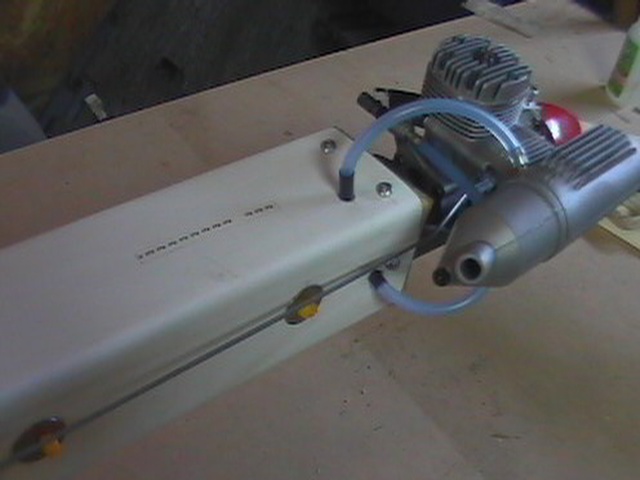
| The firewall is simply a piece of scrap 3/4" ply cut to match the downspout your're using and a ridge filed in to make a nice snug fit with the ridge riding against the firewall for easy installation. |
 |
 |
 |
 |
| A bit better pic of what I mean. |
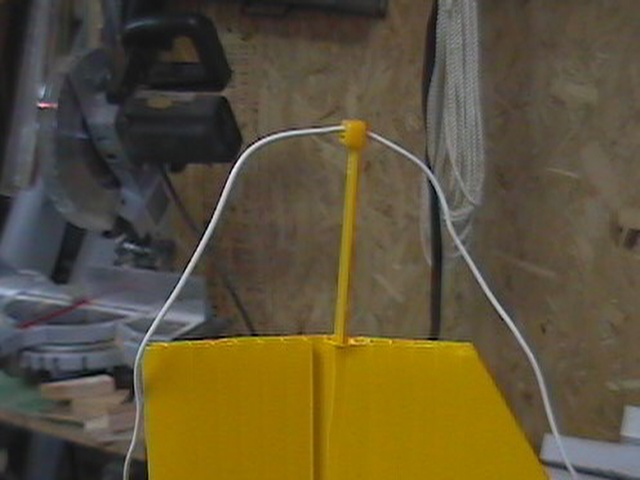
| This is how I like to balance my planes, install a cup hook at the c of g for a balance point and a convenient hanger for the ceiling of my garage when not in use. |
 |
| I run my fuel lines out the sides of the fuse with heat shrink installed at the wear points. Haven't had any problems with foaming this way yet. |
 |
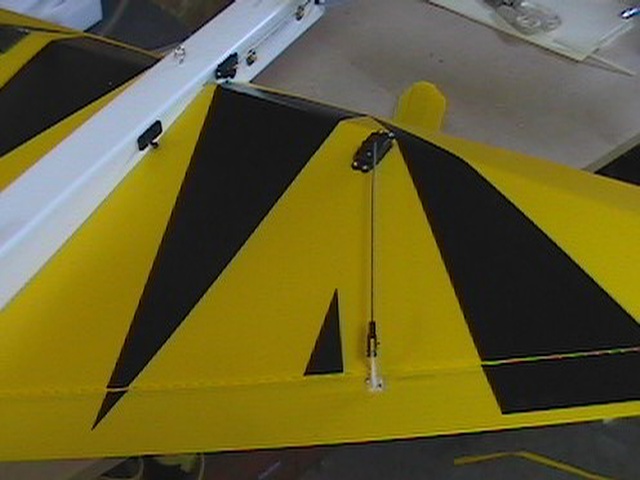
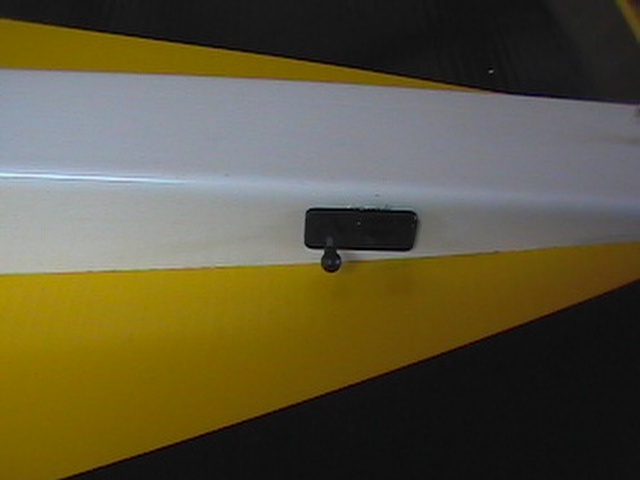
| Install the elevon servos and elevon control horns, don't forget the spacers in the flutes where the controll horns go. I mount mine out oon the wing like this to give an even pull on the elevon. I found a long control surface with the connection near an end caused it to flex. |
| Install the rudder servo and gear. |
 |
 |
| Now the throttle servo and gear. |
 |
| Don't forget the switch, I have to put in a plug for these dubro quick switch things. I leave all my planes hanging from the ceiling together when not in use. I can charge them with a long cord any time prior to use without even taking them down, thanks to these. I swear by them. |
 |
 |
| Install your reciever and battery in the fuse keeping the c of g in mind. |
 |
| I use this to keep my antenna in line. |
 |
| If you have any trouble with your Weevil being over sensitive on the up and down try moving the C OF G about a 1/2 inch forward. that seems to help. On three planes only one has had the problem so far. |