(more pics and text added as work progresses... last updated: November 19, 2003)
| Replacing the swing keel cable and winch (more pics and text added as work progresses... last updated: November 19, 2003) |
|||||||||||||||
|
|||||||||||||||
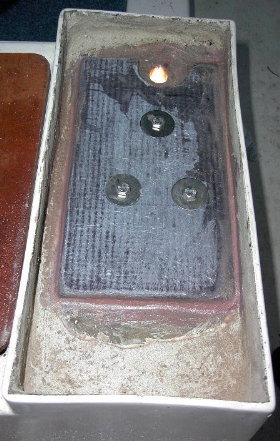
| Here is the keel winch area being prepared for a new winch. The surface under the old winch was not very flat and did not provide a continuously level surface for the base of a winch to bolt down against. So, it was built up to level, and then a thick slab of fiberglass bedded in. New holes were drilled for the different bolt pattern of the replacement winch. It's all still curing in this photo. The light through the keel cable opening is from a lamp below. | |||||||||||||||
|
|||||||||||||||
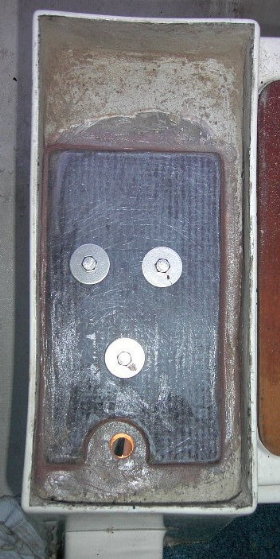
| The 1/2-round cutout in the fiberglass slab around the cable hole provides for re-installation of the stainless hollow shaft through which the new cable will be threaded. There's room for the flat washer and nut that will go onto the shaft from this side. Another washer and nut go onto the shaft from below. I have no idea if this stainless hollow shaft or tube is an original "Balboa" part or not. Since it was there already (more or less, it had come unfastened and slid down the cable to the keel) we will try putting it back here, and see how it works. It remains to be seen if this shaft will be positioned so that there is no interference with the cable as the keel is adjusted up and down. | |||||||||||||||
| Pictures of the finished work | |||||||||||||||
| Back to other pictures | |||||||||||||||
| HOME | |||||||||||||||