![]()
This page has links to photo's on how to dismantle the laptop.
The following steps show how to dismantle the laptop to replace the CMOS battery.
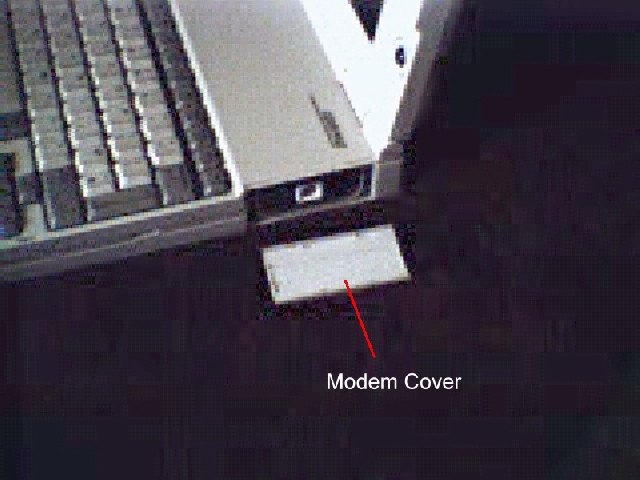
Remove the modem cover
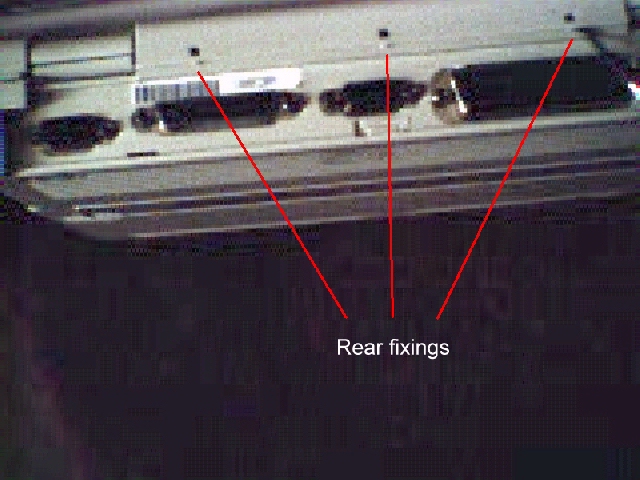
Lever the flap at the rear of the laptop to release the rear keyboard surround fixings.
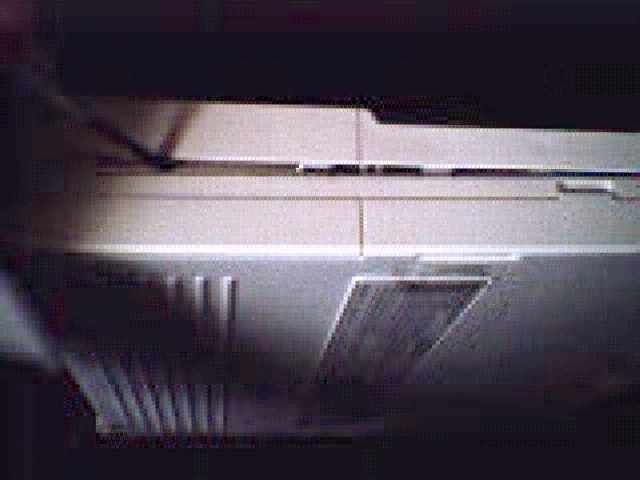
Insert a flat bladed screw driver at the sides and then wiggle the keyboard surround to release the front fixings
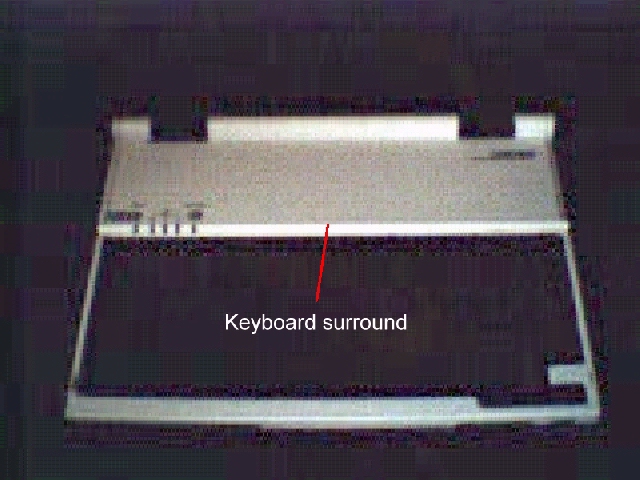
Just a picture of the keyboard surround on it's own
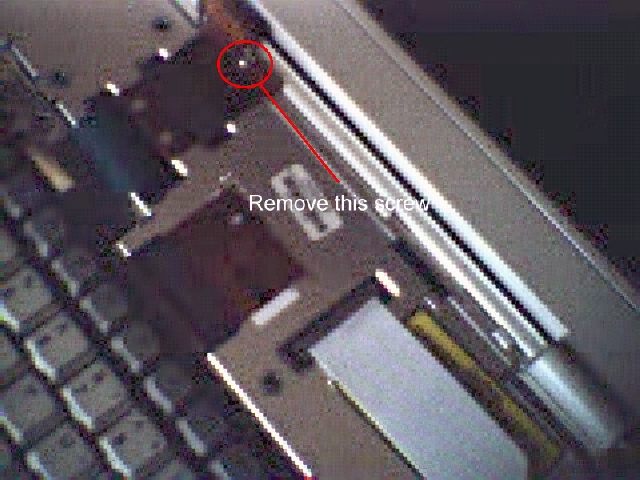
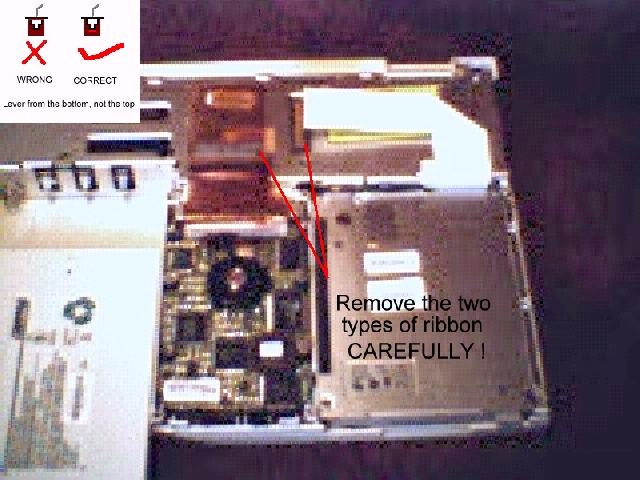
Remove the ribbon securing screw as you may damage the ribbon if you forget ! ( Note that the screw is a torq screw ).
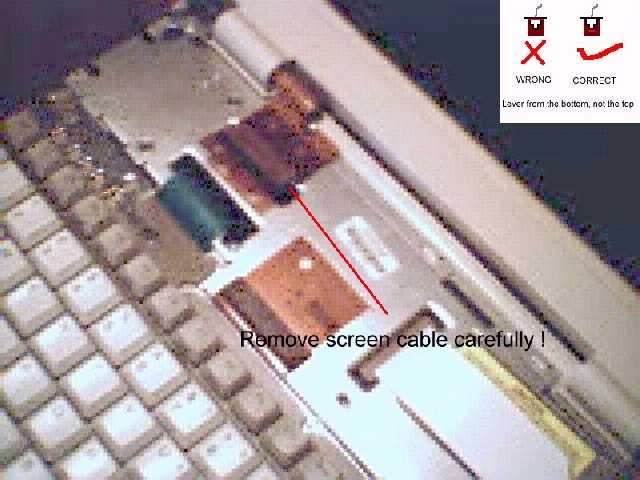
TAKE NOTE OF MY WARNINGS ! Remove the ribbon cable for the screen.
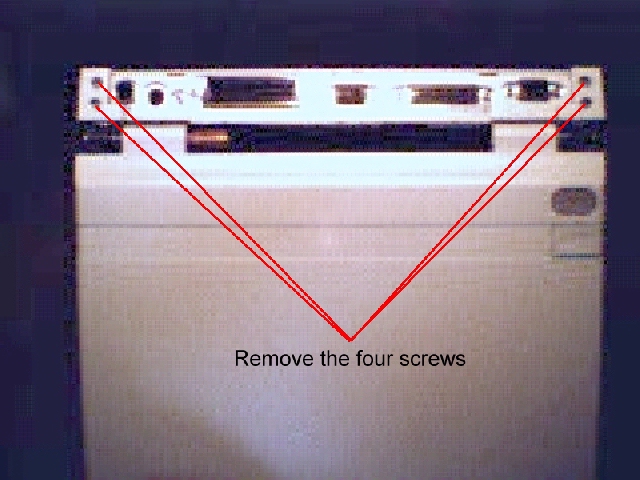
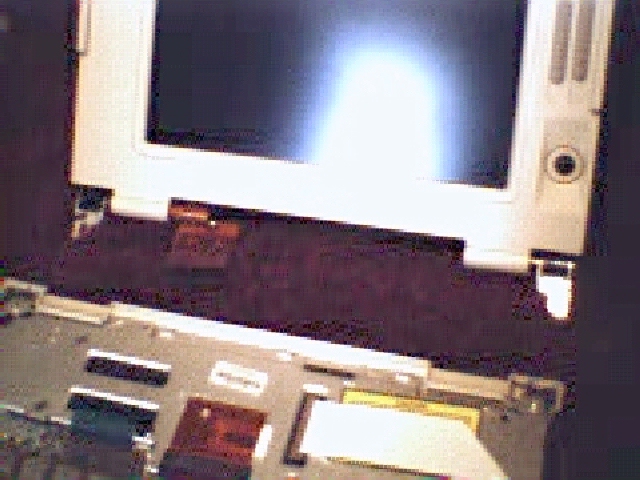
Remove the four screws that fasten the screen to the main module. ( Note that the two top screws are philips screws and the bottom two are torq screws ).
Now remove the screen by lifting straight upwards.
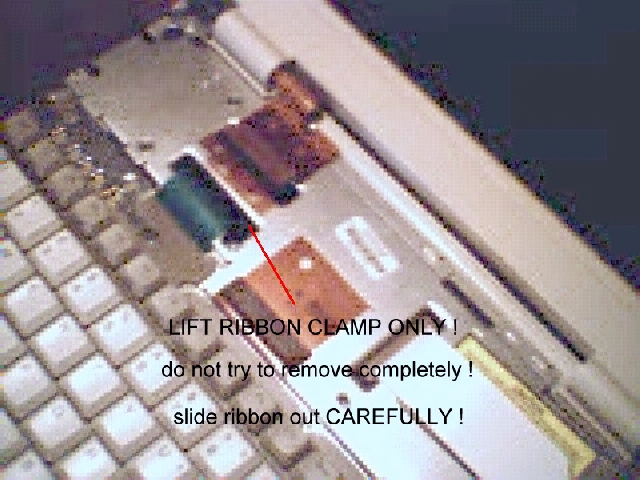
READ THE WARNINGS ON THE PICTURE ! Remove the Keyboard ribbon cable as stated in the picture.
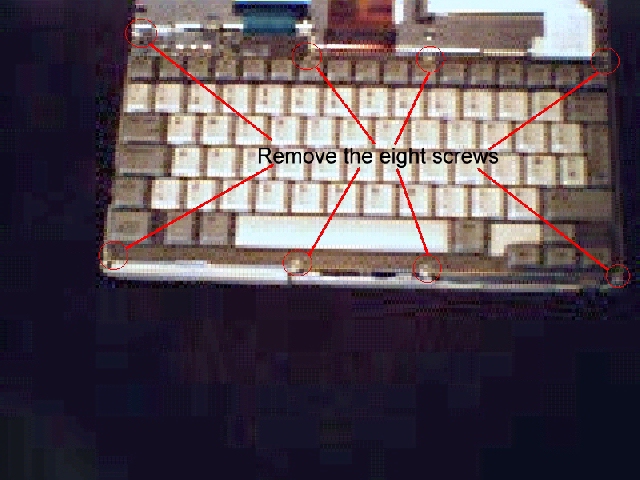
Remove the eight securing screws from the keyboard. ( Note that the eight screws are torq screws ).
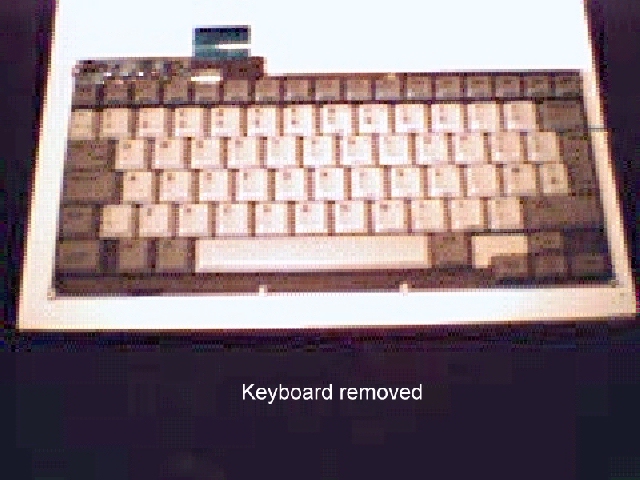
Lift the keyboard away and put to one side.
READ THE WARNINGS ON THE PICTURE ! Remove the two remaining types of ribbon cables remembering to be CAREFUL and using methods already used.
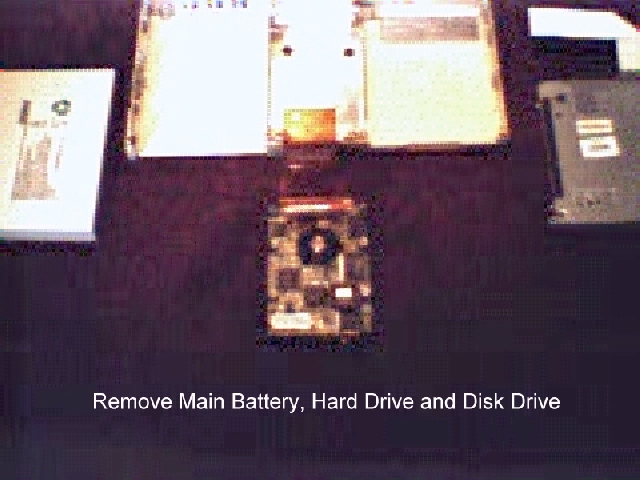
Now you can remove the Main battery, the Hard Drive and the Disk Drive.
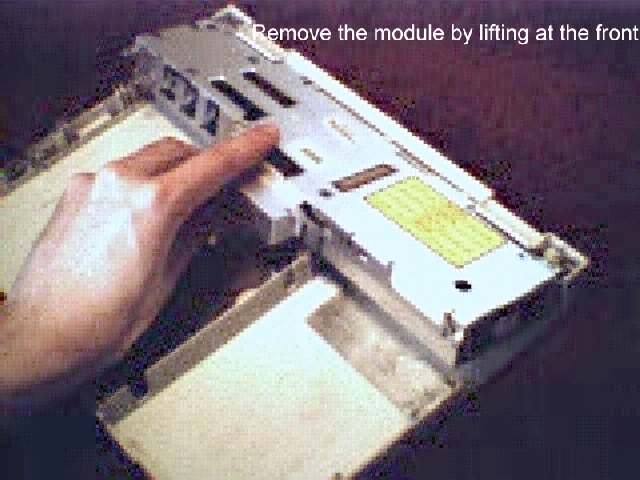
You can lift the main module out now by lifting at the front.
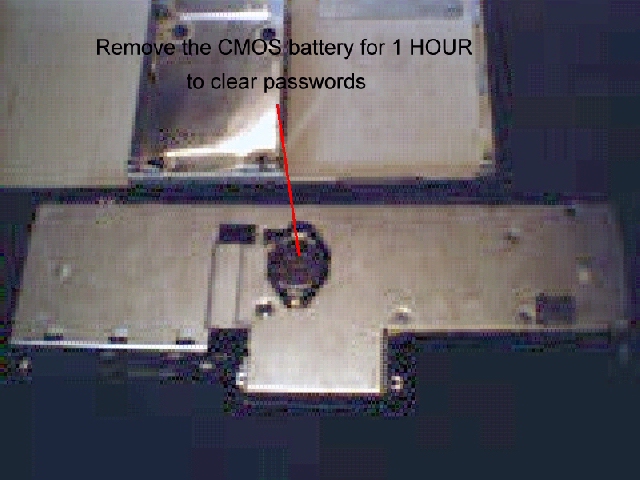
Turn the module over to access the CMOS battery. The battery is a CR2430 if you want to get one before you start.
Assembly is just a reverse procedure taking care when re inserting the ribbon cables.