


Formations
The key to flying a good formation is keep your leader's plane in one position. Make minor corrections to keep his aircraft in one position on the screen. I have set a seperate controller mode for formation flying and set two of my side buttons for front left and front right view, just like the buttons for differential braking. The leader should ALWAYS be at about 80% power, unless you are trying to gain speed for an engagement, so that the wingmen can stay tight. All power settings, turns, climbs, descents, configuration changes and any other relevent info should be called out by the lead. The leader should also call out enemy targets. Once you get good at formation flying as a wingman, you should also be looking out for enemy cons and call them out as well.
Echelon (left or right)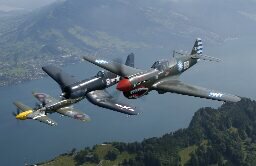
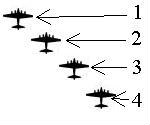

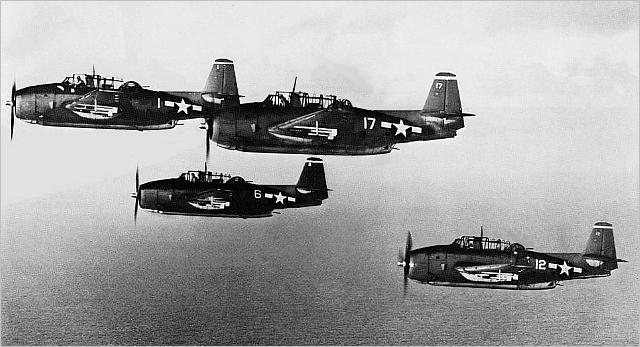
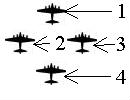
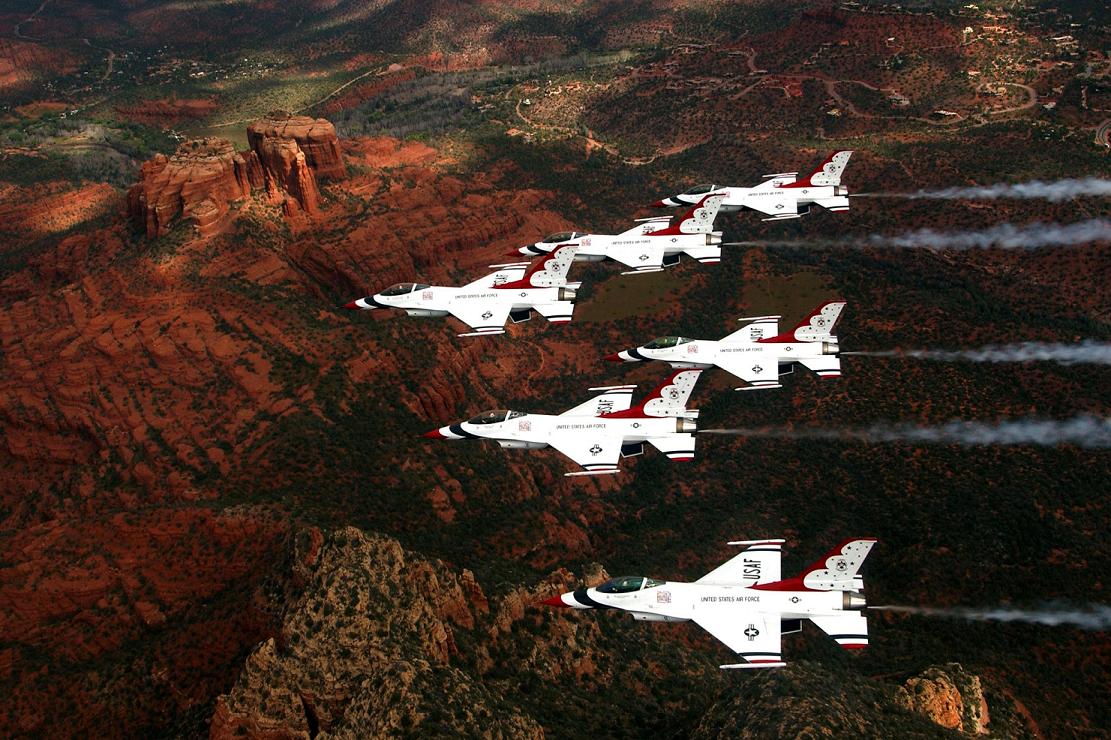
This is the simplest of formations. It can hold from two to twelve aircraft. Aircraft in this formation will line up off of the lead aircraft's right or left side at a 45-degree angle. Each aircraft forms off the previous slot on the same side, at the same angle (2 forms off of 1, 3 forms off of 2, etc). Each plane is 10 ft lower or higher than the plane it follows. The Echelon forms the core of most other formations, and can be considered to be a generic or fallback formation. It can be used for takeoffs, landings, or patrolling the skies for enemies. We will call COMBAT SPREAD to form a RIGHT ECHELON.
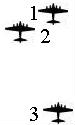
Vee
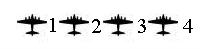
This formation requires at least three aircraft. It has a lead, one aircraft in Left Echelon and one in Right Echelon. Both stack 10 feet � the lead.
Diamond
The diamond adds an aircraft to the Vee. The forth aircraft follows directly behind the lead and is at a 45 degree angle from slots 2 and 3. From the lead, slots 2 and 3 are 10 ft. below, and slot 4 is 20 ft. below.
Delta
This formation requires at least 6 aircraft. It has a lead, one aircraft in Left Echelon and one in Right Echelon and one in slot, like a diamond. Now the last two come in to right and left echelon on the #2 and #3 aircraft. All stack 10 feet � the lead.
Wall
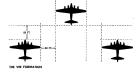
The Wall is a difficult formation to fly. The lead is at the far left. The additional aircraft line up to the right. The formation is a zero stack, meaning that all the aircraft are at the same altitude. 2 to 12 planes can do this.
Section and Stinger
This is a formation designed to lure the enemy in to attack the two forward elements, while the third waits to drop down on the engaging enemy. Slot 2 of the formation lines up on the lead in a normal Right Echelon, while slot 3 follows far behind and high above. If the first two slots are engaged, slot 3 is in a great position to finish off the enemy.
Escort
In this formation the bomber is lead. A few escorts will be behind the bomber in a Vee formation but about 1000 ft above eachother. A few more will be in front of the bomber at higher altitudes to watch for enemy aircraft.
When turning in formation, the aircraft on the lower wing needs to pull a bit of throttle and descend a tad. The aircraft on the upper wing needs to add throttle and climb a tad. On roll out reset your power and altitude. Remember.. the KEY to formation is keeping your wingman in the SAME position in your window at all times. The LEADER MUST keep this in mind while maneuvering as well.
Once you have the basics of formation click here to learn Advanced Formation.