MORE COMING SOON!!
UNDER CONSTRUCTION
This page is intended to help shed some light on how to repair the most infamous problem found in the classic mustang..."The Rusted Cowl".
Thousands upon thousands of Classic Mustangs have been destroyed from the inside out over the years due to the the infamous leaky cowl. The design of the cowl vent in early mustangs was not intended to last 20 or 30 years. Over time the "hats" as I call them begin to rust where they join the bottom of the cowl, leading over time to leaks which in turn lead to rusted out floors (see my floor replacement page!) The Cowl is made up of two pieces of sheetmetal that form a long rectangular shallow box. The top middle of this box is located directly in front of the windshield and is open with a grill to allow air (and water for that matter) to pass through to round raised vents located on each side, the driver's side being the cable controlled fresh air vent, and the passenger side feeding the heater or AC box.
The Cowl "Box" is welded together with approximately 160 spot welds! All of these need to be drilled out in order to seperate the top and bottom of the box. Of course you could remove the entire cowl if you drill these same welds all the way through to where they meet the fire wall and sides where the panel behind where the kick panels are located, but I wanted to leave as much in the car as possible to maintain some sort of alignment for putting everything back together. Alignment will be critical since the dash, the cowl, and the firewall
all have to come together. The area around the front of the dash and rear of the cowl is critical for the windshield gasket as well.
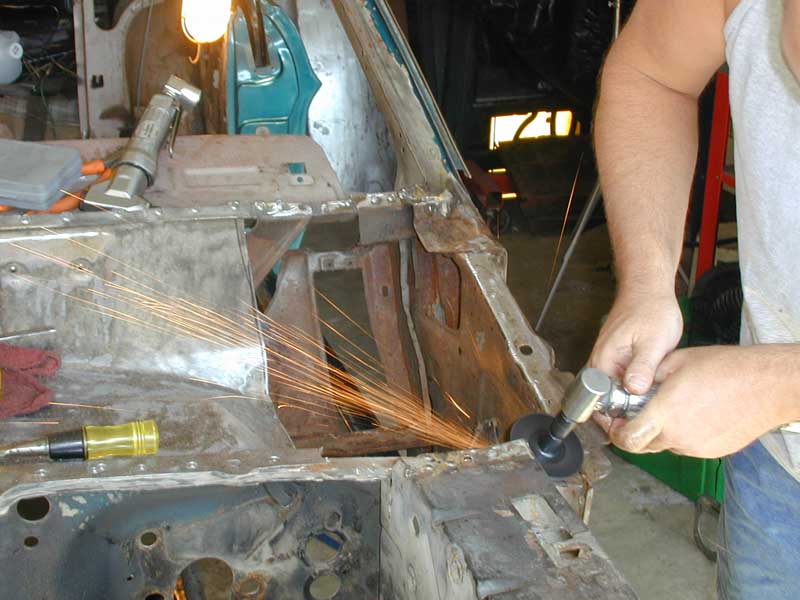
In the picture above the top of the cowl has been removed, the rusted out section containing the leaky hat has been removed and spot welds are being ground down to allow tight fitment of the cowl patch panel.

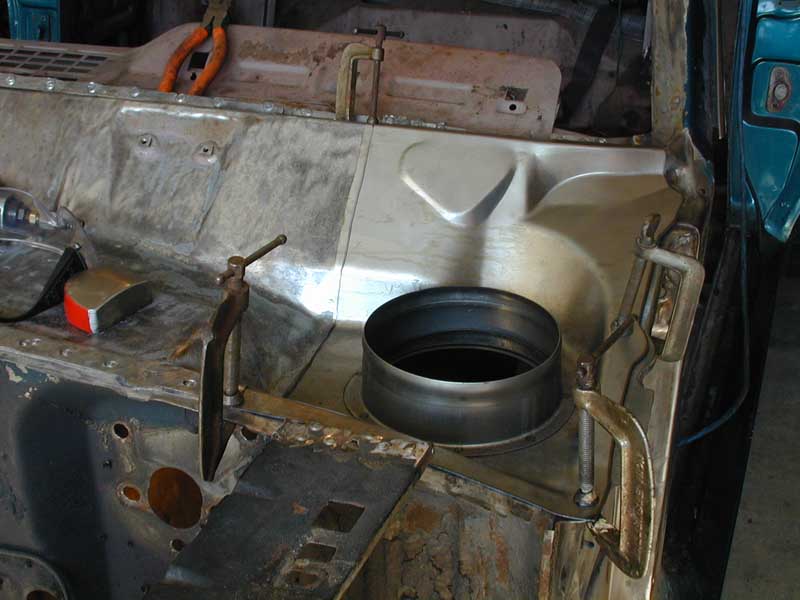
In the picture above the top of the cowl has been removed, the rusted out passenger section containing the leaky hat has been removed. note the small bracket that had to be removed from the area rusted out, this is a wiring tie up point and will have to be reattached later.
The picture above shows the intitial fitment of the drivers side cowl patch panel.
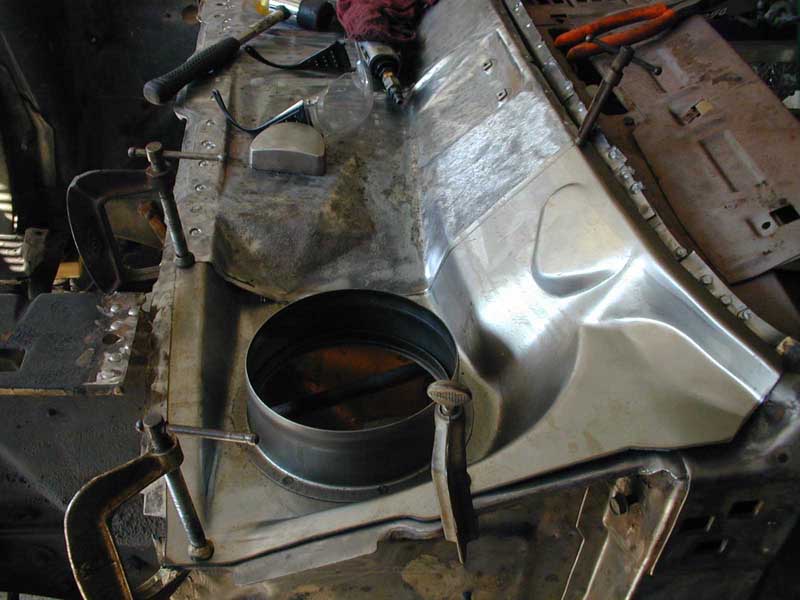
Another view showing the intitial fitment of the drivers side cowl patch panel.
After you get the patch to fit as well as you can, shooting for a .090" gap, perfect for the mig welder, weld it up, grind it down and paint it. I chose to use POR15 on the entire inside of the cowl, hopefully this will outlast the car now.
This site and the information found herein are intended solely for entertainment. I am a self-trained "shade-tree" mechanic with no technical automotive schooling, rather just some good old fashioned commnon sense and an instinctive mechanical ability. NO warrenties or guarentees are made for the correctness of any information or technique used in or seen on this site.