Tuning Theory
Find the center of gravity of the boomerang. Draw a circle around that point such that it crosses the leading and trailing arms (10" to 12" diameter for Jonas-like shapes). Mark the leading and trailing edge of both arms where the circle intersects the edge. What you have marked are the endpoints of two curved "slices" of airfoil that are the same distance from the point the boomerang rotates around when it hovers. Now take a hoop the same diameter as the circle you drew (craft stores sell various sized hoops for macram� and embroidery) and line it up underneath the points you marked. The theory is: for a well-tuned mta, these points will all come very close to touching the hoop, and that this relationship should be true most of the way to the tips.
In calculus there is the concept of breaking a problem up into a bunch of little pieces, like the slices we marked above, then summing them all up to determine the overall result. Let's consider just the two slices we marked for a moment. If both slices touch at both edges of the hoop it means that when the boom rotates the slices are in the same plane of rotation. What happens if the slices are not in the same plane?
If the trailing edges of both slices touch the hoop, but the leading edges are above it, both slices have a positive angle of attack, so the boom will lose spin.
If the leading edges of both slices touch the hoop, but the trailing edges are above it, both slices have a negative angle of attack, the boom will maintain spin well, but some time may be lost because these two slices are pointed towards the ground.
If one slice has negative angle of attack and the other has positive angle of attack, then a twisting force will be generated that tries to flip the boomerang, contributing to an unstable hover.
Since a well-tuned mta maintains spin and has a stable hover, I conclude that most airfoil "slice pairs" must have neutral or negative angle of attack relative to the plane of rotation.
When an mta hovers we see the cumulative effect of all the slice pairs. It is possible for one pair to cancel another out such that the net effect is neutral, but there's an associated cost because the two parts of the boom are opposing each other, so energy is being wasted. Getting multiple slice pairs to cancel has two other problems: the slices pairs are at different distances from the center of rotation, and the forces being generated vary with speed.
Since the pairs are at different distances from the center, they have different leverage, so it's not enough to make them equal and opposite, the distance from the center has to factor in as well. Since the force generated by a slice pair (up, down, or flipping) varies with the speed of rotation, and the pairs have differing amounts of leverage, it may not be possible to get them to cancel each other at all speeds. This is why I think the relationship between slices is mostly neutral (or a little negative) angle of attack all the way to the tips; because variations must be compensated for elsewhere, resulting in energy loss (and less time aloft) or a narrow window of stable hover (a little faster or slower rotation and the boom starts to circle).
I've been a bit general here because my aim is to develop a mental model that is "good enough" to help with tuning, not a perfect theoretical model. At the highest level of performance, tuning comes down to nuances that have to be learned by trial and error, but I think this could provide a useful framework to help beginners get their tuning "in the ballpark". Tuning a trick catch is easy: mostly flat, a little dihedral on the tips. The thing that makes it easy is the "mostly flat" part; you can use a flat surface as a reference for changes. A flat surface leaves a lot to be desired for mta tuning, the hoop might be a more useful reference.
There is no one "right tune" for an mta. Throwers vary in strength, for instance. The tune that works best for a strong thrower is going to be flatter than the tune that works best for someone with a weaker arm. The strong thrower wants more of the "circle to height" flight path, the weaker thrower is going to get more height with something that lays over faster, more of a "throw it at the sky and slide into a hover" flight path. Each of these tunes requires differing amounts of dihedral, but the relationship I described above holds for either tune.
Here are some pictures to illustrate the process.

First make a platform for balancing. Get a piece of thin cardboard about 12" by 16" in size (I used the top of a USPS priority mail box). Find the center and put a small hole through it. Thread a piece of string through the hole and knot it on the back so it won't pull through. Obtain a hoop from a craft store (12" works well) draw a circle centered on the hole that is the same diameter as the hoop. Tie the string to something overhead and adjust until cardboard is about an inch above the table. I tied the string a little long, then used turns around a toothpick to take up slack until I got the height I wanted, then put a clip on the toothpick to keep it from unwinding.

Now balance the platform. Hold the cardboard level, so it doesn't touch the table, release it, see which side falls to the table, use scissors to trim a little off that side, repeat until cardboard slowly falls to table on release.
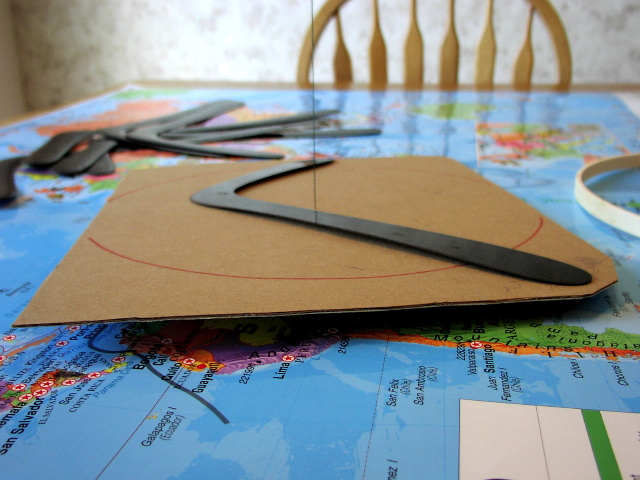
Now find the center of gravity of the boomerang. Turn the boom upside down, with the elbow and both tips touching it will be stable. Level the cardboard and release, move the boom away from the side that falls to the table, repeat until cardboard slowly falls to table on release, the center of gravity of the boom is now over the hole the string passes through.
If the distance above the table is too large, the boom will slide around, reduce the height until it stays put while you iterate. You can see my 11" by 15" cardboard is just large enough.
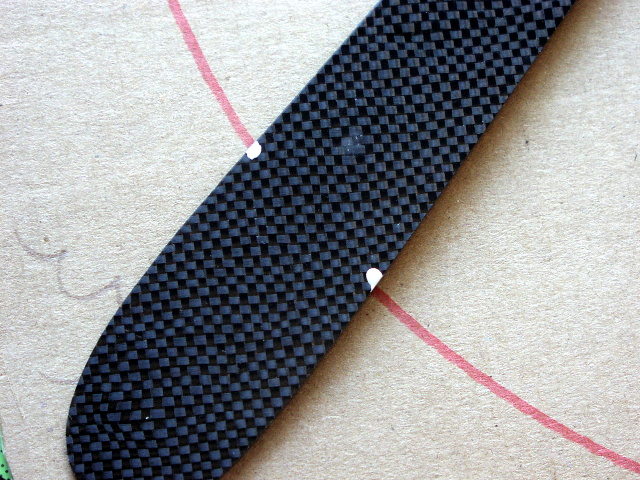
Now mark it. Being careful not to move the boom, mark where the leading and trailing edge of each arm cross the circle (paint or white-out works well). When it dries, turn the boom over and carry the marks over to the top surface, let them dry, then remove the marks from the bottom so they don't interfere with the next step.
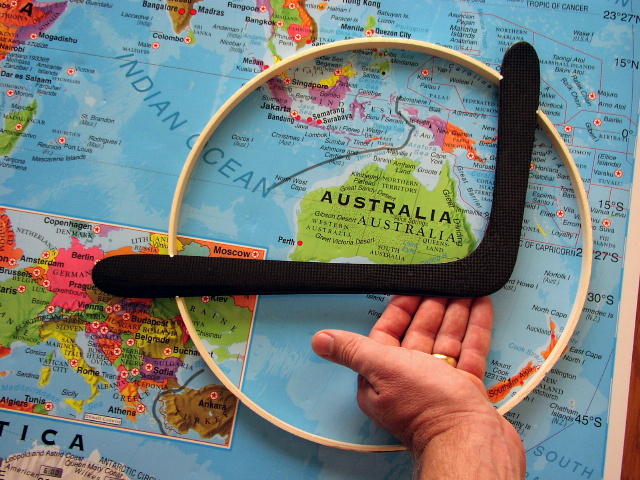
Place the boom on top of the hoop right-side up. Align the four marked points over the hoop. Gently hold one arm down on the hoop and look at the arms end-on to see the angle of attack. If you push too hard the boom will twist and you won't be able to see what's going on.
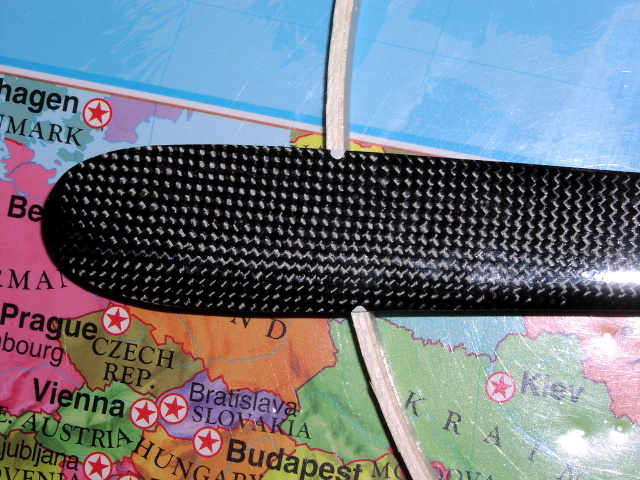
Leading arm detail.
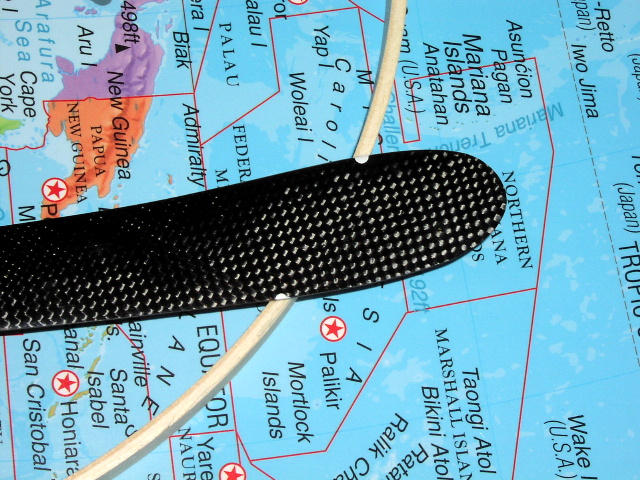
Trailing arm detail.