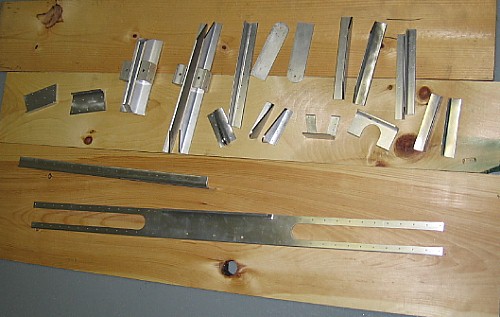
Aluminum L channel
- Cutout a section to the required length and square the edges with a file and machinists precision right angle, not a woodworking square. I like to be 10/1000" from square.
- Mark the profile to be cut onto the aluminum stock. I use a 24" ruler in 1/64" increments and a micrometer, 1/64" is the most error I accept.
- Check your measurements against each other, be redundant in your measurements in an effort to find errors that creep in. Rulers slip, eyeballs miss-judge reference points and miss-read scales.
- Cut the profile using a reciprocating saw (aka "jig" saw) with a high quality metal cutting blade (Bosch makes great blades they take quite a lot of abuse.) Lubricate the blade for every 2-4 inches of cutting in 1/8" thick material. 2-3" for 3/16" material. For curves you can use the saw like a file, or take lots of little cuts to remove small sections that integrate to a curve.
- Use an 80 grit belt sander and rotary drum sander (such as a Dremel tool) to flatten the cut and to rough out the curves.
- Use a Vixen file to remove further material until you reach your scribe lines. The vixen produces a nice flat cut and when angled properly can be used to shave a face flat (much like a wood planer). For complex curves continue using an 80 grit drum then as you get under 1/64" to your scribe lines switch to a 120 grit drum. Expect to consume a large number of Dremel 80 grit and 120 grit drums.
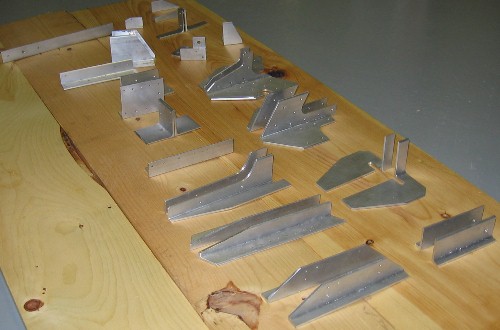
- Cleanup your corners with a Mill file and 120 grit sandpaper. Check against the plans. Rework as required
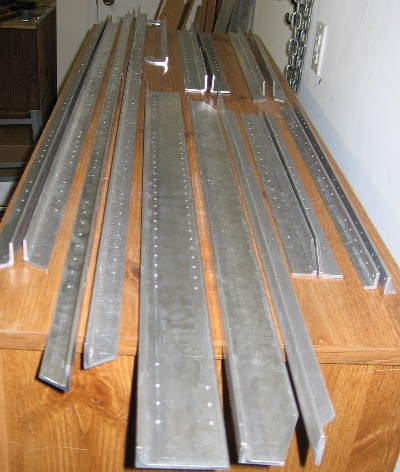
- Deburr with a "3-M, 7-AM" type deburring wheel as recommended by Sonex. I use a 2" wheel in a Rotozip that I run at low speed by means of a Variable transformer (Variac). You may also use a drill to turn the wheel but I wanted speed similar to that of a Dremel tool. The recommended use of a bench grinder and 6" dia wheel did not appeal to me. I also found that Dremel sells a 1" diameter 3-M deburring wheel as a paint removing tool. It is defiantly the 3-M, 7AM material though and works swell.
- Mark and drill your pilot holes, start with a punch, then a 1/16" for half the depth of the final hole, then step up as required
- Sand all surfaces to a 220 grit finish. For the flat faces I use the "3-M RoLok" wheels (available at an auto supply store for finishing car bodies or from Granger/Fastenal in larger quantity/lower price) they are tremendously faster than hand finishing.
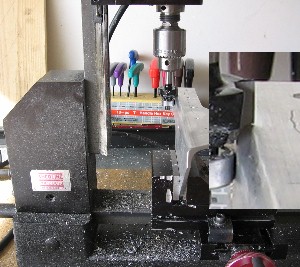
For cutting a 1/8" radius in the side of several parts I selected to use a router bit in my milling machine instead of sanding. Do not attempt to use a router in a drill press freehand unless you wish to loose fingers. I actually do not own a drill press as hand drills are more versatile and cheaper for higher quality.