 |
| AXIS GUIDE D1 |
| 1st |
| 2nd |
| 3rd |
| 4th |
| 5th |
| 6th |
 |
| Summary of Plan D1 |
| This plan is fairly simple it is just a camp base plan. The reason why I find this plan to work is becuase every posible enetry is blocked off until one of our men dies. If that is the case there is another member close by to help. Eventually the allies have to plant or they loose the round because of time expires(duh) So it forces them into angles which our men has good firing postion. |
| Spot 1: South House Bottom Steps(A Building) |
| To get a good firing postion prone 1st step and get all the way right until you have perfect firing postion. This is a good spot because foes rush through this building and it is very hard to spot our man leaving us with maybe as many as 3 ppl knocked off early. |
 |
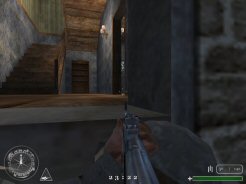
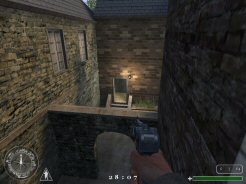
| Spot 2: 2nd floor Top Window /Celler House (A-B Building) |
| This Guys job is to shoot foes who are trying to advance 2 A building. If Some manage to get buy this person or if he dies this person should warn whoever is guarding Spot 1 of advancing troops. It is also this persons Job to Cover A |
 |
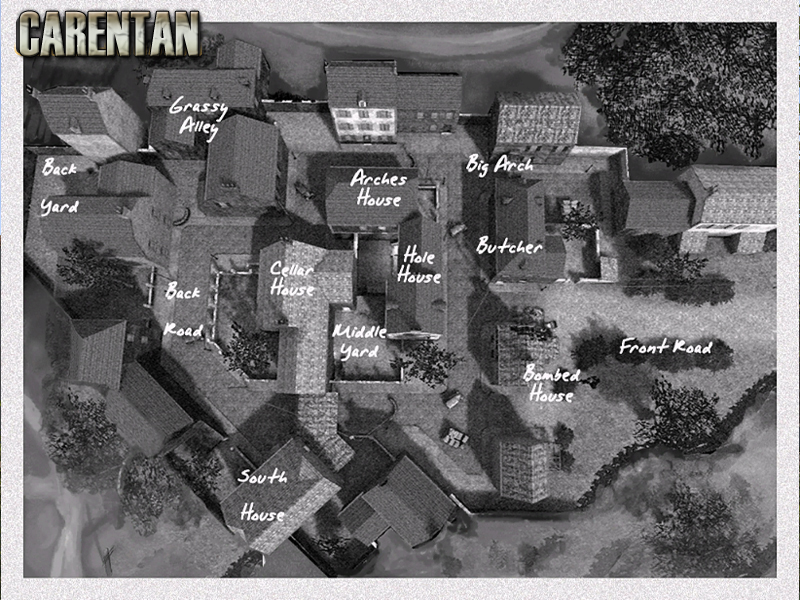
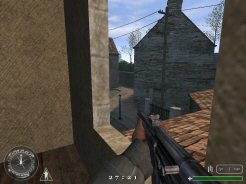
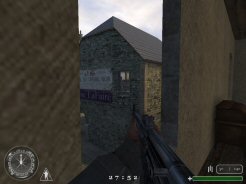
| Spot 3: Stairs/celler house (A-B Building) |
| This persons Job is simple cover the stairs so know one will be backstabbed. If he dies or has to flee his postion he should warn his teamates that the enmey is on there way up. |
| Spot 4: 2nd Floor North windows/Celler House (A-B Building) |
| This guy has his hands full. He needs to cover B and Watch Middle. |
 |
| *NOTE* Postions may be changed according to the situation during a round |
 |
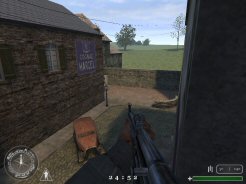
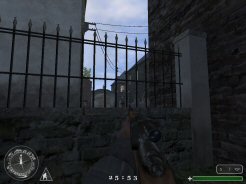
| Spot 5: Arches House (B Building) |
 |
| This guy has to cover B and can assist in covering Middle. |
 |
| Spot 5: Grassy Alley/BackYard |
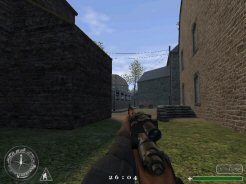 |
| This is where the sniper comes in. We need a sniper to watch over everyones back but staying alive. He can also be the quickets to deffuse bombs |
 |
 |