| XMODS EVOLUTION DEANS 5 - DEANS 6 - DEANS 7 CELL TUTORIAL |
| PART 2a: INSTALLING THE CHASSIS PLUG |
| If you have any questions, please email me. [email protected] |
 |
 |
 |
 |
 |
 |
 |
 |
 |
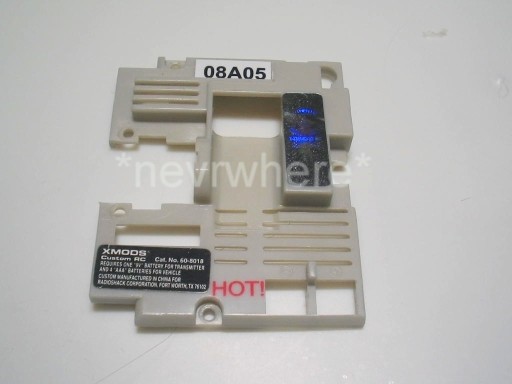
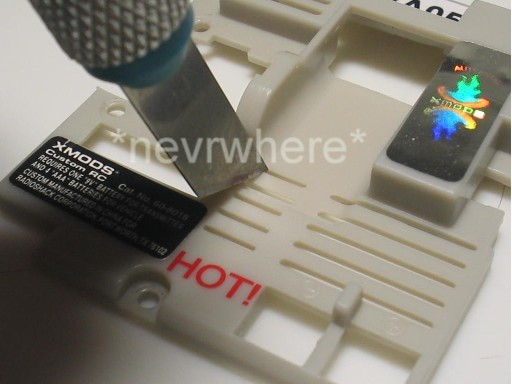
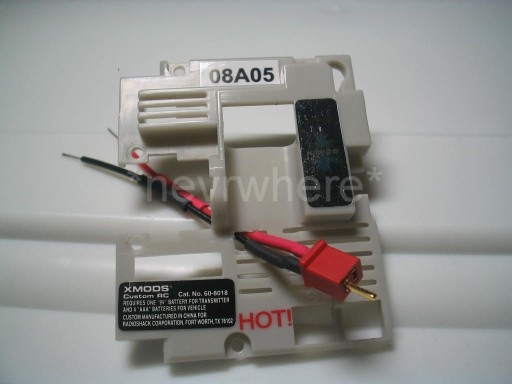
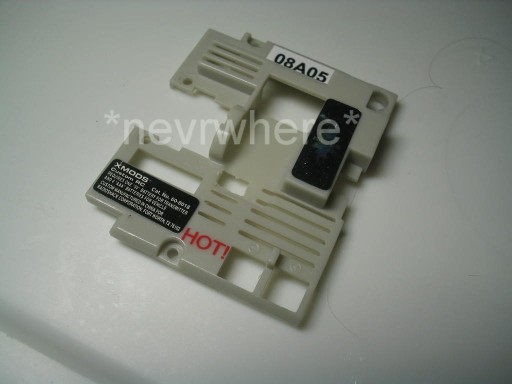
| Now we will need to cut a hole in the circuit board cover. |
| I used an exacto knive to cut out a small square for the chassis plug wires to go through. |
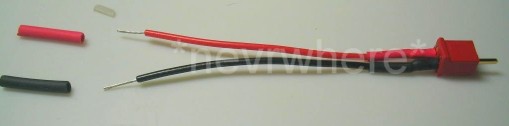
| Now get your chassis plug out and 1 piece each of pre-cut red & black heat shrink tubing. |
| Slide the red heat shrink over the red wire and the black over the black wire. |
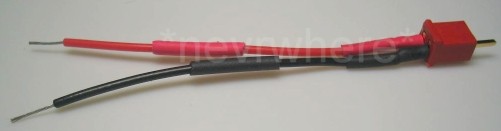
| Next, slip the wires of the chassis plug through the hole you cut in the circuit board cover. |
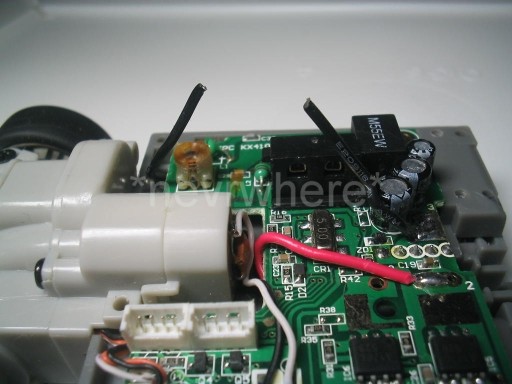
| You will see a black wire leading from the battery holder to the circuit board. Your will want to cut this in half. |
| Next strip about a 1/4 inch of insulation off the ends of the cut wire. |
| Where you cut the hole is up to you. This works for me, but if you prefer putting the hole somewhere else, that is your option. |
| NOTE: To those who have purchased the non Deans Plug version of my 5 cell, 6 cell, or 7 cell kit, just follow the portion of the tutorial covering the chassis plug installation. Since yours does not have a plug you will be installing the cell holder directly to the wiring. Just pretend that the 5 cell, 6 cell, or 7 cell holder is the chassis plug and follow the directions on installing the chassis plug. |