| XMODS EVOLUTION DEANS 5 CELL - DEANS 6 CELL - DEANS 7 CELL TUTORIAL |
| Before getting started, I recommend reviewing the entire tutorial to get familiar with what your are doing. Though I will give examples and tips on how I install the mods in my evo, all body modifications and fitting is the buyers responsibility. |
| PART 1: DISASSEMBLY OF THE CHASSIS This will be the same for both the Deans 5 & 6 Cell Mods. |
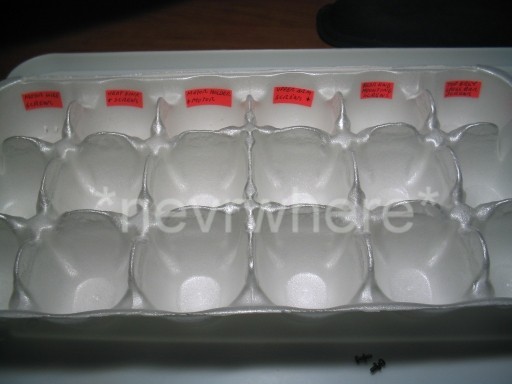
| TIP: Before getting started I recommend getting all the tools you will need first. I also recommend using a quality phillips head screwdriver and not the one that came with you xmod. The ones that come with the xmods will work but are very poor quality and will tend to strip the screw heads as well as wear down very fast. Another good idea is to have some small containers handy in which to label and put the screws and small parts. Empty egg cartons work really good. It will save time when reassembling your car. |
 |
 |
 |
 |
 |
 |
 |
 |
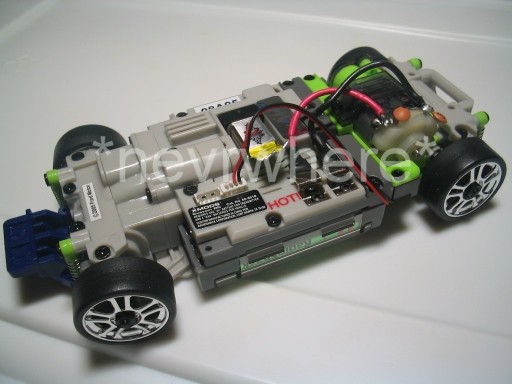
| Before getting started, remove the antenna and batteries. |
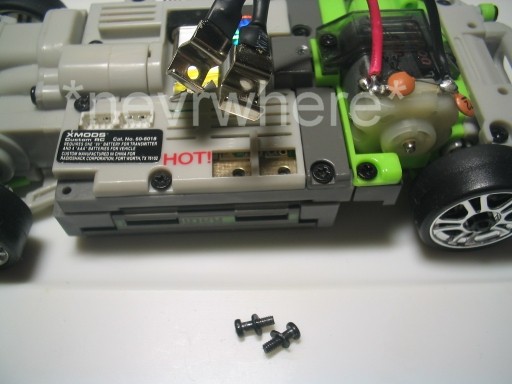
| Unscrew and remove the motor wires. |
| Note: Though you see the batteries in the picture, it is always a good idea to remove them, when working on your car. |
| Turn the car so that bottom is facing up. Remove the screws on the T-bracket. |
 |
 |
 |
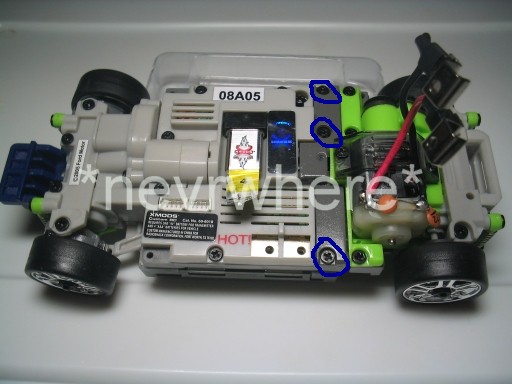
| Turn the car back over. You will see 3 screws along the upper grey support beam. Remove these screw. Make sure you are careful not to crack the T-bracket underneath the car (see above picture). While unscrewing the screws, I recommend supporting the T-bracket with your fingers. |
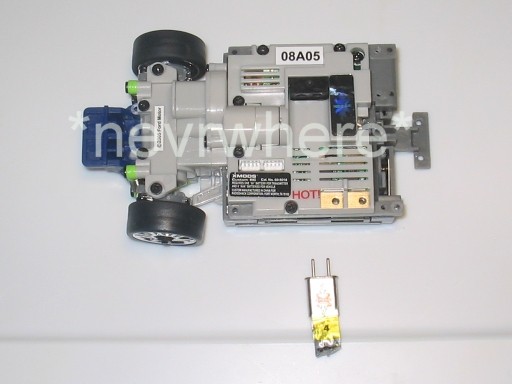
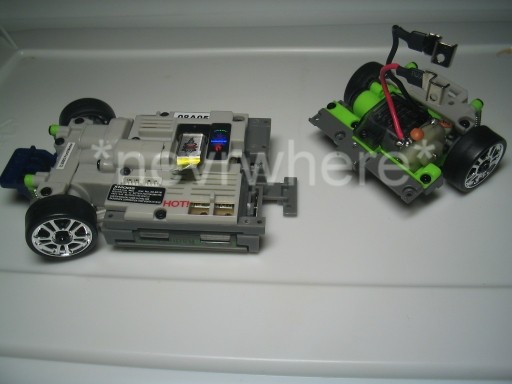
| You can now remove the rear end. |
 |
| Remove the crystal. |
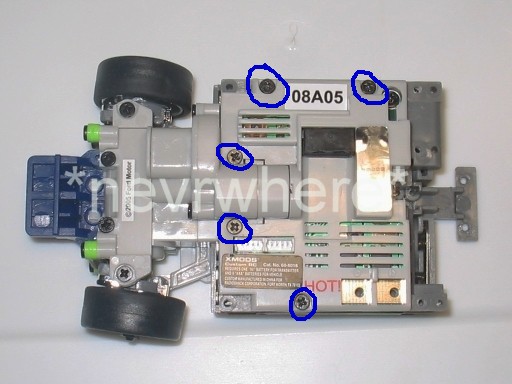
| Remove the screws holding the circuit board cover. There are 5. The 2 near the front of the car are longer than the ones on the side. |
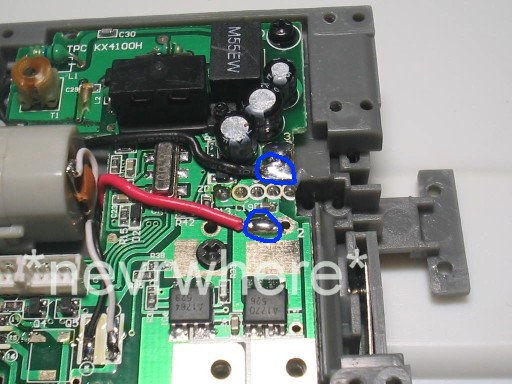
| Now you can see the circuit board. |
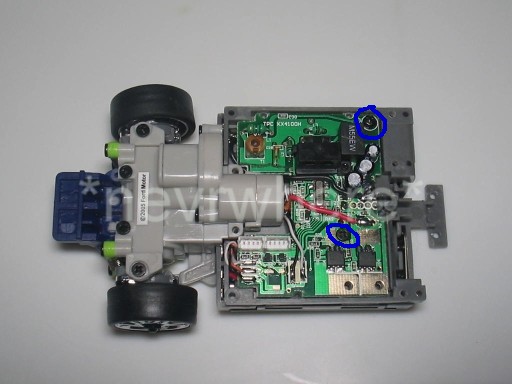
| You will see a red and black wire leading from the battery packs to the circuit board. We will only be concerned with the black wire. |
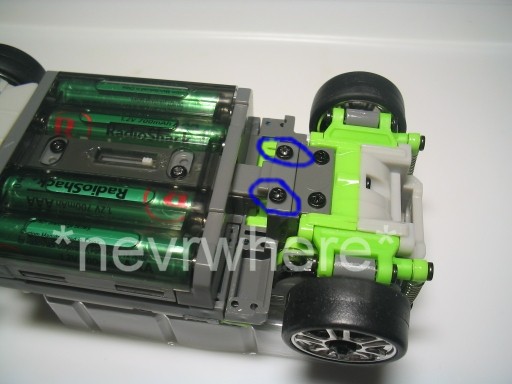
| Though you may not need to, I recommend removing the antenna screw (circled near the top corner) and the circuit board hold down screw (circled near the center). This will allow you to lift the board and get to the black wire more easily. |
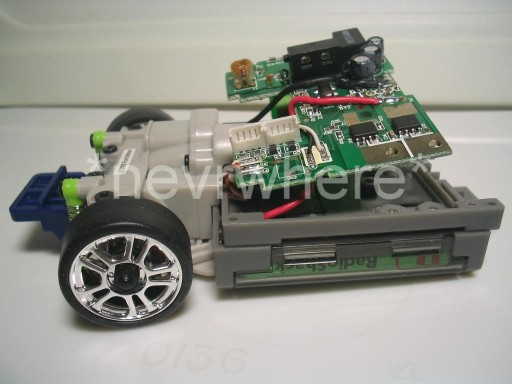
| Here is a pic of the board lifted. |
| With the dissassembly of the chassis complete we are now ready to install the cell upgrade. |
| If you have any questions, please email me. [email protected] |
| NOTE: (EVO TRUCK SERIES): To all the evo truck owners. You can use this tutorial to guide you through the installation of the cell mods into the truck chassis. For the most part, installation is exactly the same. I will try to get up a tutorial, specific for the evo truck line soon. |