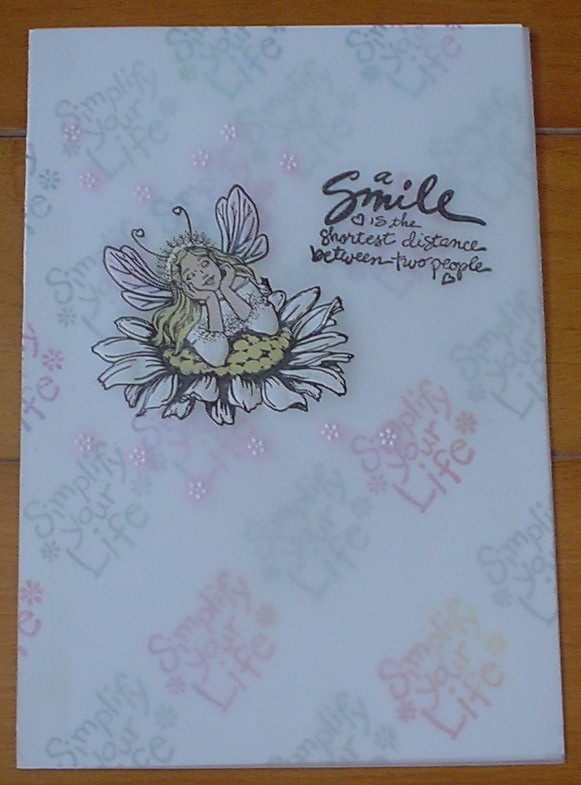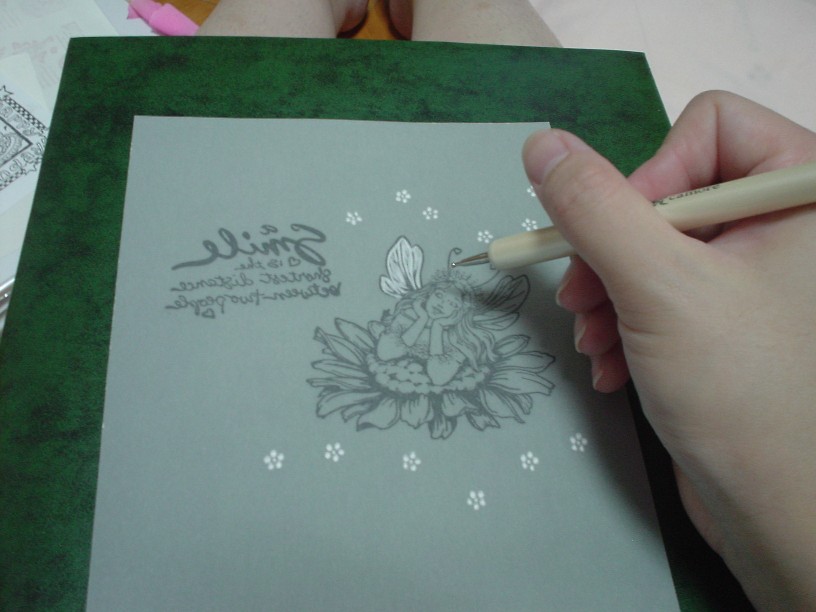
Once the ink is completely dry, flip it and put it on a soft surface (mouse pads are really handy for this). Figure out the places that you want to be white and use a stylus to gently press down on the vellum. The harder you "scratch", the whiter the vellum gets. Don't press too hard or you'll end up poking a whole in your pattern, but just hard enough to make the vellum turn white.
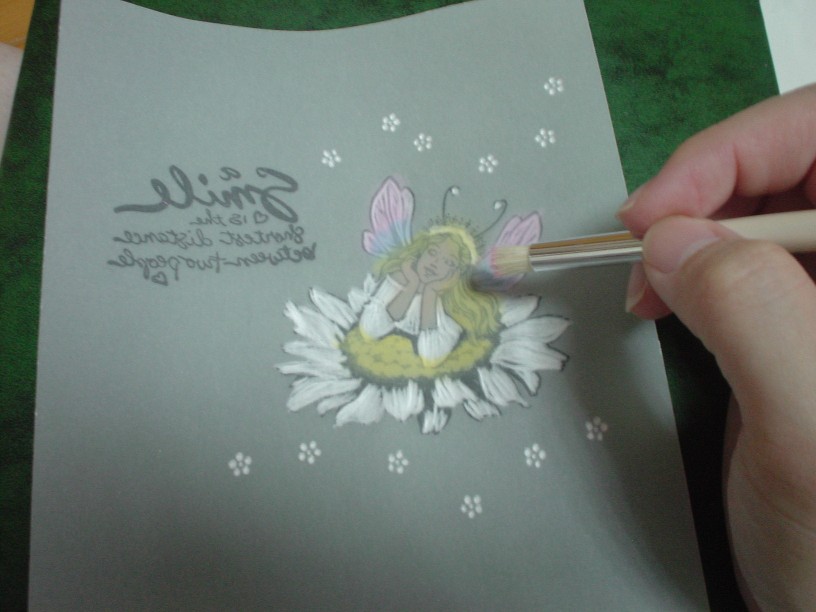
Since vellum is some what transparent, any kind of color that you put on it will be seen pretty clearly. That's the reason why you have to "scratch" in the white parts. Using a flat brush, brush in the colors on the back of the pattern, remembering always to brush in light colors before dark. Even if the I made the wings white with the stylus, I wanted them to still have a small hint of color. So, I brushed in a couple of colors to keep the pattern from being overly white.