 |
|
|
|
|
|
|
|
|
|
|
|
|
|
|
|
|
|
|
|
|
|
|
|
|
Step 1 |
|
|
|
 |
|
|
|
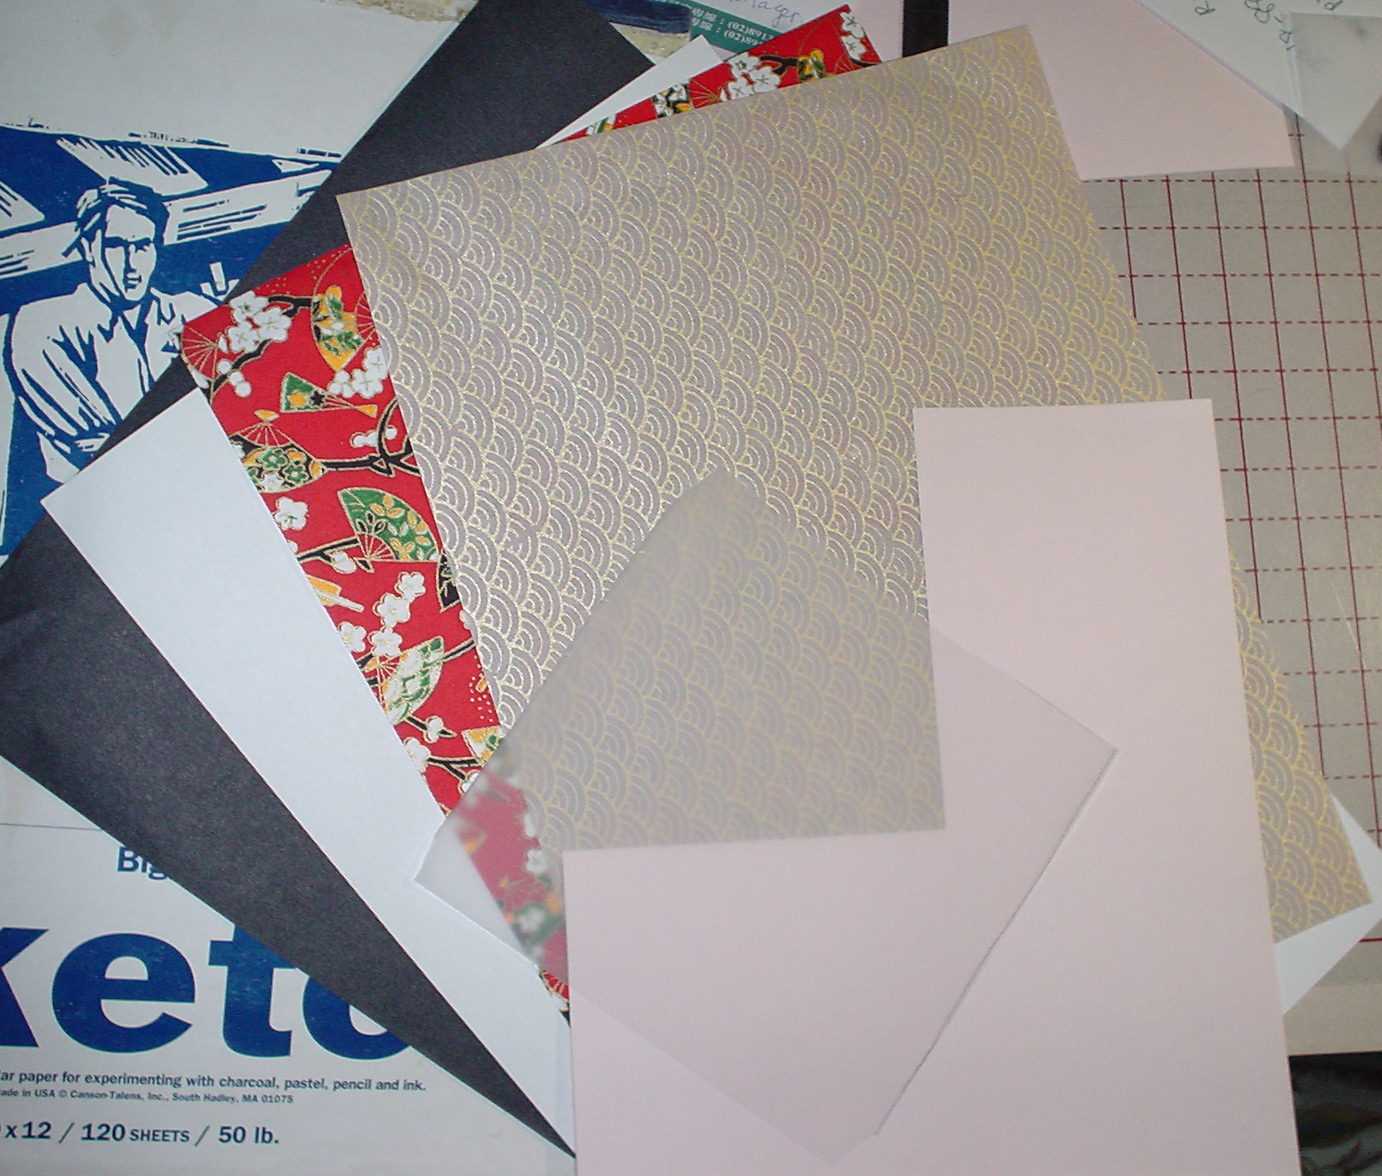
Like with all cards, I had to select the right kinds of paper. Since this was the first time experimenting with kimonos, I had to figure out what kind of kimono I wanted the geisha to wear. I looked at several from this site and decided on this easy, but beautiful design. I then went to the task of selecting the materials and fortunately I came across the middle two kinds of paper that were perfect for the design and the obi. |
|
|
|
|
|
Step 2 |
|
|
|
 |
|
|
|
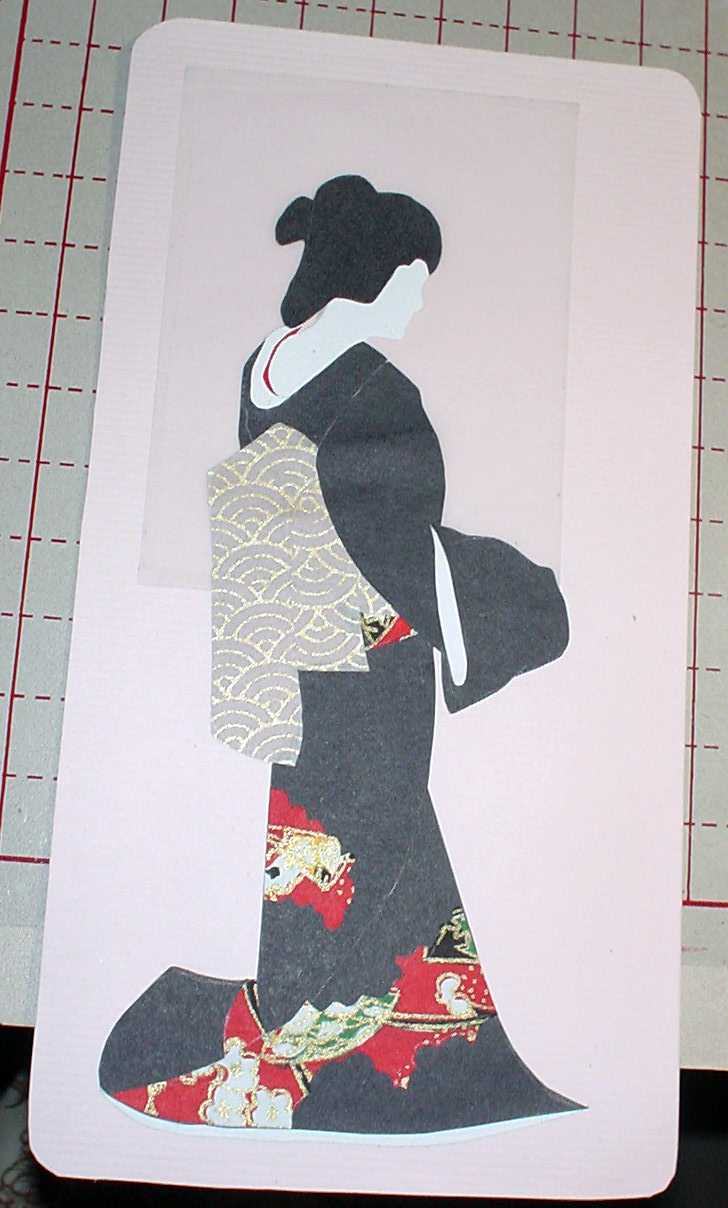
Even if my theme for this card is simplicity, I didn't want my background just be a piece of pink paper. So, I added a small piece of translucent tracing paper. I used 2mm thick double-sided tape, because glue (any kind of glue) makes the thin tracing paper curl up at the ends. Since the tracing paper is traslucent, I used the thinnest kind of double-sided tape, because a "frame" of thick tape can be seen through the paper (doesn't look pretty... that mistake cost me two sheets of stiff cardboard and one sheet of pink paper...). Granted it's just a small add-on, once everything is finished, it really takes the "emptiness" out of a plain background. |
|
|
|
|
|
Step 3 |
|
|
|
 |
|
|
|
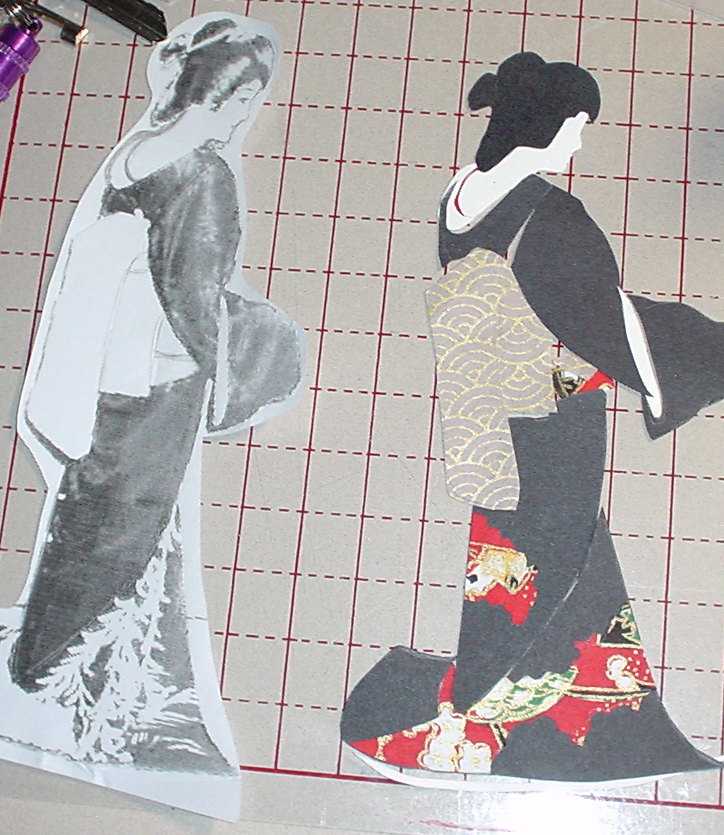
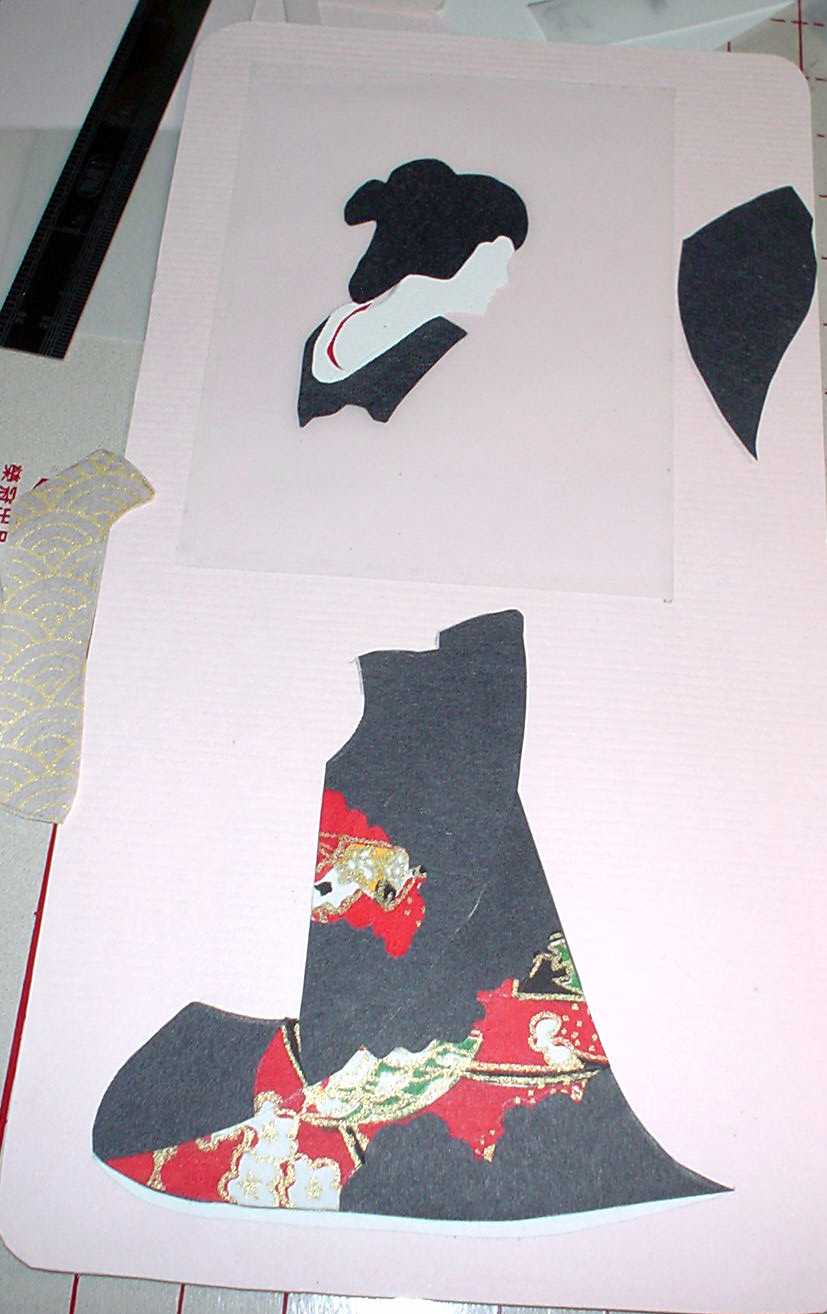
This is the part that I learned off TV. After you've found a reference, you basically try and break it into "pieces". This might be hard to some people, but just try to picture it in your mind. Then trace those pieces onto the colored paper and cut it out. The tricky part now is figuring out which pieces to glue on first, since some pieces are bound to lap over others. Down below is how I did it. The head pieces as well as the bottom of the kimono went on first and then the parts of the obi. Lastly, the sleeve, since it overlaps the obi. |
|
|
|
|
|
 |
|
|
|
 |
|
|
|