 |
|
|
|
|
|
|
|
|
|
|
|
|
|
|
|
|
|
|
 |
|
|
|
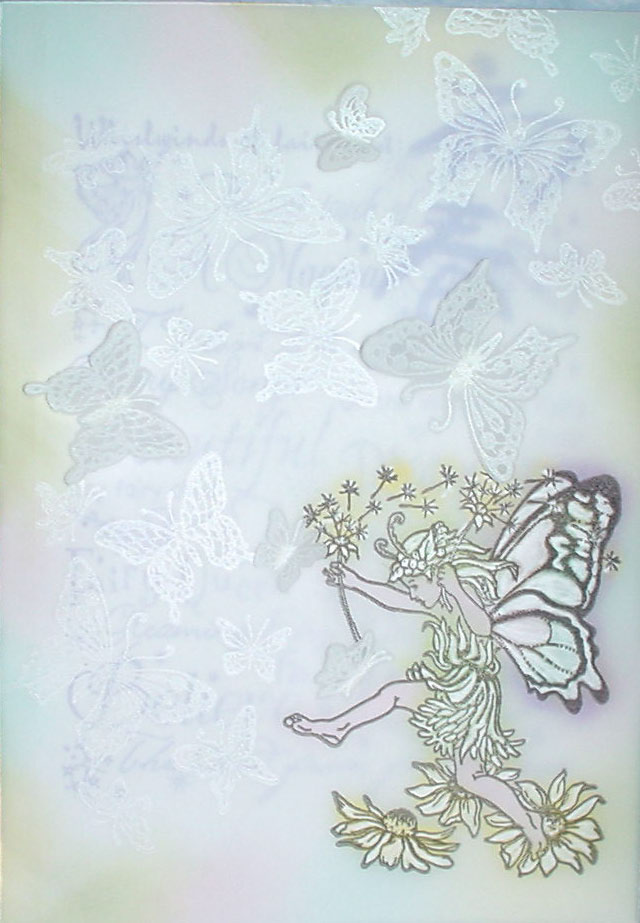
Spring has finally come and what better way to celebrate this glorious season by making a card! I actually did this at a workshop so it turned out very well. There were a few special techniques that the instructor taught me while making this card. I was also able to use some really useful rubber stamps to make the fairy, butterflies and the backgroud underneath the vellum. Most of the colors were applied with a stenciling brush and a new kind of ink pad called "Shadow" ink pads, which give you more of a pastel look. If you want to learn more about the techinques I used on this card, check out the Techniques page. |
|
|
|
|
|
 |
|
|
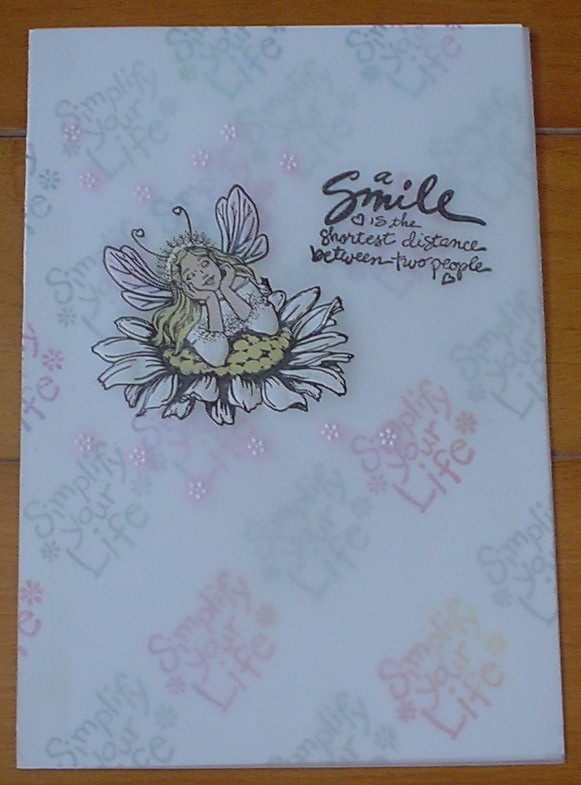
I went on a shopping spree at the arts and crafts store the other day and bought myself some new stamps and ink pads. I wanted to do another fairy card since the last one I made came out really well. Along with the stamps I bought, I also bought some more vellum to play with! When I finished the card, one of my co-workers was having a birthday. So this was the card that all of my co-workers signed. I got a lot of compliments, which really made me happy. It's amazing what you can do with a few stamps, ink and a stylus. You can see how I made the card in techniques. |
|
|
|
|
|
|
 |
|
|
|
I decided to experiment with cloth on my cards, and here is the result. I had found this lovely morning glory print that I wanted to use with my fairy. I had also bought a few new stamps that I wanted to use as well, like the white snowbell flower print you see in the background. The only thing I don't like about this card is how the vellum doesn't agree with liquid glue, but when I used double-sided tape, the cloth didn't stick very well to it. I'll have to ask around to see what will go better with vellum glue-wise... |
|
|
|
|
|
Next>> |
|
|
|
Back Home |
|