 |
|
|
|
|
|
|
|
|
|
|
|
|
|
|
|
|
|
|
|
|
|
|
|
|
|
|
|
|
Home |
|
|
|
Making a Fairy. |
|
|
|
 |
|
|
|
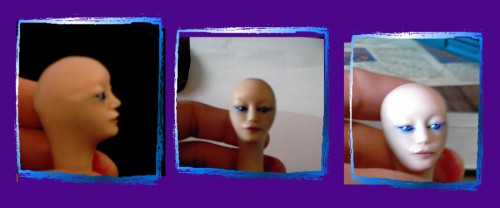
First I made a face using a blend of of 3 brands of polymer clay. |
|
|
|
 |
|
|
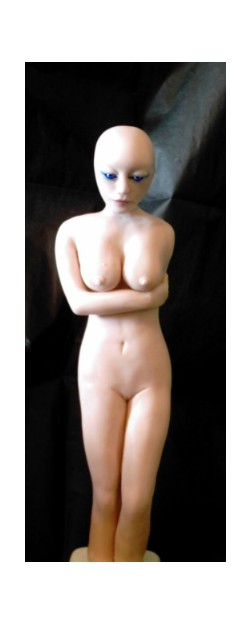
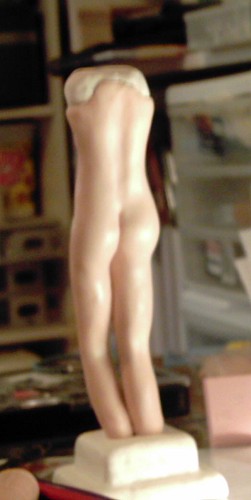
Starting the Figure. Next step is the body. First, I make a wire armature. I then cover it with Sculpy brand polymer clay. I bake the armature at the recommended temperature and time. After the armature is cool, I cover it with a flesh colored polymer clay mix. |
|
|
|
 |
|
|
|
|
|
|
|
Sculpting in the details. After the flesh clay is added to the armature, I begin the detail. Adding a belly button, breasts, arms, and attach the head. |
|
|
|
|
|
|
|
|
|
|
|
|
 |
|
|
|
 |
|
|
|
|
|
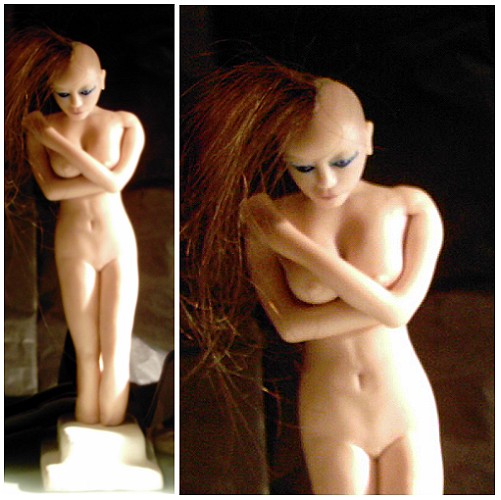
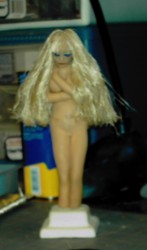
Trying out hair The first set is human hair...mine to be exact, just got a bunch chopped off. The blonde is sisal, I am not happy with either. |
|
|
|
 |
|
|
|
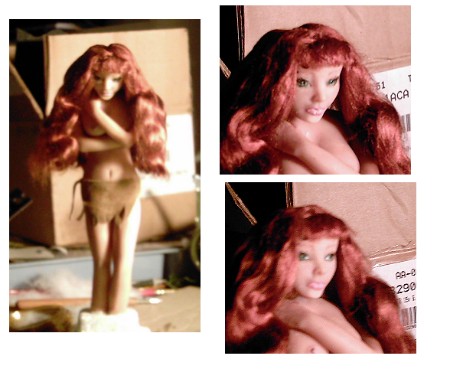
Almost Finished. After a couple days of thought and dissatisfaction, I decided to scrape her face and redo it from scratch. I also decided to make her a red head, I'm much happier with the way she looks now. Next is Fairy wing time. |
|