Instructor: BeelzeeBobb
Term: Fall Semester 2002
Location: Block 10 Bottom Floor
Grading: Determined by Instructor's Evaluation


Note: Beware of the MUNCHIES.
| Rolling A Joint 101 Instructor: BeelzeeBobb Term: Fall Semester 2002 Location: Block 10 Bottom Floor Grading: Determined by Instructor's Evaluation |
|||||||||||||||||||||
| Step 2: Settle the weed, making sure to get an even distribution across the paper. This helps to ensure consistency throughout the spliff. | |||||||||||||||||||||
| Step 1: Pick the weed, focusing on extracting the seeds and stems in order to achieve optimal taste and potency. | |||||||||||||||||||||
|
|
||||||||||||||||||||
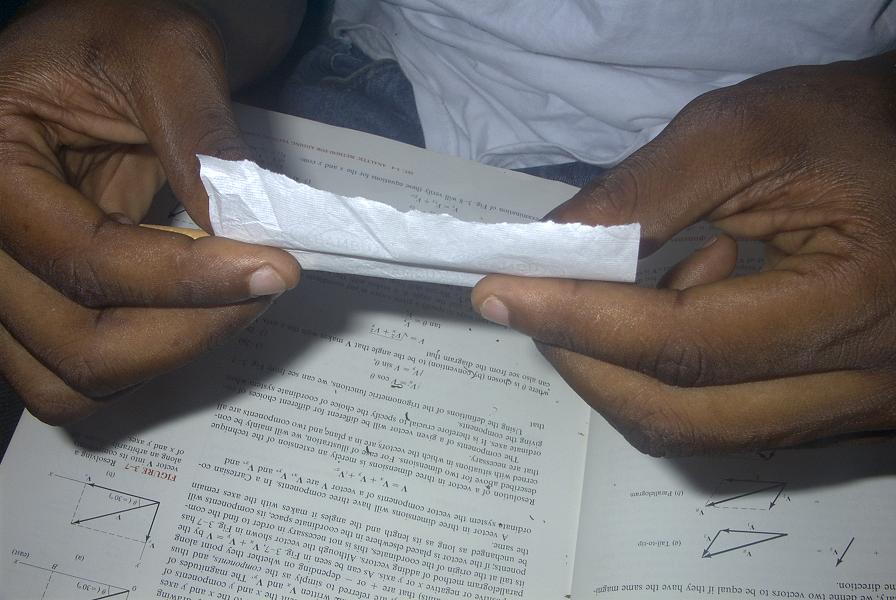
| Step 4: After rolling the weed, it helps to Pull the weed as to attain a compacted and well-shaped spliff. By pulling at a differential rate on both sides, a conical shape is acheived in preparation for later steps. | |||||||||||||||||||||
| Step 3: Compact the weed; always remember, nobody likes a loose joint. This step will give the basic shape to the joint and also allow for a better handle of the final joint while smoking. | |||||||||||||||||||||
|
|
||||||||||||||||||||
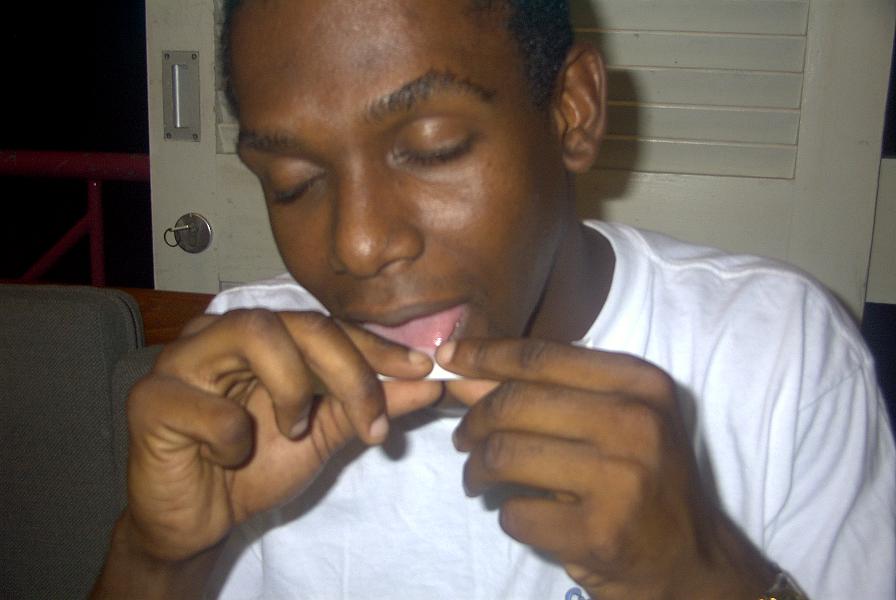
| Step 6: Although papers usually come with adhesive, removing the adhesive may improve the taste of the overall joint without compromising the quality of the seal. | |||||||||||||||||||||
| Step 5: Once you have completed step 4 with something that you are content with, the next step is to seal the joint. It is similar to sealing an envelope. | |||||||||||||||||||||
|
|
||||||||||||||||||||
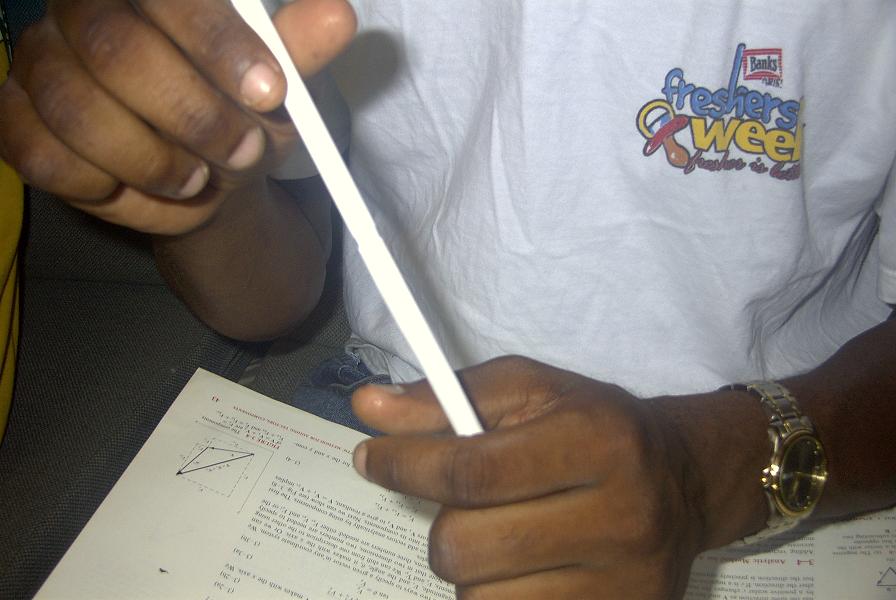
| Step 8: Now that the weed has been sufficiently packed, it is time to shake and twist. By holding the end with the larger opening tightly, then shaking with a wrist-flinging motion, the weed gets further compacted. Then, twisting this end, completely seals the joint. | |||||||||||||||||||||
| Step 7: Once the Joint has acquired its basal shape, the next step is to pack the weed. The ability to utilize local resources such as the pen shown in the picture is characteristic of more advanced joint rollers. | |||||||||||||||||||||
|
|
||||||||||||||||||||
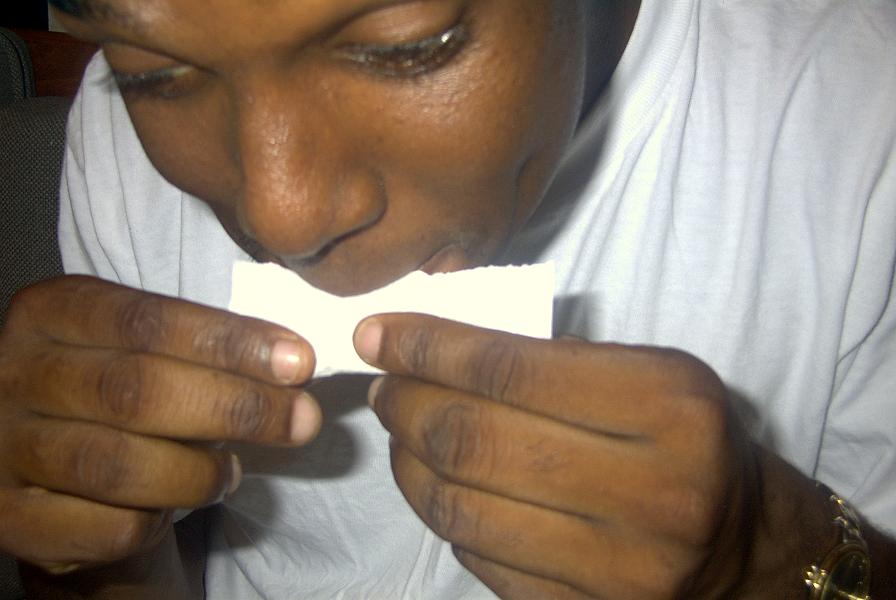
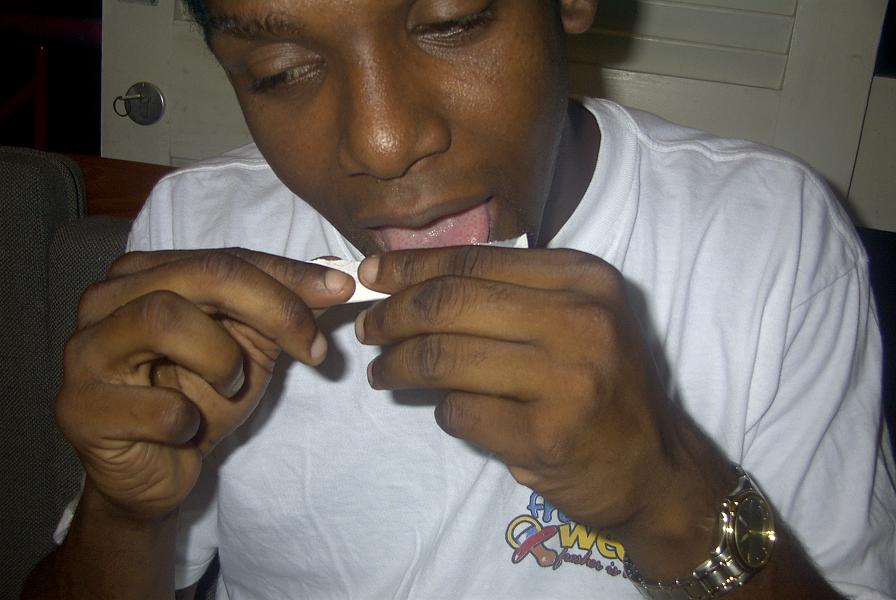
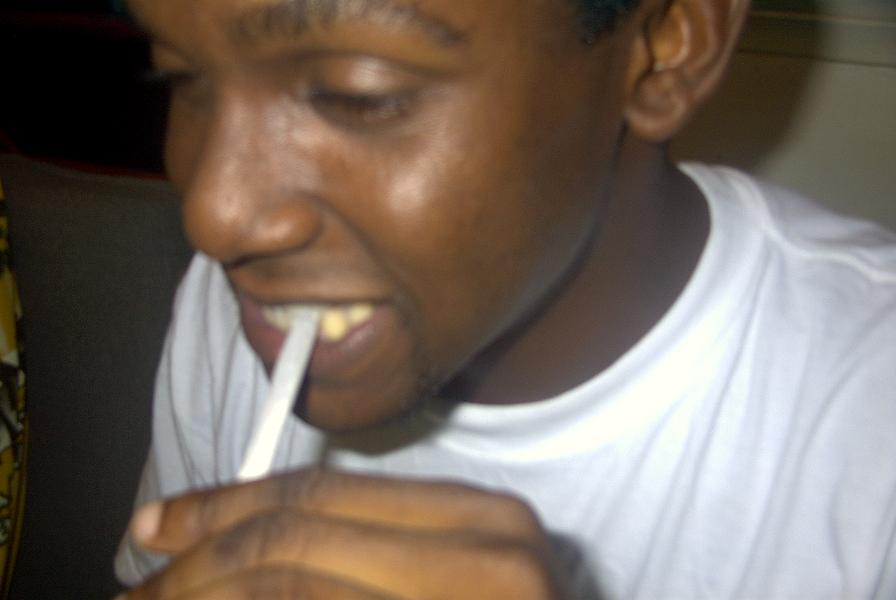
| Step 9: Biting the tip removes excess paper that will only hinder the proper lighting of the joint. To do this, simply bite the base of the tip with your incisors and grind your upper and lower jaws side to side. | |||||||||||||||||||||
|
|
||||||||||||||||||||
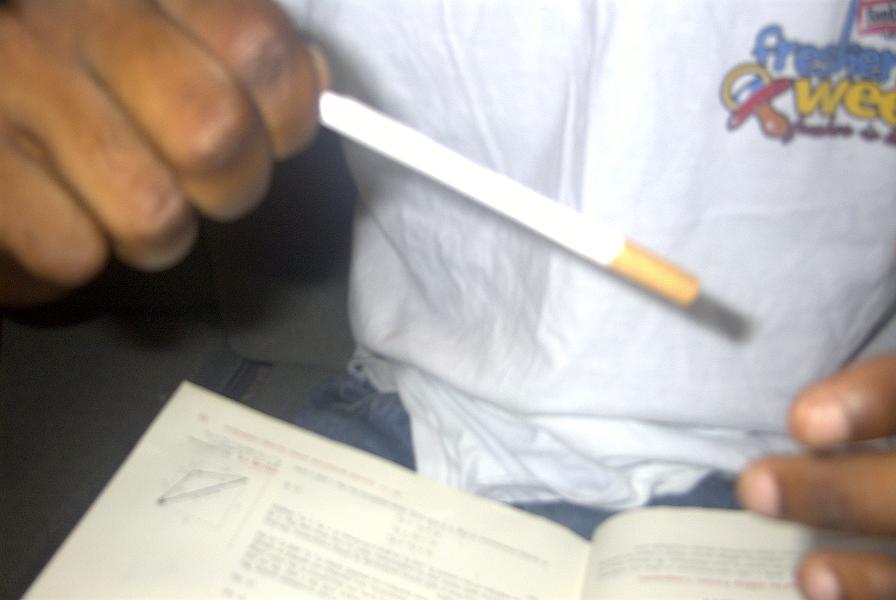
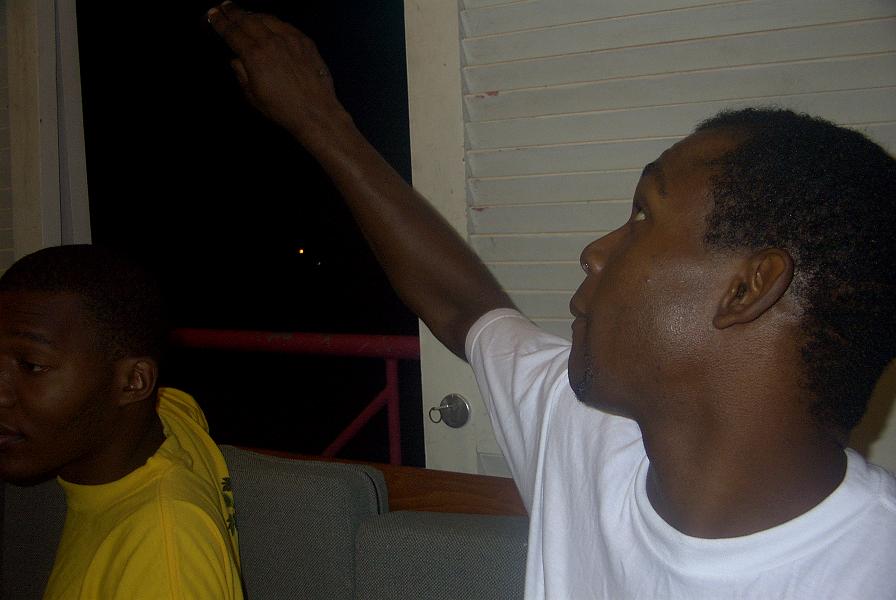
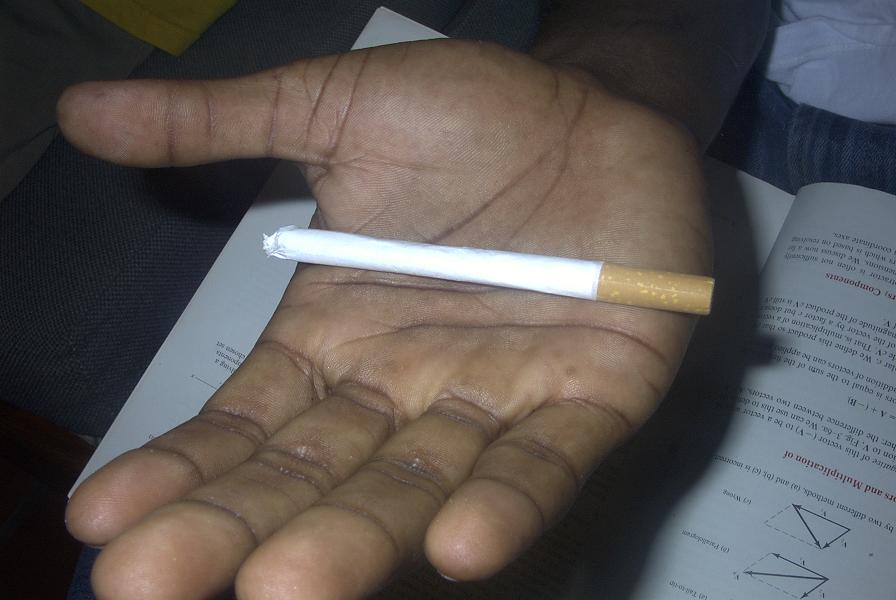
| Step 10: Throwing the tip is extremely important. This signifies that the process is done, and those waiting will be able to see the flailing of the arm as the tip is thrown out. | |||||||||||||||||||||
| Step 10 (a): This is the end result. This variation includes the filter of a donated Benson & Hedges (Special Filter) cigarette, but it should give you an idea of what a well-rolled joint should look like. The attachment of a filter is also characteristic of more advanced joint rollers. | |||||||||||||||||||||
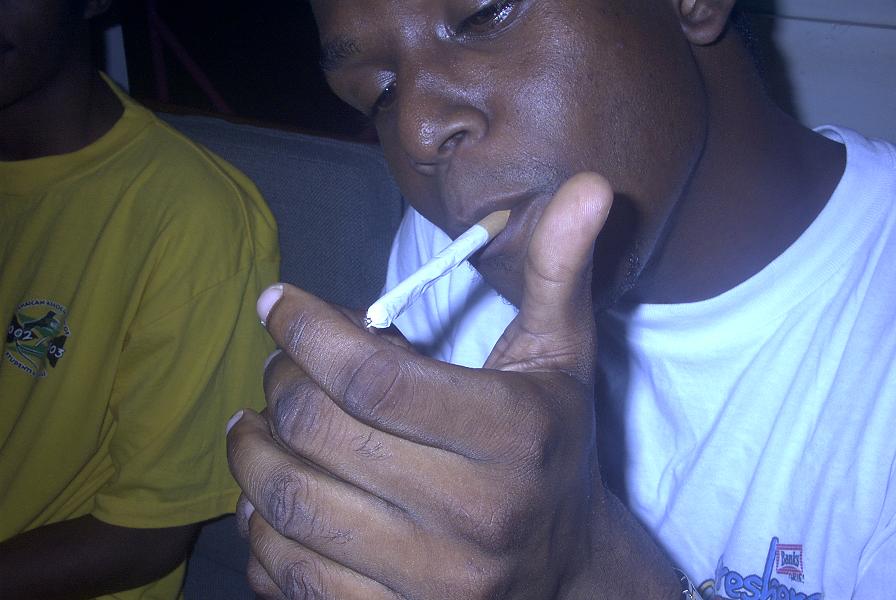
| Step 11: Light the joint by puffing at the same time, this ensures that the Marijuana gets lit. This step is usually done by the individual that rolled the joint, but you may allow others to light it as an act of respect and friendship. | |||||||||||||||||||||
|
|
||||||||||||||||||||
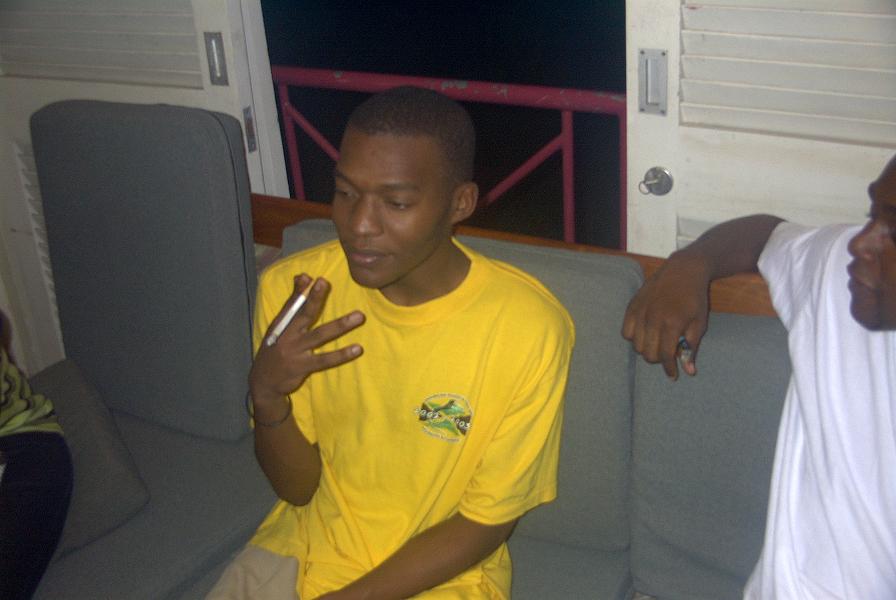
| Step 13: Probably the most important step of all is to PASS the joint. Puff Puff Give. NOT Puff Puff Puff Puff Puff Talk Puff Puff Talk Puff Give. Also NOT, Puff Puff Puff Look at the Joint Puff Puff Puff Look at it again Puff Puff Give. | |||||||||||||||||||||
| Step 12: Enjoy the weed. Enjoy the company. Relax and just chill. | |||||||||||||||||||||
|
|||||||||||||||||||||
|
|||||||||||||||||||||
|
|
||||||||||||||||||||
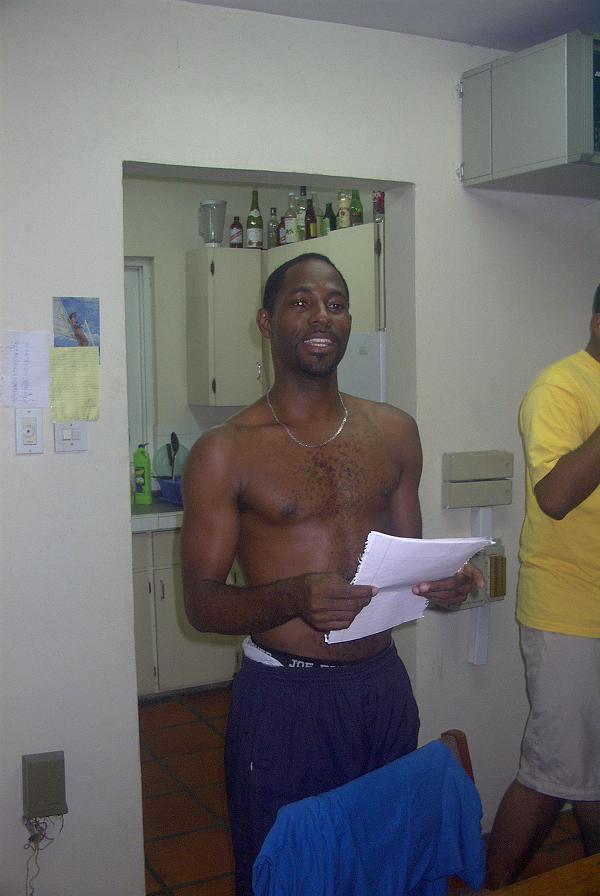
| Step 14: Finally, go about your daily business. Studying in a slightly altered state can most likely be beneficial. Note: Beware of the MUNCHIES. |
|||||||||||||||||||||
| Step 15: Always be conscious of others who might complain of the weed smoke, but most of the time you can just ignore them. | |||||||||||||||||||||
| Back | |||||||||||||||||||||
| Home | |||||||||||||||||||||