 |
 |
 |
| Tiling Renovations in the Rue Paccard Apartment |
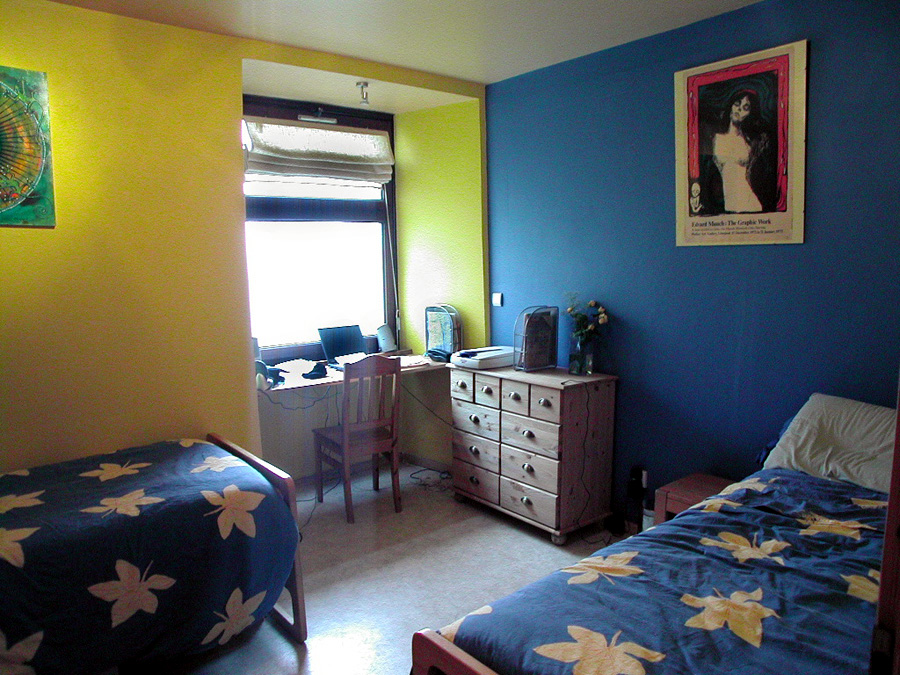
| Spare Room before (white linoleum) |
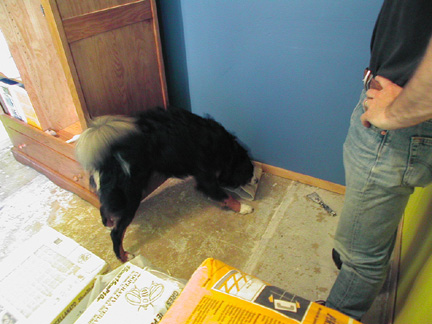 |
| Kobi helped us tear up the linoleum and really enjoyed doing it! |
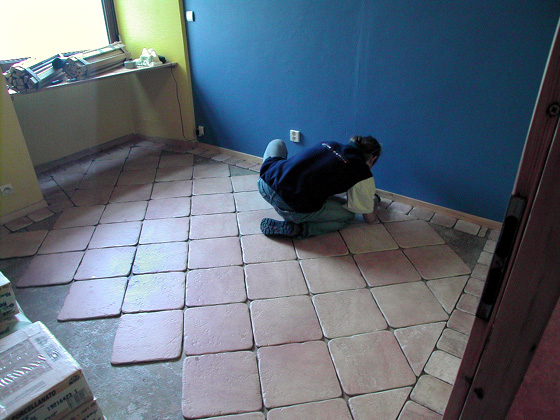
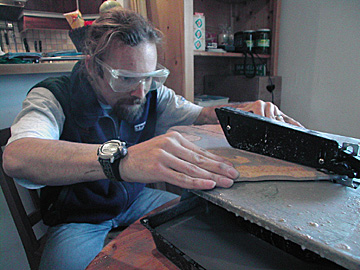
| Cutting tiles and positioning them |
| Glued into place - 48 hours to dry before grouting could start (the messy muddy bit) |
 |
 |
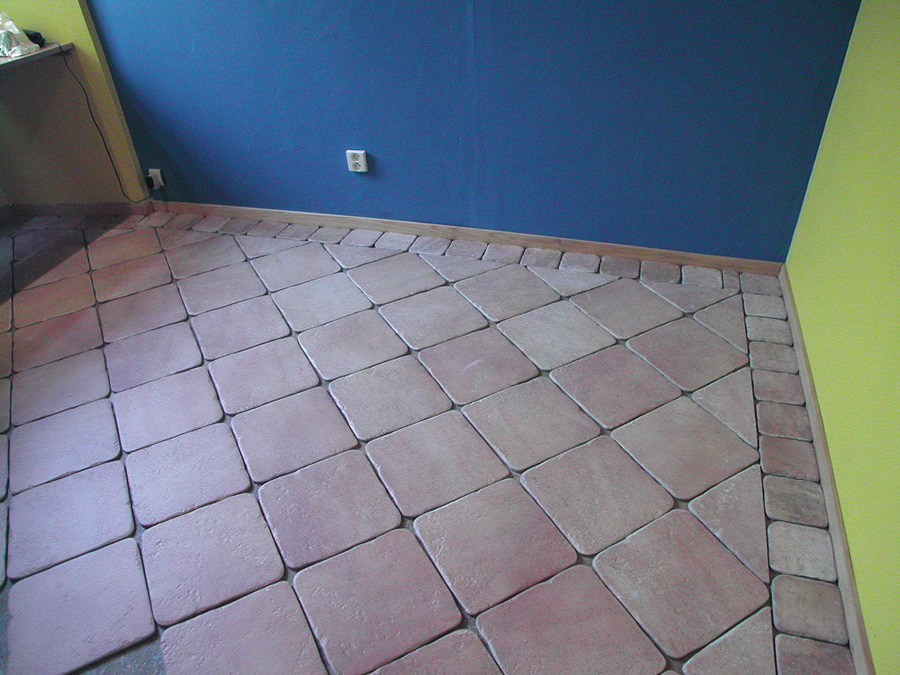
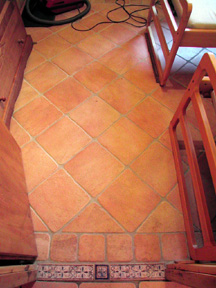
| And the finished product. . . . |
| Still need to make up the room for that final 'After' shot! |
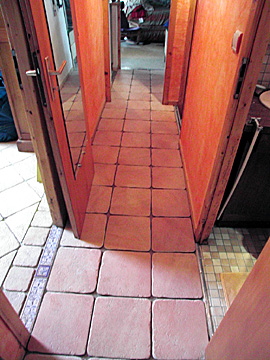
| Next on the list are the Hallway, entry way, toilet and the entire living room |
 |
 |
 |
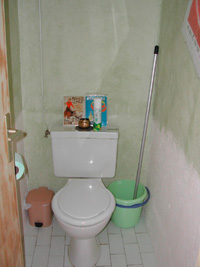 |
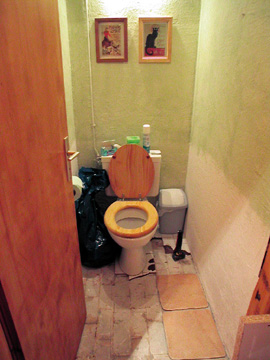
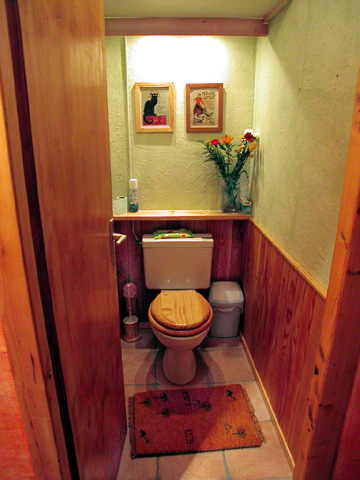
| Before, during and after renovations on the toilet room. Actually the 'before' isn't even completely true - we did pait the green on it almost a year before we got around to finishing it. . . . That's the way it goes with renovations sometimes. We are still working on building a shelf/cupboard above the toilet, as there is a huge storage space up there right now and an existing ugly open shelf in white chipboard. This photo stops where the shelf starts (on the top). |
 |
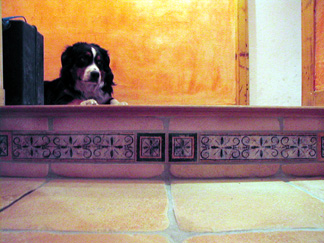 |
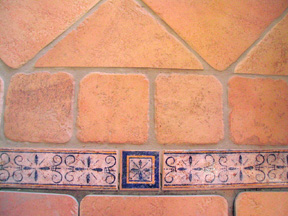
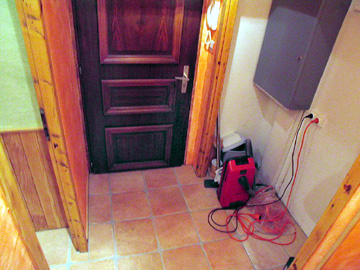
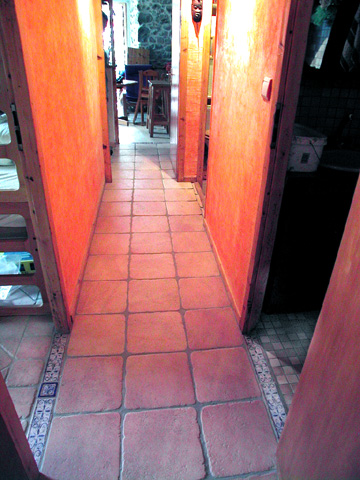
| Entry way after being tiled. Above photo: Detail of the patterned tile we used on the step. Right photo: The toilet is to the left (see the green wall?). The closet on the right is going to be fitted with shelving and our washer/dryer so that it no longer has to live in the kitchen. |
 |
 |