 |
|
|
|
|
|
|
|
|
|
|
|
|
|
|
|
|
|
|
|
|
|
|
|
|
|
|
Conclusion page |
|
|
|
And so in conclusion of this website, (far and away from the experiment) I probably have barly scratched the surface on ways to use the McCulloch drone engine in a experimantal TRACTOR configuration. In no way do I claim to know everything about this engine, but I can say after flying with it for awhile I am comfortable with it. Reliability you say? I am also comfortable with the knowledge I have and other sucsess stories I have heard in the gyro world and from Phil Howell (the Mignet Flea driver) that especailly considering that I am not going to operate this engine at is full capacity all the time I should have long engine life. But only time will prove that. In fact I have not even made mention that you can buy "bolt on" cylinders and pistons to convert this to 90hp!!!! All done through piston ports. Why am I not taking advantage of this extra HP? I simply dont need it. And seeing how it would be more HP on the same crank It would mean less reliability, and thus move away from my concept of using this engine. I know there are those to follow me who will build that firebreathing screamer in hopes of break neck speeds. Go for it I would love to see it. Would like to help to! But there is so much in developing a power plant out of the norm one just cant do it all. And so I foucused on reliable inexpensive readily available and easy to acheive hp for the conventional aircraft. And so armed with everything I have learned here are my recomendations. |
|
|
|
 |
|
|
|
|
|
 |
|
|
|
|
|
Recomendatons |
|
|
|
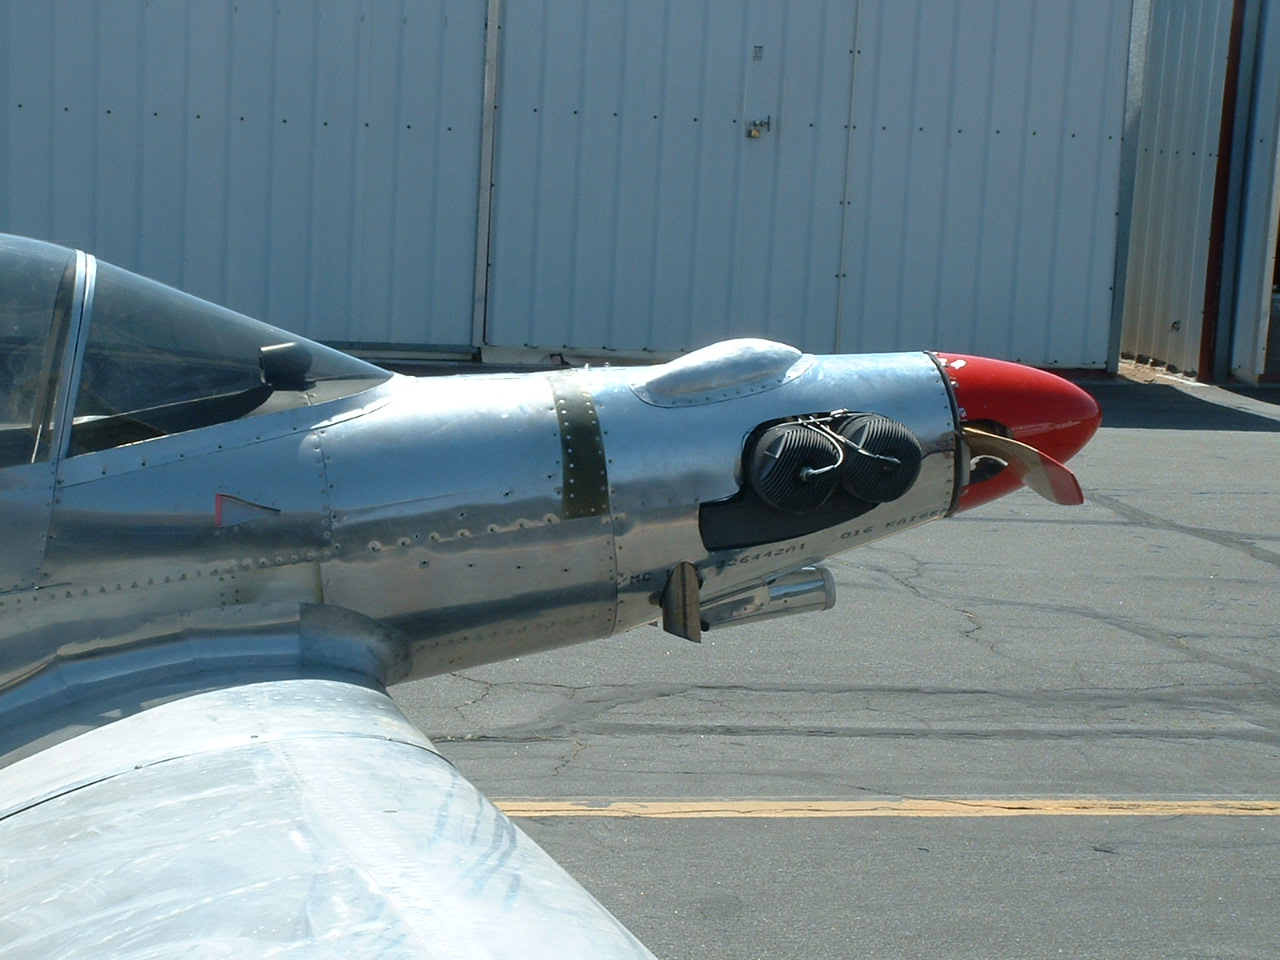
About the only experiment left is to oil inject the engine. And that progress will be posted here, but I feel confident to recomend using the McCulloch at this time just the way it is. You can aquire one in the used market (via ebay or any popular gyro copter websites,) Or you can buy new from R&D (see page 1) The likely hood of getting one fresh off a drone or without the updated bearings is remote. Order a catalog from R&D as they have a complete discription of all the style bearings and what you should have. If you are a fairly competant engine builder you will have no problem with this engine. Like most 2 strokes its simple. The ignition should be replaced for maximum reliability and ease of use. Contact Rick at Advanced Rotor Designs, (see page 2) and send your stock mag to him. He will rewire it and send you the coils and a rebuilt mag. As far as carburation goes, I recomend an S&S super B carb with stock jetting # 74 main. The intake maniflod is a 90 degree aluminum elbo 2" ID odered from Mcmasters. Google search there website. It has 2 tabs welded on each side to bolt to the engine and I used the stock S&S carb side of the maniflod (usually comes with a used carb) to bolt the carb on. The exaust system is also home brew and designed to fit in a tight cowling with bullet sides. |
|
|
|
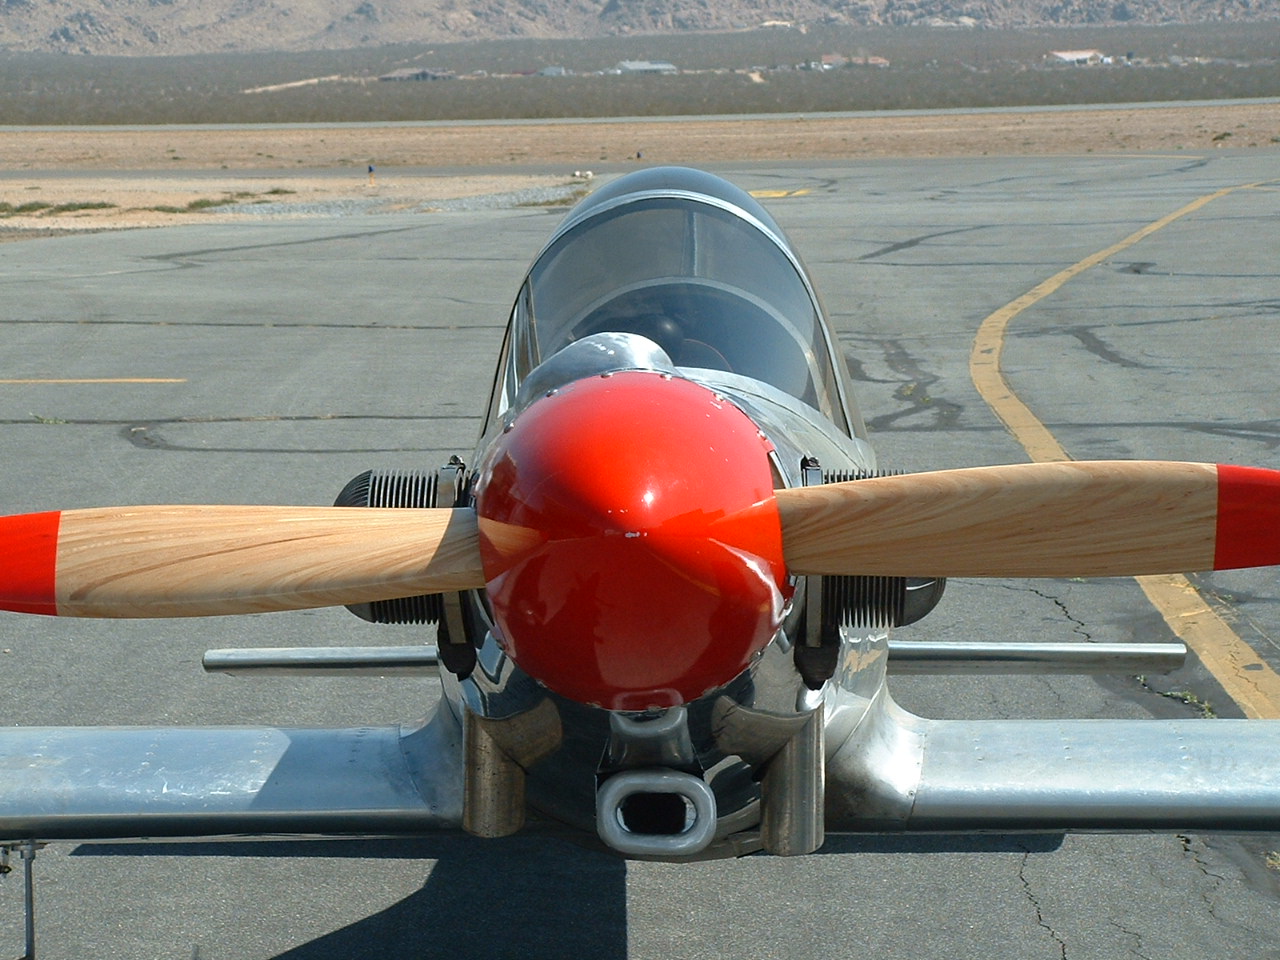
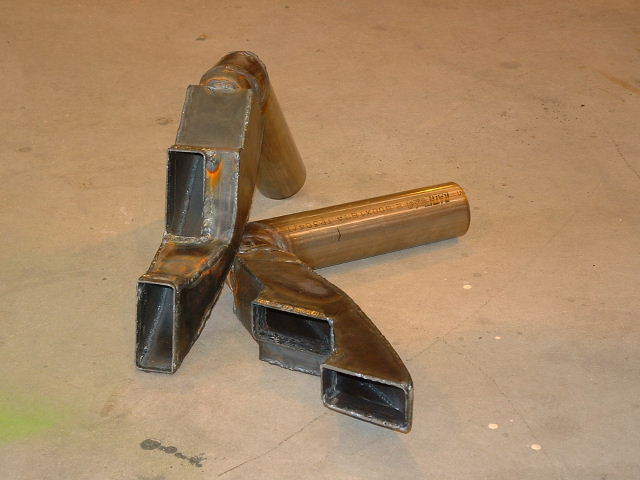
Its made of soft grade steel and can be welded easily. I dont think theres anything specail about the demensions (other than the fit) My exaust stacks on all 4 cylinders are shaved on the leading edge port to fit my maniflolds in the tight constraints of the cowl .Not necessary if you are not building a clone Hummelbird to mine. But if any one wants to copy them I could be coxed into drawing up some plans if theres enough of a demand. I might even sell intake and exaust manifolds if there is enough interest.The outlet pipes are 2" diameter stanless. The spark plugs are Champion D6 plugs very inexpensive compared to the aircraft plugs the engine comes with. And the plug wires are a solid copper core inexpensive set you cut to fit. Another part that takes fabrication is the needle seat for the Super B carb if you want to hook up bolt on aircraft fuel lines. I can supply those also upon request. The propeller was made by Tennessee props. He did a real good job on the first one (I think close to the 1st one he made for a slippery little tractor) and it was fairly inexpensive.The fuel pumps are just 2 pulse pumps I also bought off of ebay. As another note of interest I flew this plane for 6 hrs with a stock drone propeller that you can also get off of ebay for around $100. It didnt have the pull of the current prop but was very usefull in the experimental stages in the beggining So there you have it! |
|
|
|
|
 |
|
|
|
|
|
|
 |
|
|
|
|
|
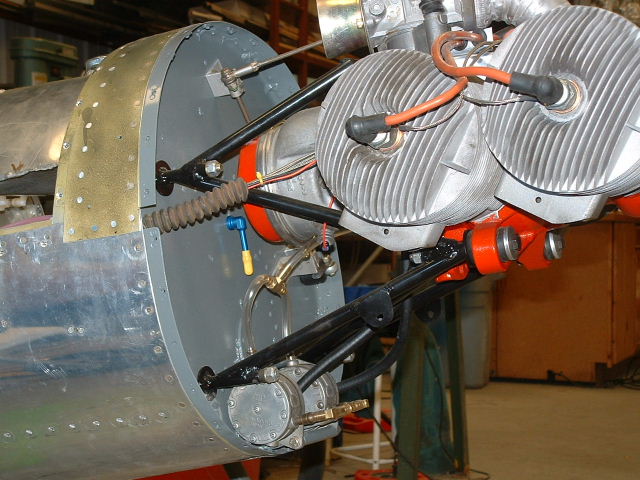
Exaust manifolds prior to final fit and installation |
|
| Here you can see the exaust port leading edge shaved off to gain cowling clearance. it allows the exaust maniflod to take a shallower angle leaving the port. The blue firewall fitting is the oil injection tank exit line not used yet. The clear plastic fuel lines were used in early development to see what the fuel was doing. |
|
|
|
|
4/11/06 Test flights with the cowling on brought some surprising results. And to make several failures and a longer story short, sufice it to say that I discovered that the carb under the cowling has to see the same negative pressure that it sees while flying without the cowling. Meaning no pressure in the cowling. Next page |
|
|
|
|
|
page_8 |
|
|
|
home |
|
|
|