| Front-end Disassembly | |||||||||||||||||||||
| On this one, I decided to go through the front-end, and then the back-end. Here, I am stripping the front sections. | |||||||||||||||||||||
![]() |
|||||||||||||||||||||
![]() |
|||||||||||||||||||||
| After removing all the frame panels, I stand the unit up on end. The controls hang loose. Panels and front half of the frame are washed. Each of the front-end boards will be examined, cleaned, and receive a new set of caps. |
|||||||||||||||||||||
![]() |
|||||||||||||||||||||
| Push Button Switches | |||||||||||||||||||||
![]() |
|||||||||||||||||||||
| These are sealed units. I used my micro drill to drill a small hole in the corner of each switch. These can be resealed after cleaning, with a small amount of gap filling CA glue if desired. 
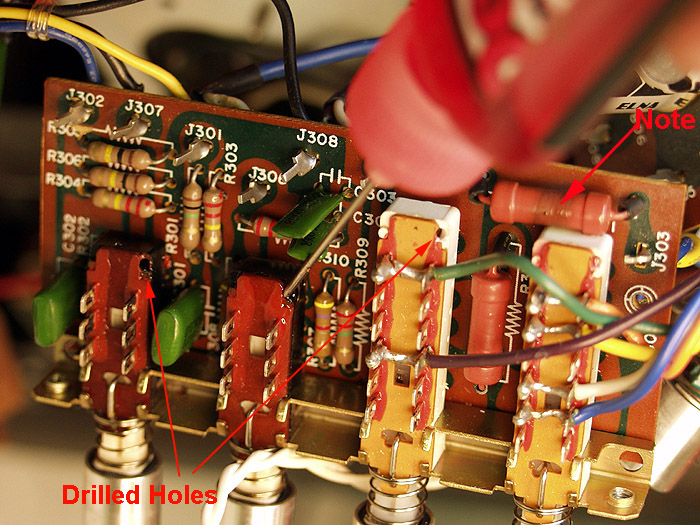
This allows the DeoxIt applicator to reach accross to both contact rails. I was able to place a drop on each rail. 
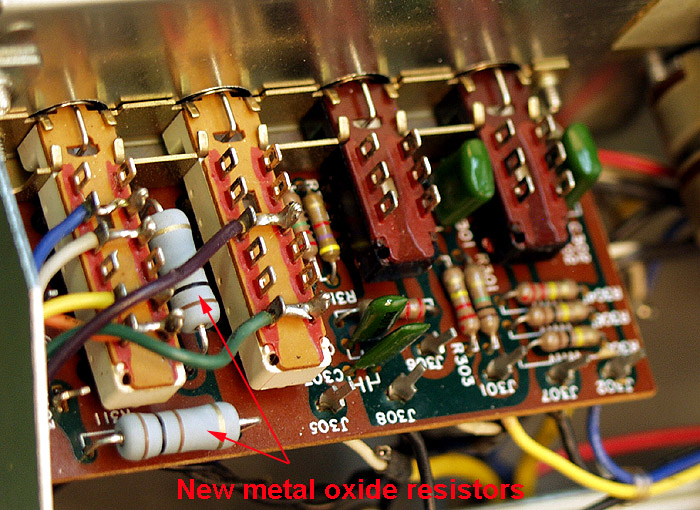
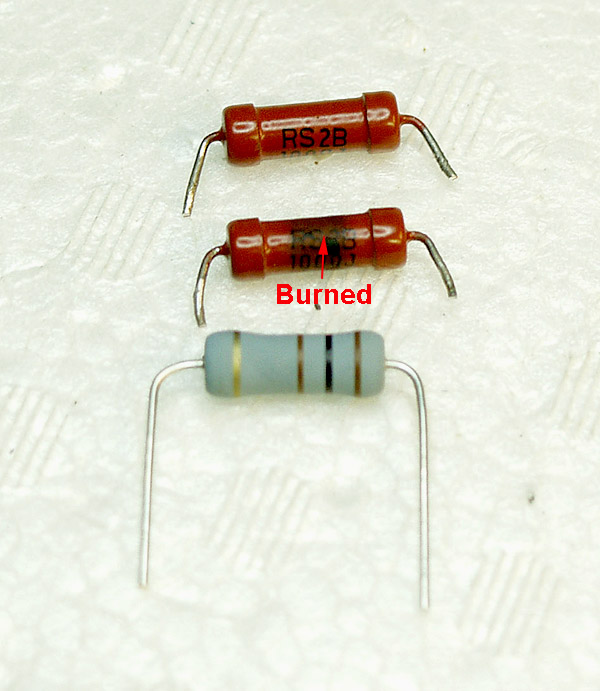
Note the burned resistor in the upper right corner. This is a metal oxide resistor. They use this type because they can take a lot of heat... and have good tone qualities. The resistor was still fuctiional, but I replace any suspect components. The replacement resistor is also metal oxide (sometimes called "flame proof resistor"). It is the modern equivalent. you can see them installed on the finished board. This picture was taken after reassembly. |
|||||||||||||||||||||
![]() |
|||||||||||||||||||||
| Next Page -> | |||||||||||||||||||||