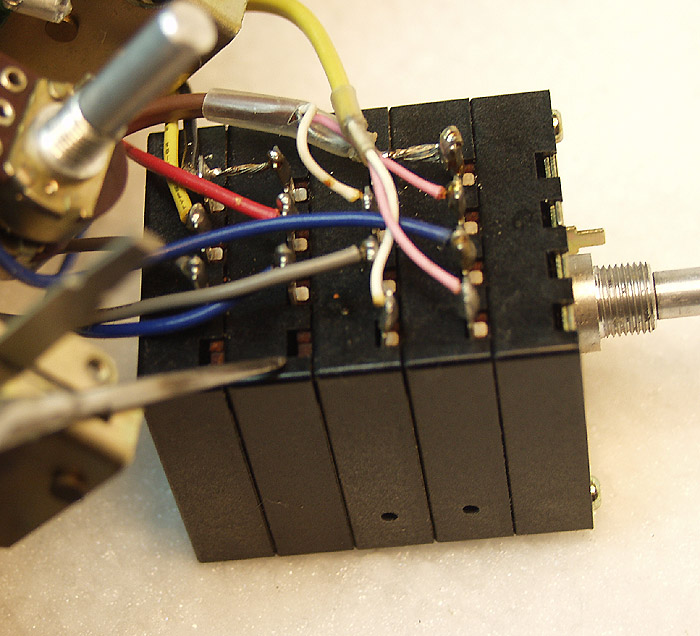
I only disassemble these if there is an obvious problem with the switch, such as spring tension or operational issues. This unit had soft springs (compressed over time). So I gave them a slight stretch and applied DeoxIT to the contacts.
| Cleaning Switches | ||||||||||||||||||||
|
||||||||||||||||||||
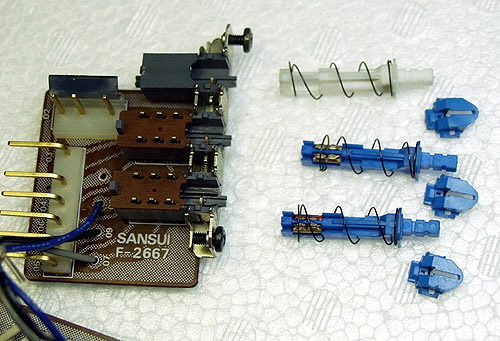
| Do not attempt this at home... Disassembling the push button switches can be incredibly stupid. I have screwed up a few of these learning how to do this properly and reliably. Those little copper contact are loose and fall freely from the shaft. Apply a small amount of Doxit to them and they cling a bit. They must align perfectly with the contact rails in the body for reassembly, or they will bend and jam. And they are soooo... small and delicate. I only disassemble these if there is an obvious problem with the switch, such as spring tension or operational issues. This unit had soft springs (compressed over time). So I gave them a slight stretch and applied DeoxIT to the contacts. |
||||||||||||||||||||
|
||||||||||||||||||||
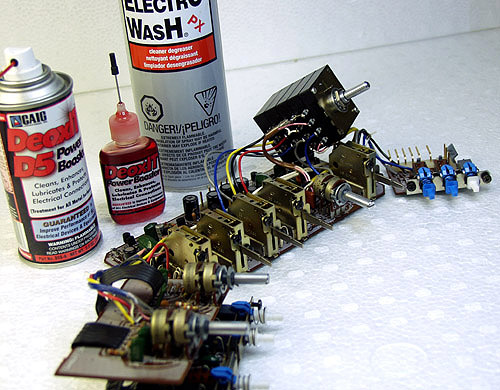
| The rest of the switches all get treated with DeoxIt. The volume control needs special handling as it is a sealed unit. | ||||||||||||||||||||
|
||||||||||||||||||||
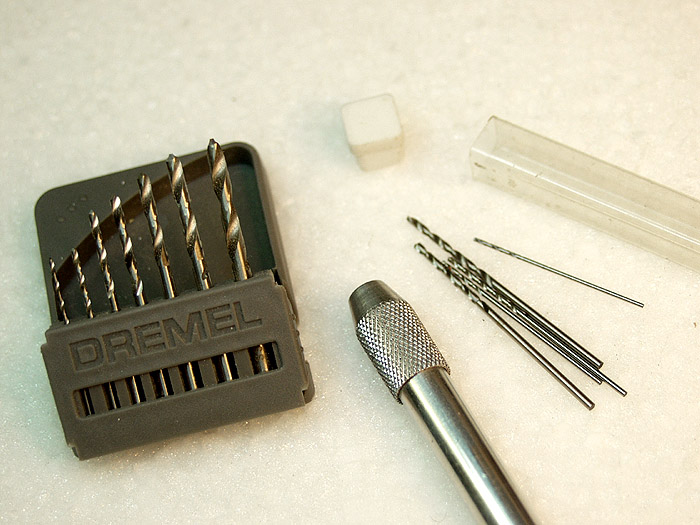
| The Volume control is sealed. Under the label on the back is a clip that is pressed on. If you have a dirty or oxidized volume control, the easiest way to get DeoxIt into it is to drill access holes. A hand drill works great for this. | ||||||||||||||||||||
|
||||||||||||||||||||
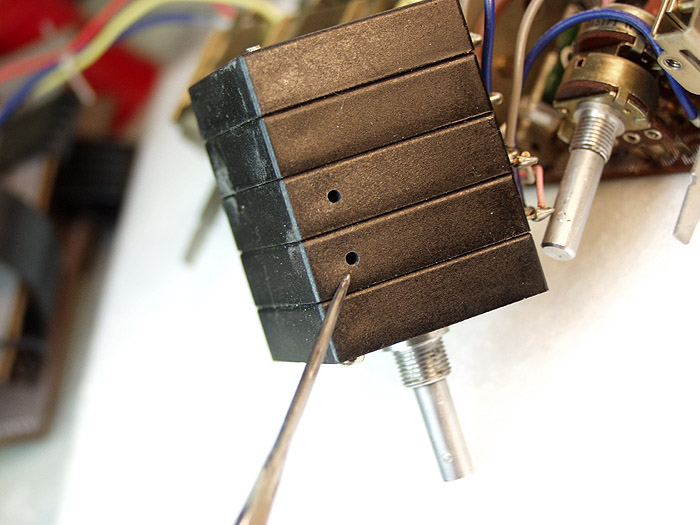
| You only need to drill access holes in the second and third layers. The front layer contains nothing but the stepper. Don't over-shoot the hole when the drill breaks through. | ||||||||||||||||||||
|
||||||||||||||||||||
| The 4th and 5th levels can be accessed from the bottom. | ||||||||||||||||||||
| Next Page -> | ||||||||||||||||||||