Home Improvements 2007
Updated photos 7/28
We're making a lot of changes at our house this spring! Here are some pictures and commentary for those who are interested.
There are a ton of kitchen pictures at the start. Scroll down below that to see two great bathrooms and the awesome computer room!
Kitchen
The kitchen in this house has been a constant frustration for me for the entire six years we've lived here. There were six doorways in the kitchen when we bought the house. We removed the sliding glass patio door a couple of years ago, but were still not pleased with the lack of counter space, a refrigerator that opened into the dining room doorway, the seriously UGLY floor tile, and other things too numerous to list.
We have a wonderful neighbor who does fantastic home improvement work. We help support his family with all of our home improvement needs. Chris is just the painter on all of these projects. All of the real work is being done by neighbors Mike and Glen. If you live in the Dallas, Texas area and would like to get in contact with Mike, let me know. My email address is at the bottom of this page.
Here are a few before pictures:
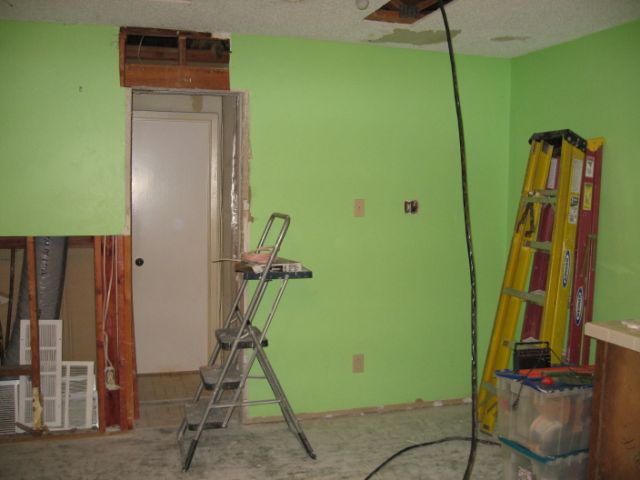
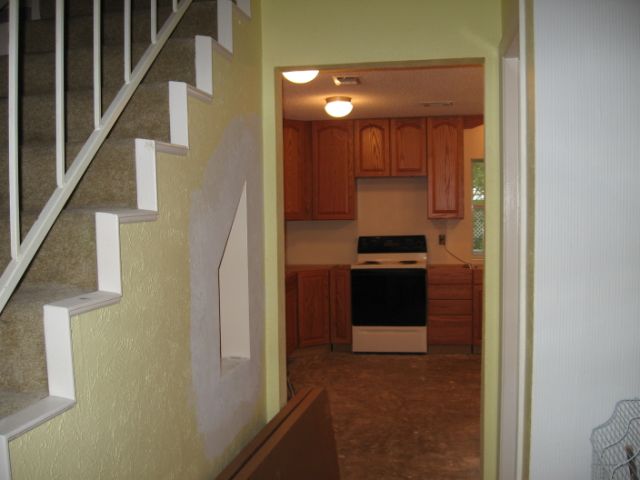
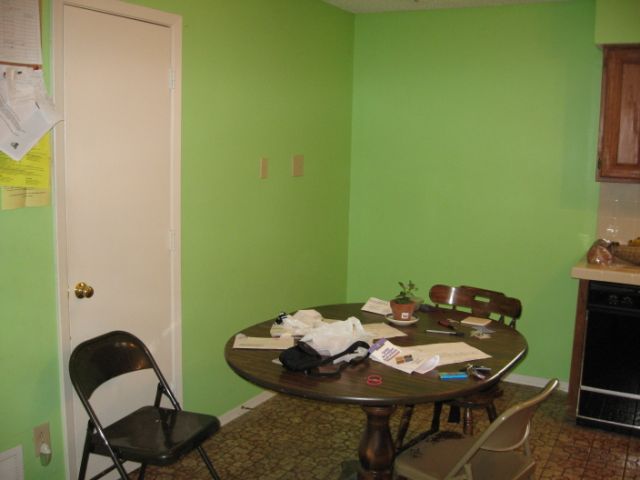 Before - toward pantry
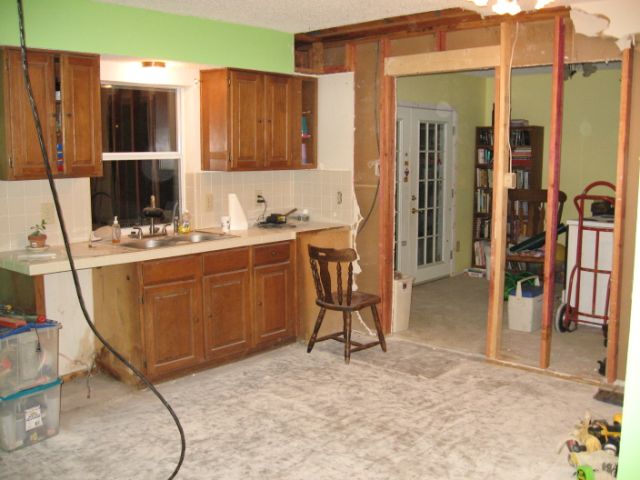
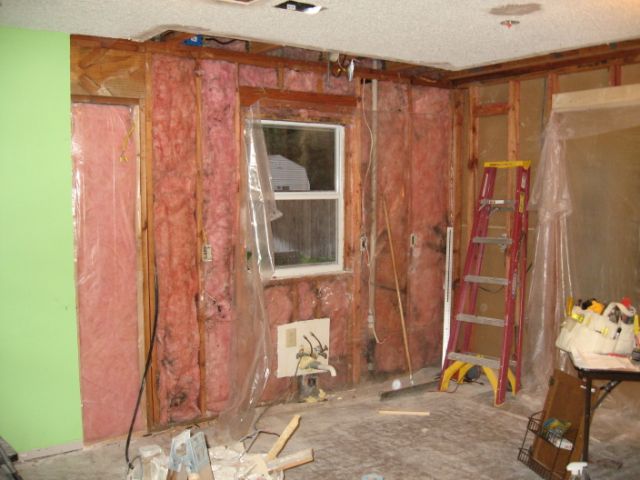
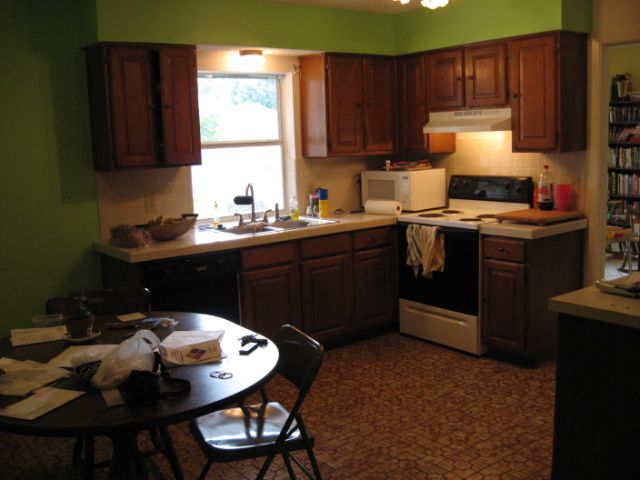 Before - toward window
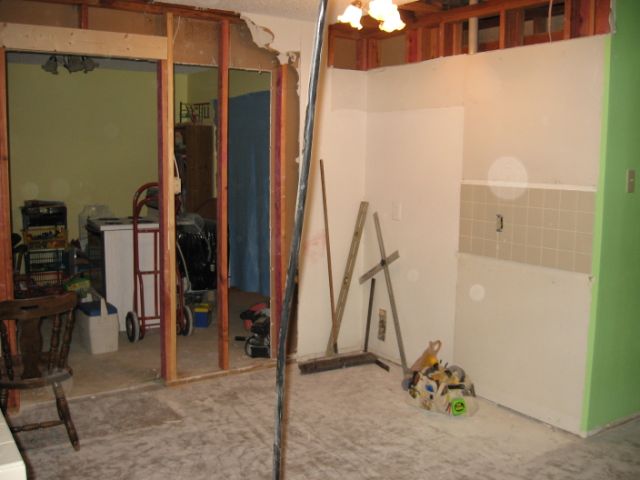
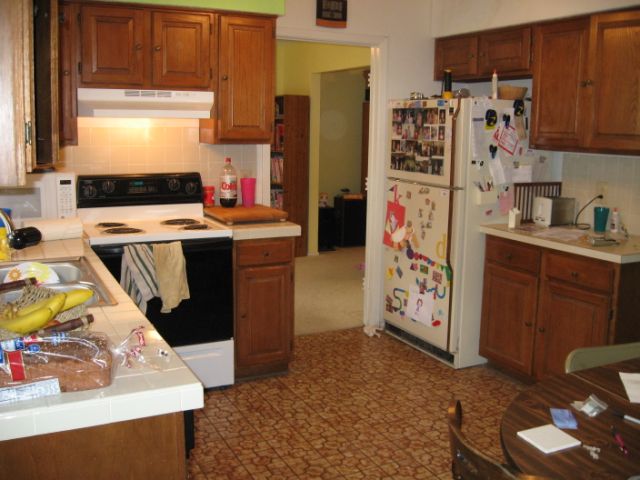 Before - toward dining room
 Before - world's ugliest ceramic tile
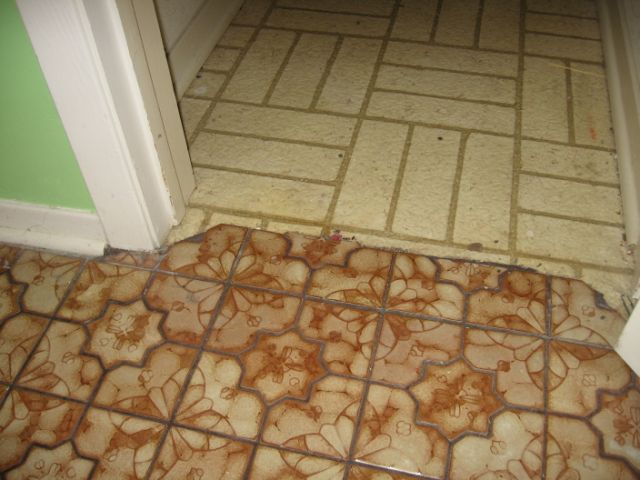 Before - really awful tile finishing courtesy of previous owners - this is the doorway to the pantry
Old kitchen floor plan
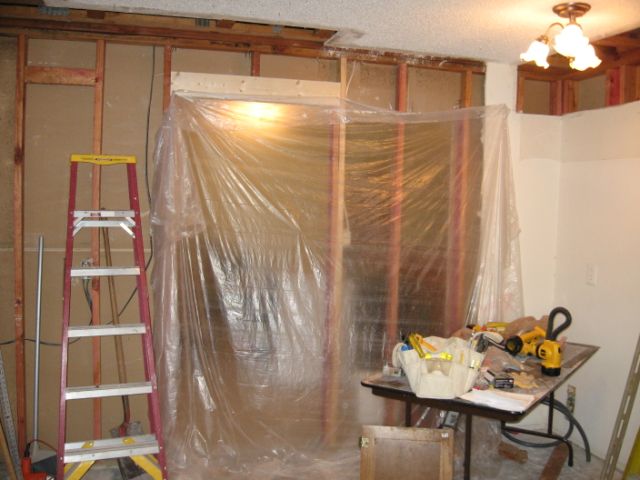
It's starting to look like a kitchen again! The sheetrock is almost all up now.
The ceiling is textured and the seams are mudded. Tomorrow is wall texturing. Then I get to paint. The cabinets shipped from the manufacturer today! I'm getting really excited!
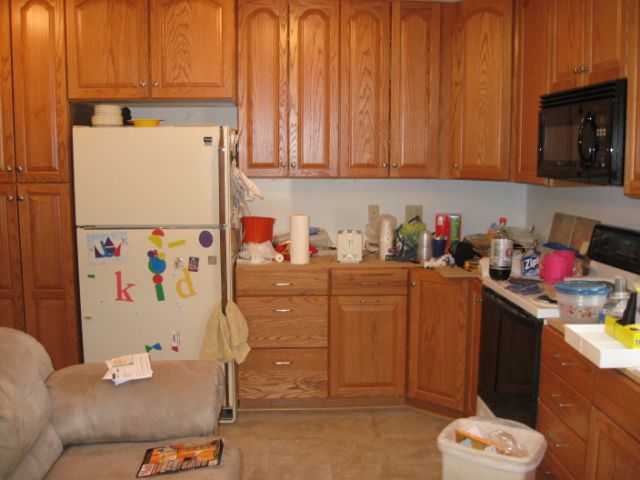
The new cabinets arrived today! I spent the weekend painting the kitchen to get it ready. The new wall color is beautiful! It's a vanilla color with faint peach undertones.
My cabinet plan was drawn up by Rob Baker at Lowes in Garland, Texas. He did a great job of taking my ideas and making them work. Give him a call if you need a new kitchen!
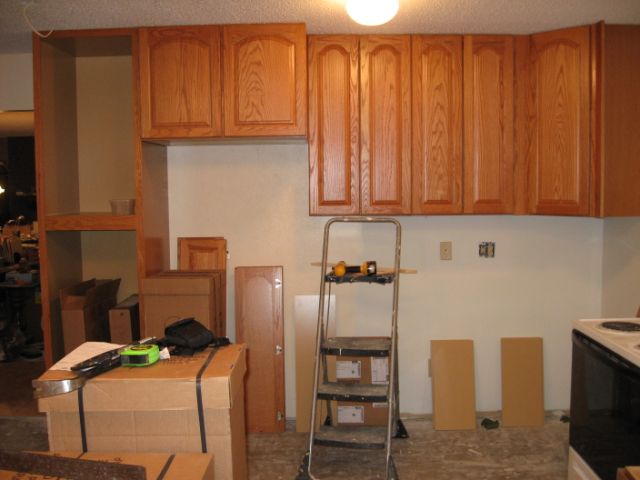
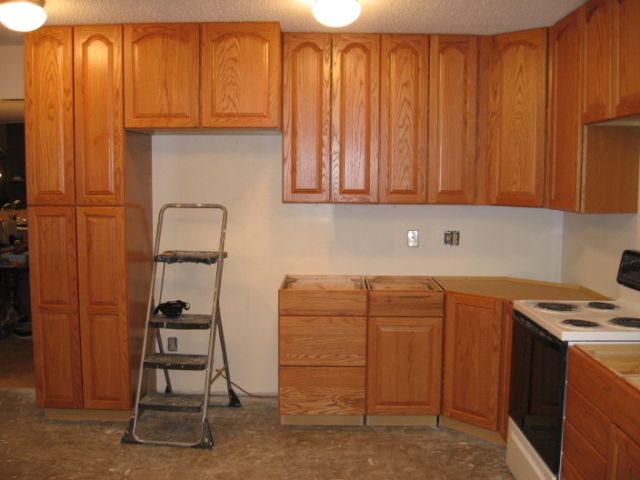
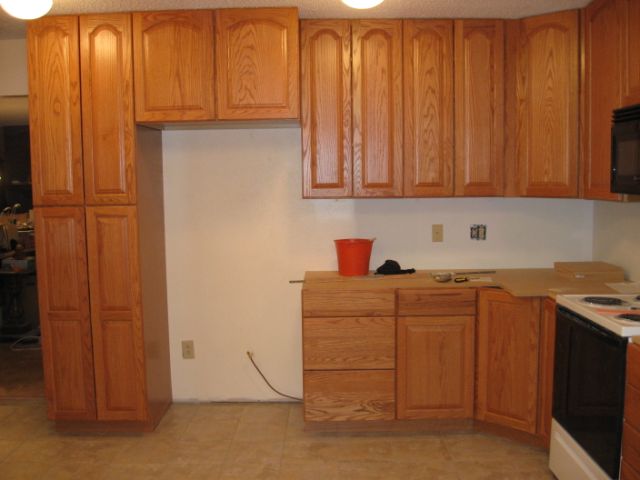
The new cabinets are all in place. They look terrific! The new knobs and door pulls are on order and will be here soon. We'll order the countertops tomorrow.
The new microwave is installed over the stove. The new flooring is in place. There is MDF on the top of the cabinets for now. It will be under the new countertops when they arrive.
Let's see - what's new? The cabinet knobs and drawer pulls are installed, and they look really nice. But you probably can't tell because of all of the mess. I'm trying to figure out where everything goes in the new cabinets. Tough to do when we're still not cooking in there yet (no sink or dishwasher until the countertops arrive early next week). The great news is that everything will fit with plenty of room to spare.
We're also getting new flooring in the living room, dining room (which we use as a library, not a dining room), and entry way. So today, all of the furniture from those rooms ended up invading my pretty new kitchen. Yikes! But it's only for a few days.
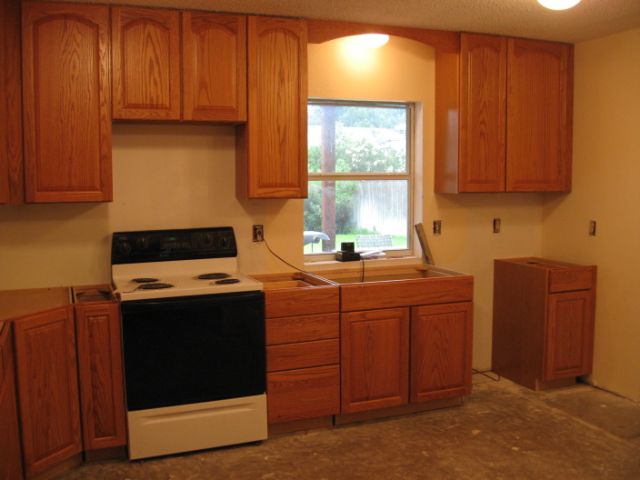
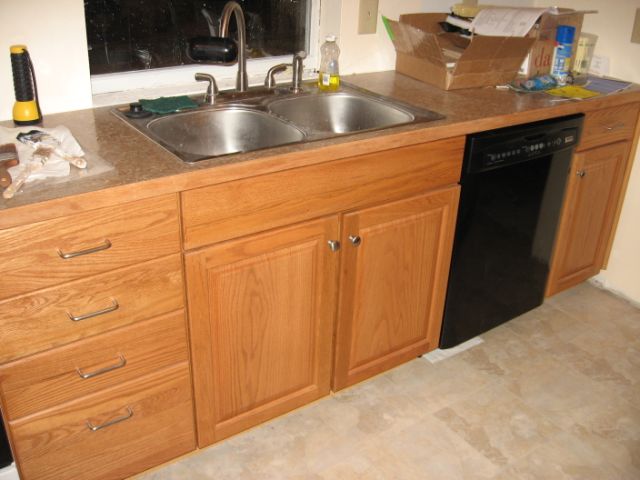
Not too many pictures to show, but the latest progress is very exciting. See the photo below? For the first time in six weeks, we have a sink and a dishwasher! We said we weren't replacing appliances, but we decided to get a new dishwasher after all. The new one is so quiet! The countertops turned out really beautiful as well. They're WilsonArt laminate, in a color called Sedona Trail.
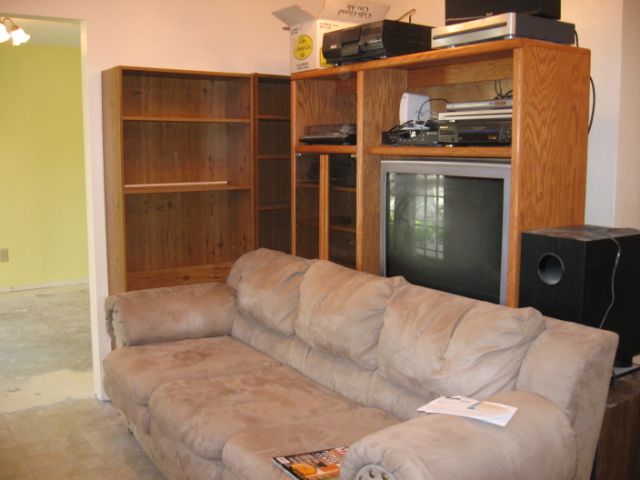
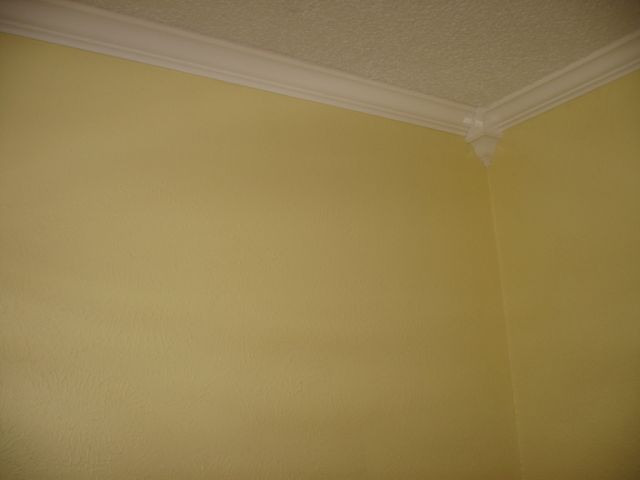
Here's another great solution to a problem that's vexed us for years. See the pretty new crown molding in my living room? Sure it looks great, but its real purpose is to hide the television cable that Mike sneaked from one side of the room to the other for us. Our big sofa was on a wall that was too short for it, causing it to stick out into the doorway and making the room look way smaller than it is. Now we'll be able to switch the sofa and entertainment center, opening up the layout.
While all of this work has been going on, every part of the house that's NOT being prettied up has been getting jealous. So in a spectacular display of bad manners, the washing machine threw a little tantrum and flooded the only room on the first floor that we didn't have any plans to change. So now we're getting new floors in there as well. The room is a very large family room that we call the pool room or the craft room (because it has a pool table in it that currently has a top on it allowing it to be used as a giant craft table).
So we were maybe only a week or so from being completely finished, and now the light at the end of the tunnel has moved out a bit. But the insurance company will be helping us pay to do the floors in this room, so I guess that's good. We'll also be getting a new washing machine and a new water heater (it's almost as old as the 20-year-old washer and certainly can't have any better plans for our house).
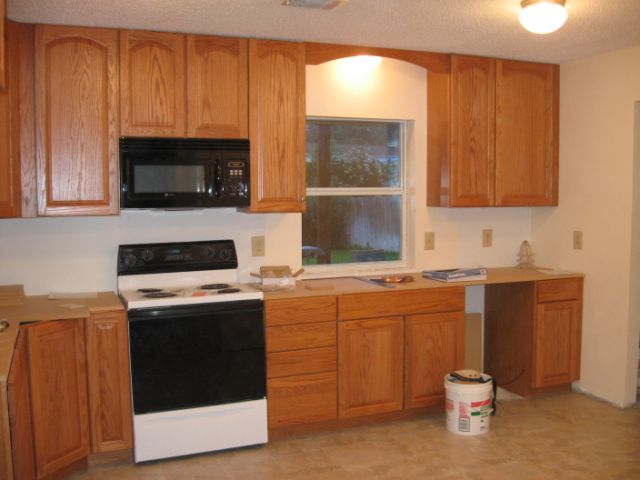
Lots of progress to report today! The backsplash tile is all in place. The grout will be done tomorrow, but you can still get a good idea of what it's going to look like. The kitchen table top is sitting on sawhorses so that its wood edges could be stained to match the cabinets. This is the spot where the table will go when it's all done. The new flooring is complete in the living room and the television is back in operation, much to the delight of the girls.
We're almost finished with the kitchen! Here are some exciting things that I want to show you today.
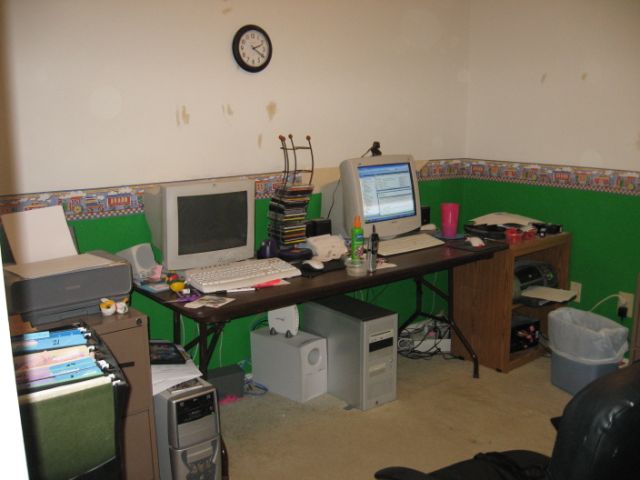
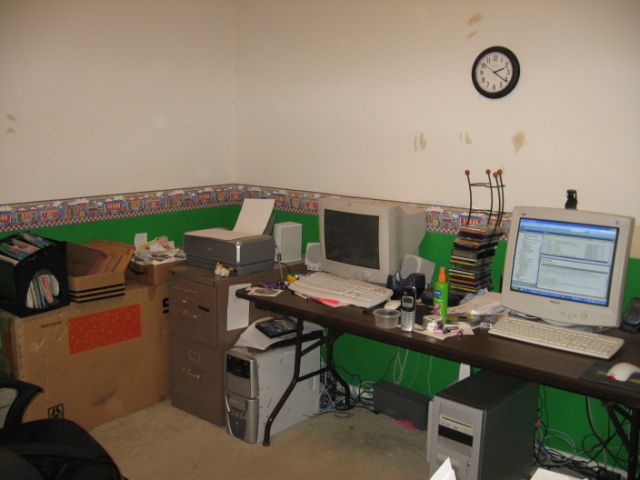
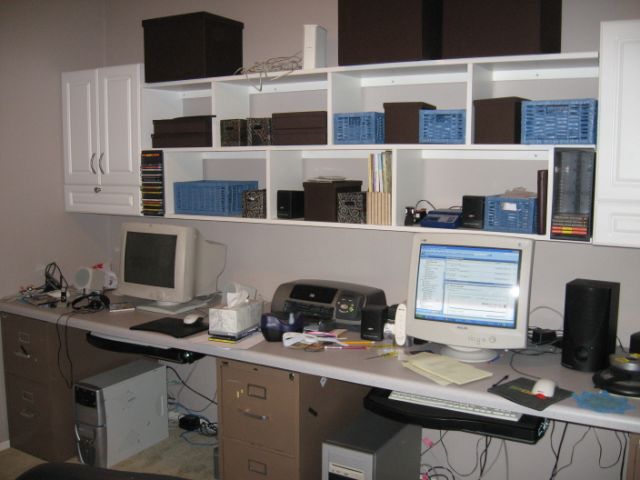
Our computer room is the smallest bedroom in the house, which was probably meant to be a nursery. It's just a bit over 10 by 11 feet. We lived with the previous owners' nursery colors for six years, and had two computers sitting on a five foot table surrounded by junk.
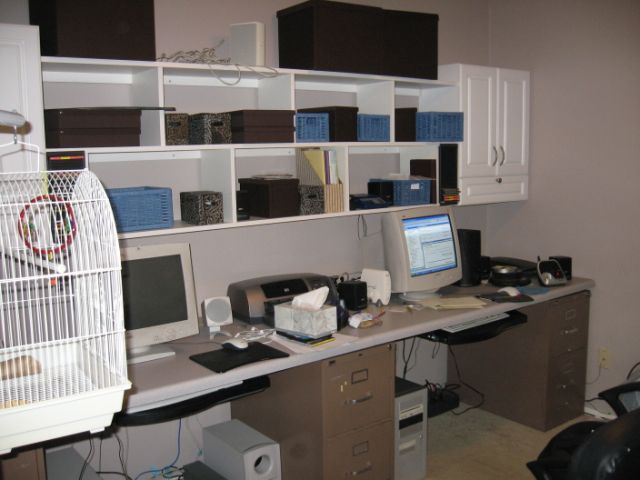
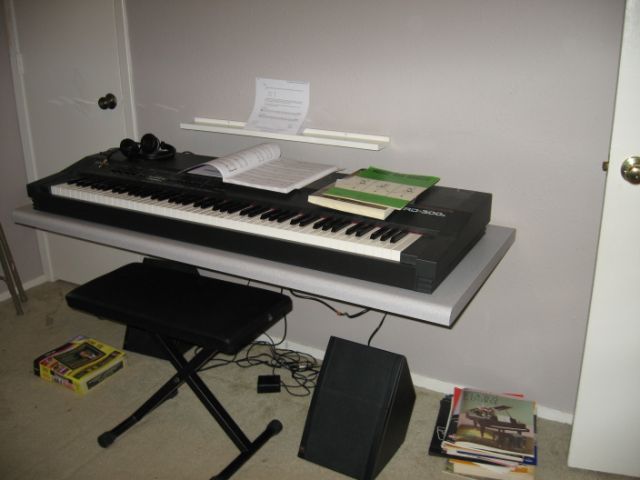
The turning point for the room was Darrell's great find of three two-drawer filing cabinets at his company's surplus sale for the whopping price of $7 each! These cabinets are the base of our new 11-foot-long desk. The desk top is Formica. Mike installed it a couple of inches away from the back wall so that we can drop cords anywhere along the entire length of the desk. He also built us the great shelves above the desk. The cabinets at each end of the wall are from the home improvement store in the storage and organization section. I found the blue and brown baskets and boxes at IKEA. We also had a second counter top made to hold the electronic piano that we've had sitting in its box for way too long. It's on the wall across from the computers.
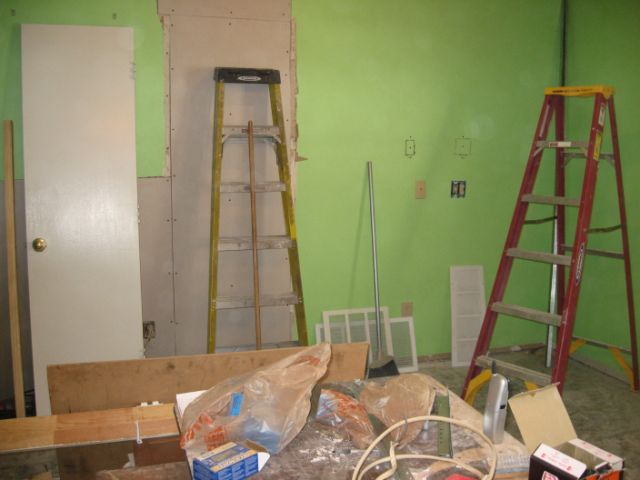
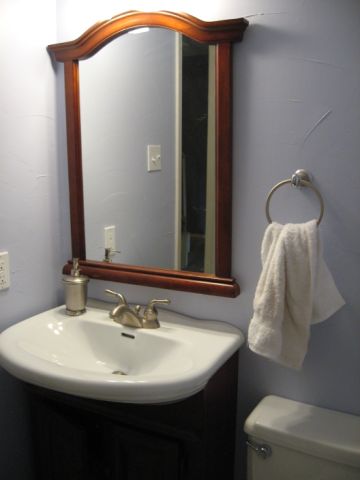
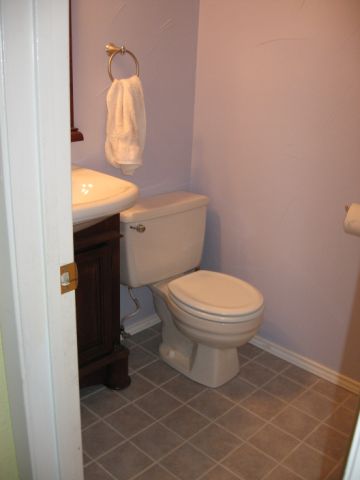
I don't have any before pics of this bathroom, but the way we found it when we bought the house was truly hideous. There was carpet on the floor (ick...) and the wallpaper was dark red with a pattern reminiscent of great grandma's dining room. The only thing we kept in the room was the toilet. Here's the result:
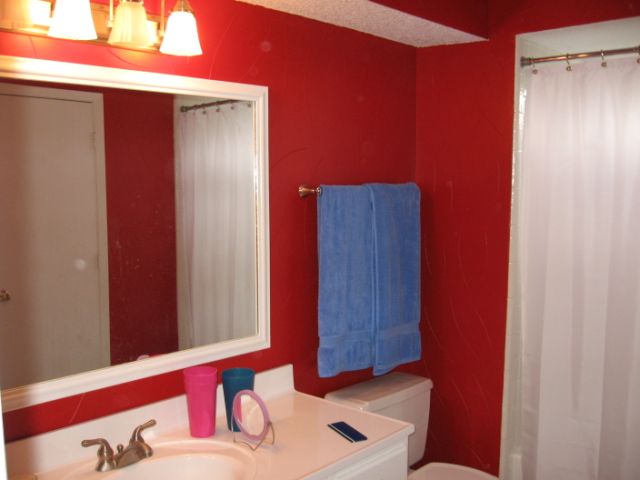
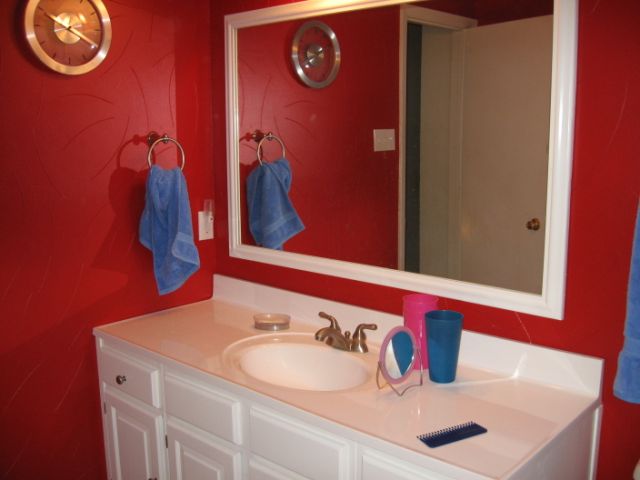
No before pics here either. The old wallpaper was dull yellow and peeling off the walls. The vanity top was cracked and stained and the faucets were ugly and broken. Mike put a neat texture on the walls - looks kind of like spaghetti strands. The walls took a coat of tinted primer plus four coats of the red paint. But wow - what a color! I really love the way it turned out.
We painted the existing vanity which was brown before. Mike framed the mirror which was previously just bare mirror mounted (poorly) to the wall. We added a new vanity top and fixtures. The floor is Pergo which we added when we bought the house to replace the icky carpet. Pardon the blue towels in the photo - the white ones look great, but were in the wash when the pics were taken.
� 1998-2007 Chris Simon - chrissimon(at) verizon (dot) net
This page hosted by
- Seal off the current pantry after breaking through to the nearly identical closet behind it. That closet opens into laundry room and will be almost twice as large now.
- Move dining room door to current stove location
- Move stove to left of sink
- Move dishwasher to right of sink
- All new cabinets on window wall and pantry wall. New cabinets reach to ceiling and include a 24" wide pantry unit to replace old pantry.
- Built-in bench seating in current refrigerator corner
- Build new table using same surface as new countertop
New kitchen floor plan
This is the view on 6/6:
 June 6 - toward pantry
 June 6 - toward window
 June 6 - toward dining room
This is the view on 6/13:
 June 13 - toward pantry
 June 13 - toward window
 June 13 - toward dining room
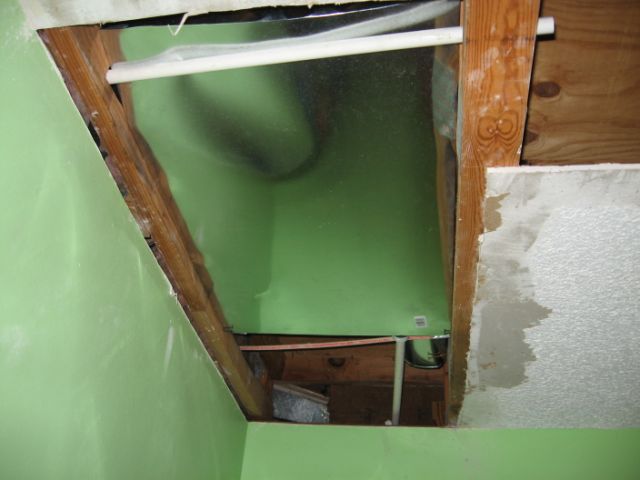 June 13 - nifty invention! We have a bathroom directly above this corner of the kitchen. Previous toilet overflows and other minor kid disasters had damaged the ceiling here. To prevent future mishaps, Mike fashioned a tray out of sheet aluminum that sits under the toilet and bathtub drains and empties out the side of the house directly into the rain gutter. The piece of PVC pipe you see nearest you in the photo is just a prop to hold the end of the pan up so it will drain to the other side. Cool, huh?
This is the view on 6/15:
 June 15 - toward pantry
 June 15 - toward window
 June 15 - toward dining room
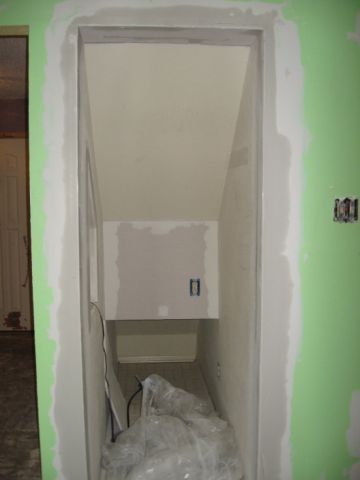
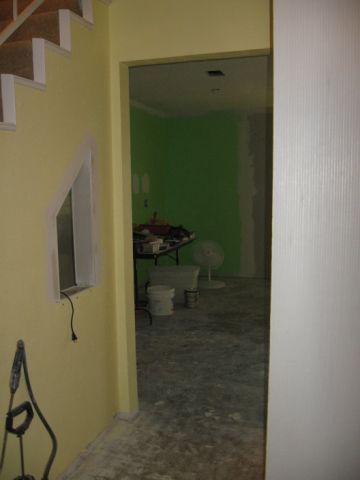
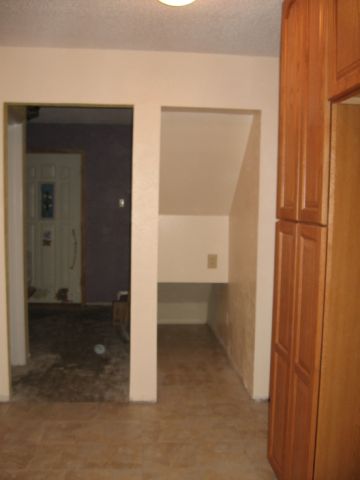
 June 15 - former coat closet under stairs. We've decided to turn this into a little nook with a desktop for kids' homework, mail sorting, and so forth. There will still be quite a bit of storage back under the desk.
This is the view on 6/19:
 June 19 - toward pantry
 June 19 - toward window
 June 19 - toward dining room
 June 19 - former coat closet under stairs
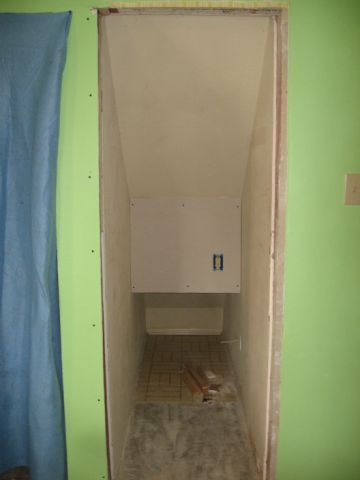
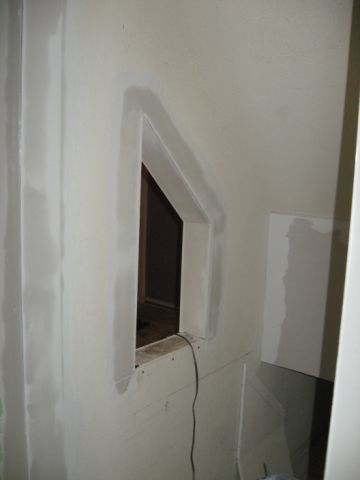 June 19 - former coat closet under stairs. Mike cut this little window in one side of the nook to make it a little less claustrophobic. We'll be able to see the front door from the desk.
 June 19 - view of the new window in the nook from front entry
This is the view on 6/25:
 June 25 - toward pantry
 June 25 - toward window
 June 25 - toward dining room
 June 25 - former coat closet under stairs
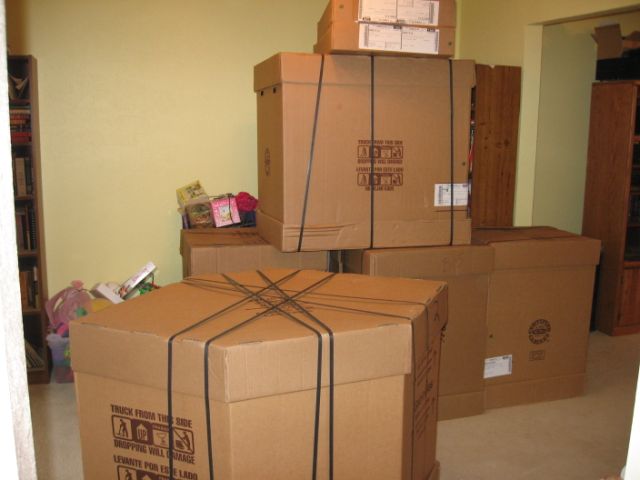 June 25 - just a few of the many boxes. The kids are having a blast with them. Can you imagine getting 18 or 20 enormous cardboard boxes all at once?
This is the view on 6/26:
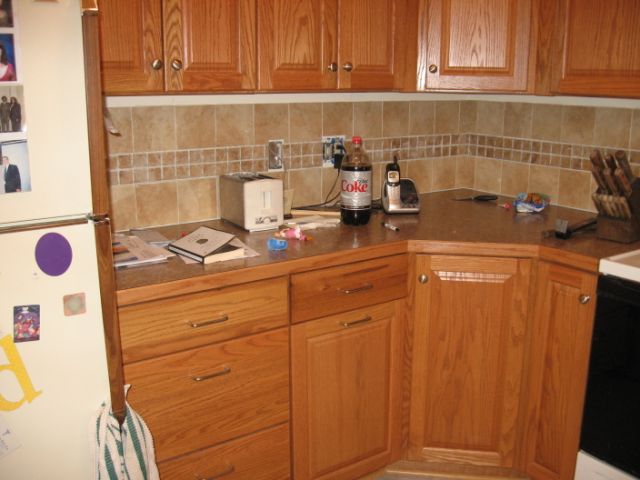
 June 26 - toward pantry
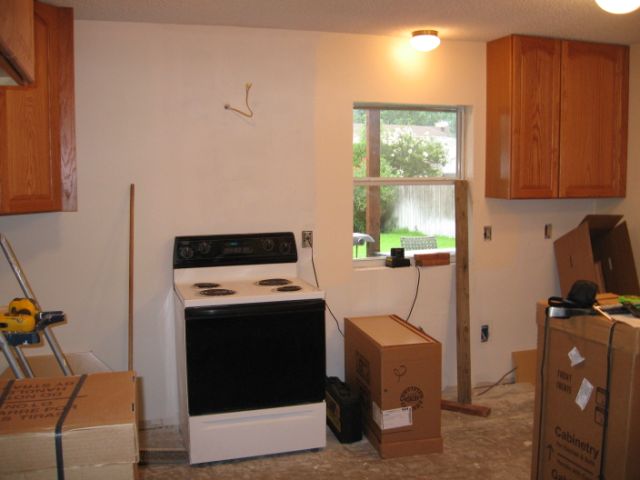
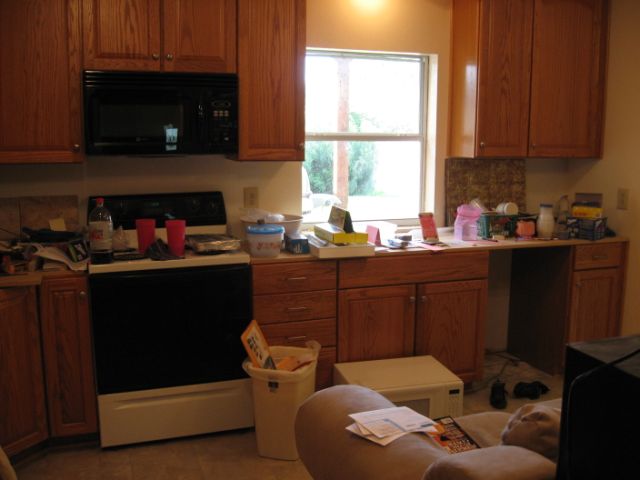
 June 26 - toward window. We're going to keep our old appliances for now. They're not the most beautiful, but they still work!
 June 26 - toward dining room
 June 26 - nice view from front entry
This is the view on 6/29:
 June 29 - toward pantry
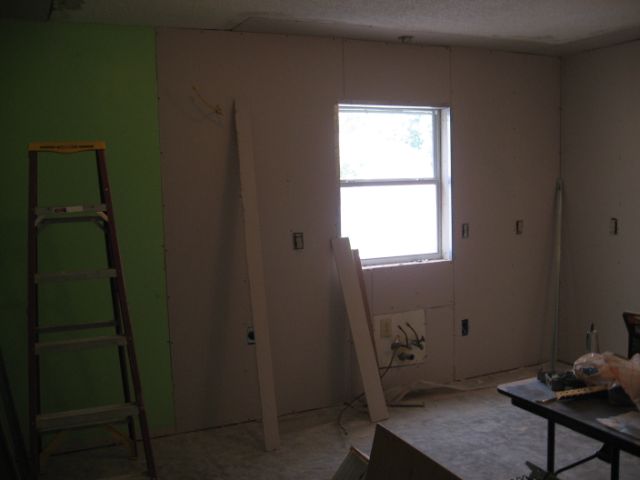
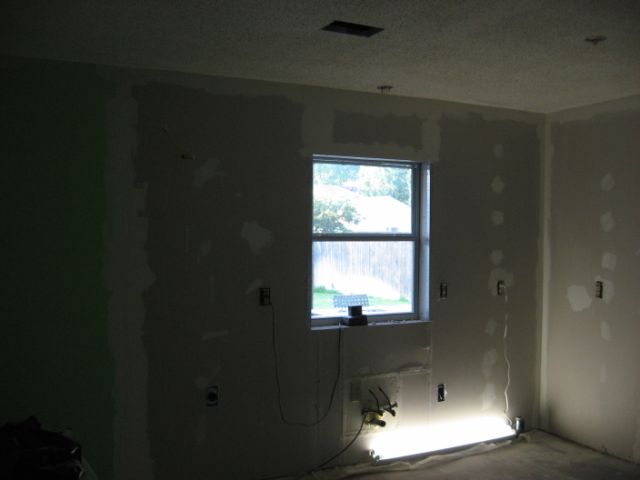
 June 29 - toward window.
 June 29 - toward dining room
 June 29 - view of the nook under the stairs
This is the view on 7/6:
 July 6 - toward pantry
 July 6 - toward window.
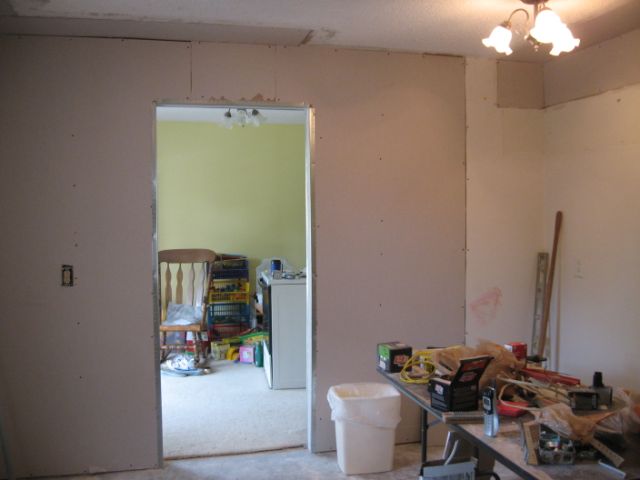
 July 6 - toward dining room
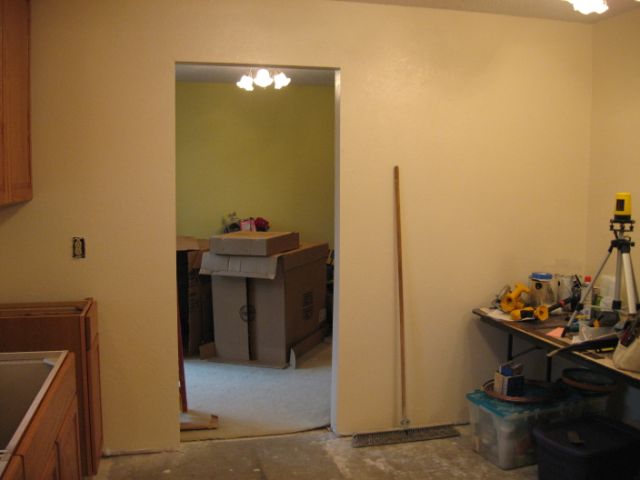
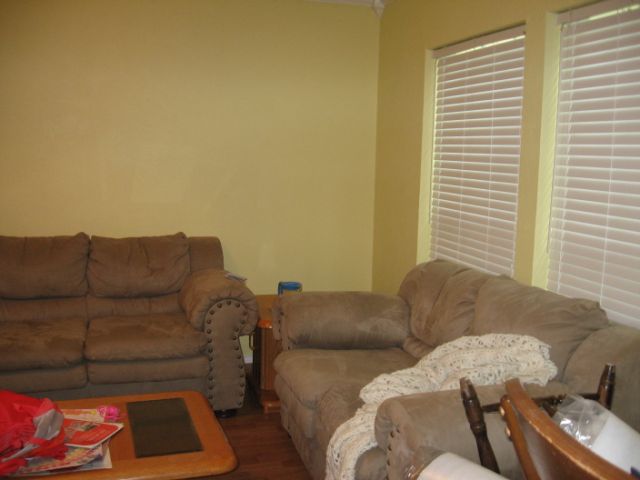
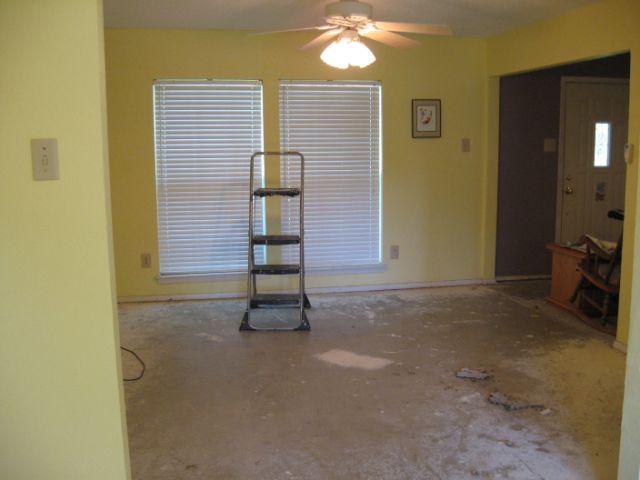 July 6 - the very empty living room
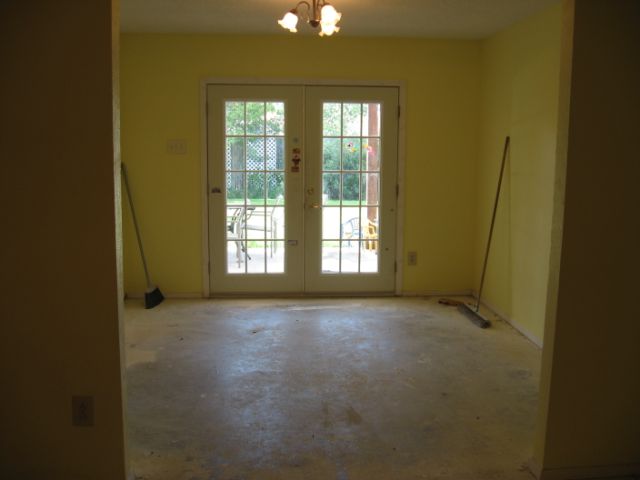 July 6 - the very empty dining room
This is the view on 7/13:
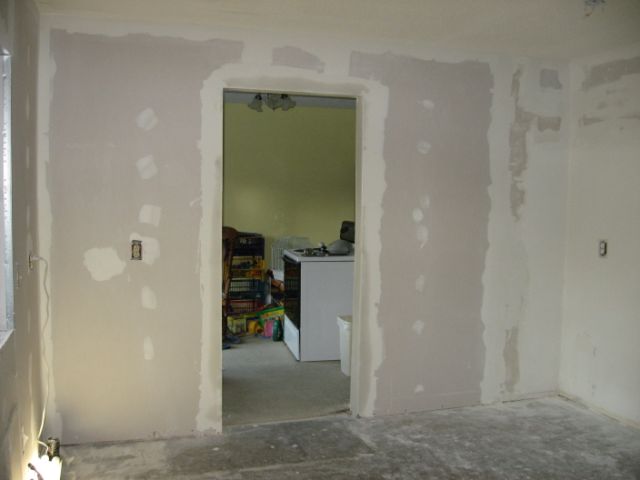
 July 13 - toward window.
 July 13 - new crown molding in the living room
News from the construction zone - 7/16:
This is the view on 7/23:
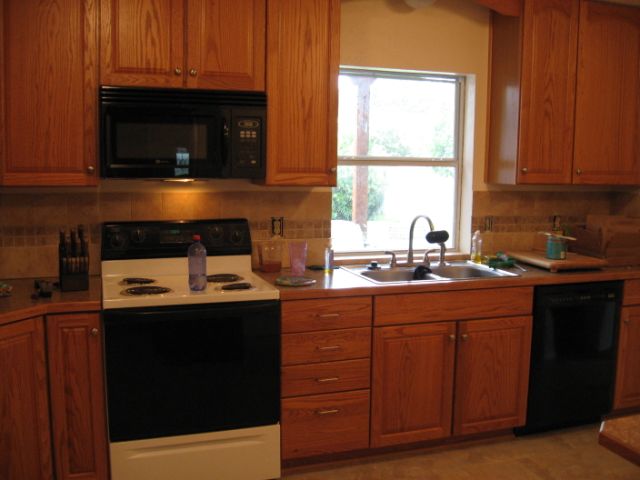 July 23 - toward window
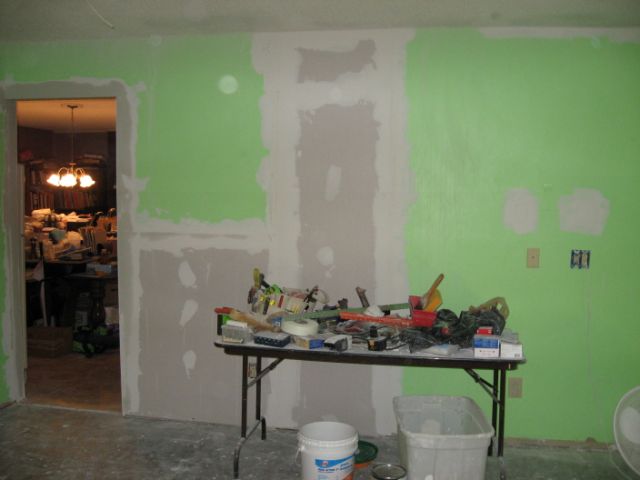
 July 23 - toward corner
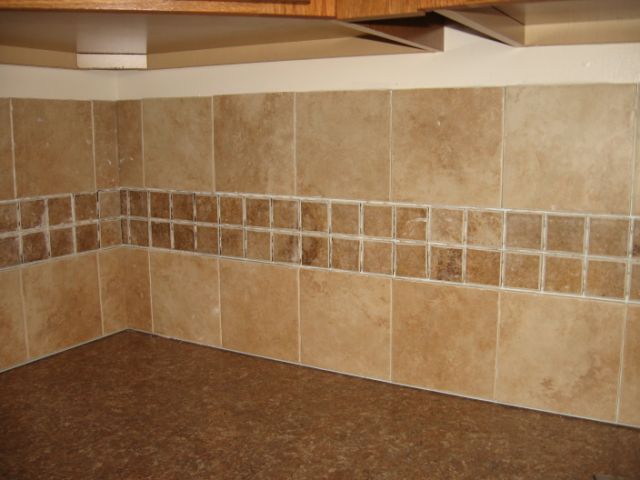 July 23 - tile detail
 July 23 - kitchen table top
 July 23 - living room
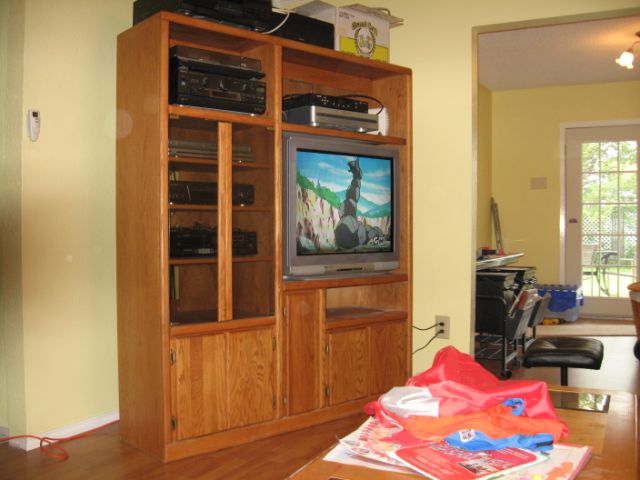 July 23 - the television is back
This is the view on 7/28:
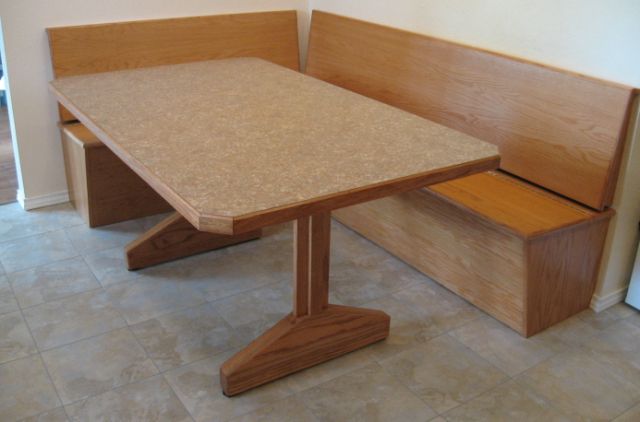 July 28 - Isn't this some gorgeous furniture? Mike built the benches and the table base just for us. The table base is solid oak, and the benches are oak plywood plus some solid oak trim. They match the cabinets perfectly!
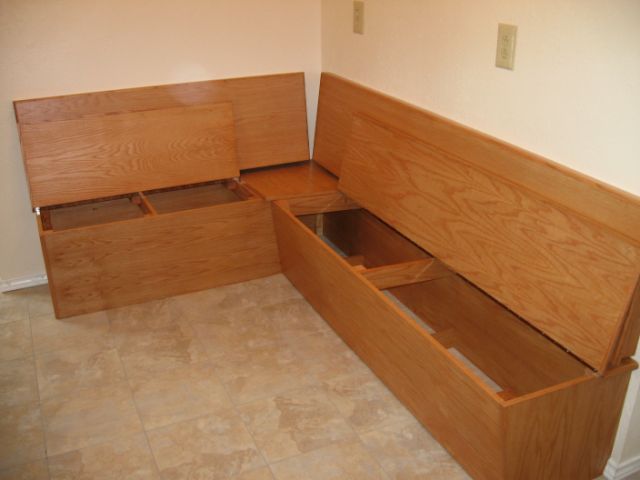 July 28 - Look at all of this storage under the benches!
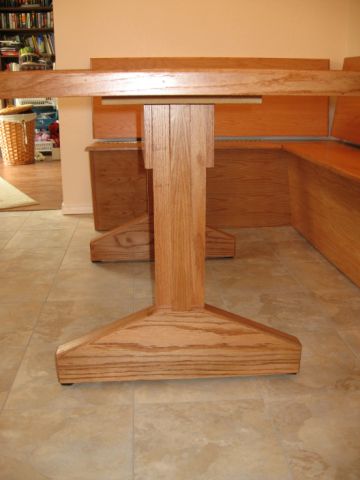 July 28 - table leg detail
 July 28 - I love this cabinet! It has a wastebasket and a recycling bin directly under the main work surface in the kitchen.
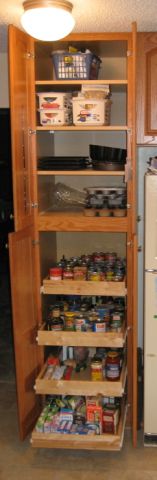 July 28 - Check out all of the storage in the pantry cabinet
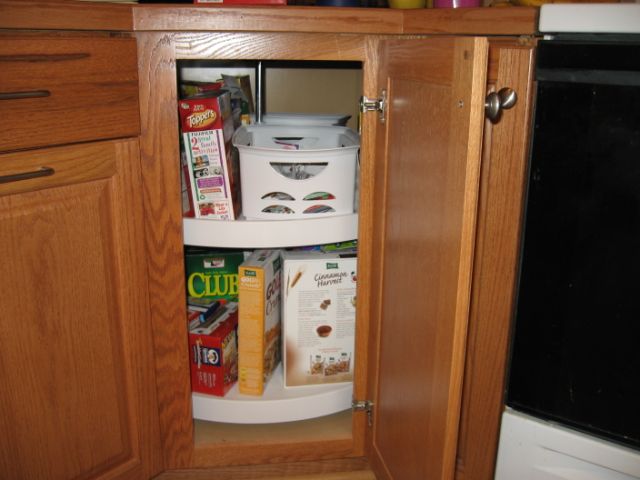 July 28 - I love the lazy susan corner cabinet. So much better than the blind corner cabinet in the old kitchen!
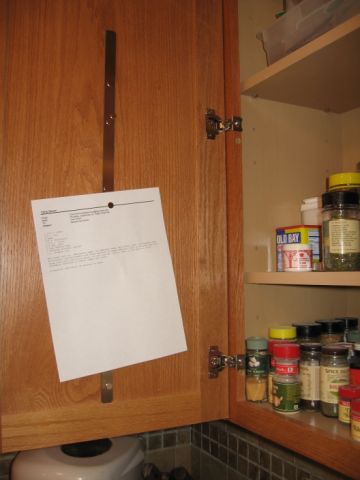 July 28 - I found this cool magnet strip at the Container Store for just a few dollars. This is the cabinet just to the left of my stove. I can hang the recipe that I'm using here for easy viewing.
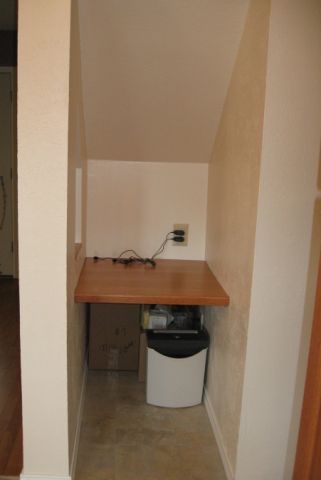 July 28 - Here's the mail nook with the desktop in place. We're going to add a couple of shelves above the desktop, a charging station for cell phones, and a curtain of some sort under the desktop to block the view of the storage back there. The shredder is plugged in under the desk for easy destruction of the junk mail.
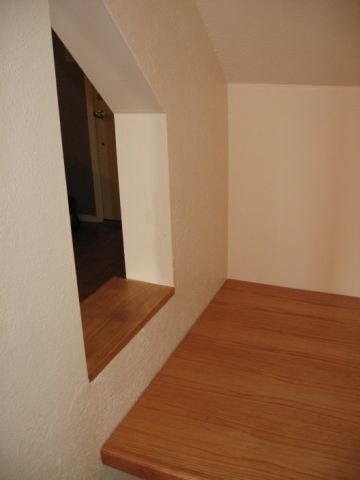 July 28 - Here's the little window above the mail nook desktop.
Computer Room
Before

After
Downstairs half bath
Upstairs kids' bath
Back to photo album
Back to our main page

![]() Get your own Free Home Page
Get your own Free Home Page