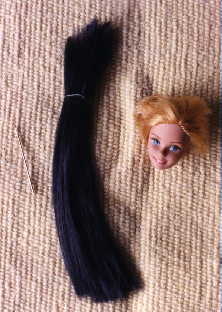
STEP 1. Make sure you have a large work area, with very little
draft, to prevent
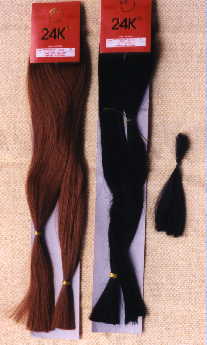
the hair from blowing away. Separate out about 10 strands of hair.
For thicker
lashes use up to 15 and for thin spidery lashes use 4 or 5 strands.
You
may find it easier to keep your section separate and intact if you
wet it a bit
before cutting it. Cut a section about 6-8 inches long. If you are
just starting
you may want to use more. There are several ways of rooting eyelashes
and of tying off the strand, and some do not require as much hair.
I have
found out that this method is the easiest for beginners, however, it
does
waste more usage of hair.
STEP 2. Thread the strands of hair into your needle and pull
the ends so that
they are even.Starting at the outside corner of the eye, poke the needle
from the doll's face, until you can see the tip of the needle coming
out
of the neck hole. 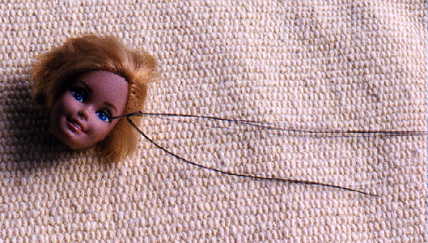
STEP 3. Pull the needle though until there is about 1/2 to 1
inch of the hair still coming out of the doll's face. This should give
you at least 2 inches sticking out of the neck holeTie the hair into a
single knot at the end.
At first it will be easier with the needle still attached. Once you
are
more practiced you may cut the needle away first.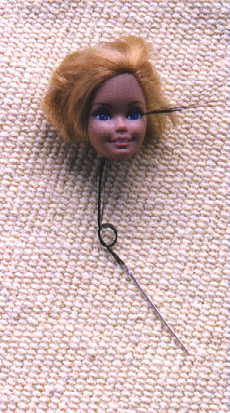
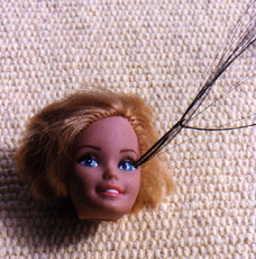
STEP 4. Pull the knot tight and trim the excess.
Pull the lashes that are coming from the eye back up so the knot is
securely against the inside of the doll's face.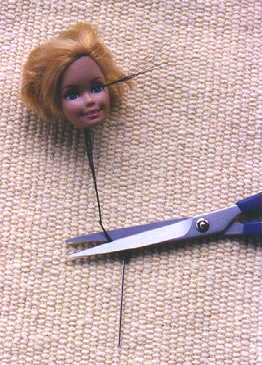
STEP 5. Some people prefer to do one lash on each eye as they
go, to keep them symmetric. I usually do one eye at a time. For the
next
lash, you need to place the tip of the needle as close to the previous
lash as possible, but you should be able to see a very small bit of
vinyl
between the two holes. If you are too close, the needle may go into
the
first hole and your lashes will be irregular.
STEP 6. The number of eyelash plugs is highly variable
and entirely
determined by the artist's preference. Many people root the entire
upper
lid, some include the lower lid as well. I generally root until I am
even
with the doll's pupil, or about 1/2 to 2/3 the length of the eye. This
usually takes between 6 and 8 plugs. This seems to give a more natural
root, as human lashes that are closer to the nose or shorter and thinner
and not as well seen.
Do not trim the lashes until you have the entire eye rooted.

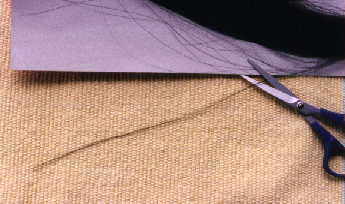
STEP 7. When trimming the lashes, cut them at an angle, so the
lashes at the outer edge are longer than the lashes towards the inside.
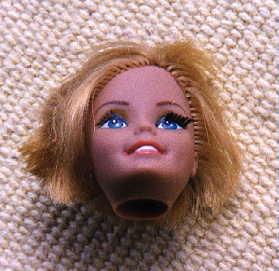
You have now successfully rooted eyelashes on your doll.!!!
Below are pictures of example eyelashes. One doll was rooted using
thread
rather than hair. As the thread frays, it gives a soft effect. It can
also
be found in a huge variety of colors, for fantasy or specialty dolls.
The
other doll is an example of rooting lower lashes. She has some depth
to
the eye, without having overwhelming hairy lids.