I'm not a part of The Crew, but I do like to help.
If you've made it this far I will assume opening, saving, creating new files and printing are not foreign concepts to you and flip and rotate are simple enough to understand that I can skip the lot of them and move right to the more complex features of DC.
Warning: This page contains a lot of images (mostly small ones) it may take a few minutes for all the images to load if you have a slow connection.
ContentsMode Changing: Floors, Walls, and DoorsTilesets Using Custom Tiles Tile Creation for Beginners Searching and Previewing Your Tiles. Make Larger Maps What you see is not always what you get! (the problem with JPG's) Zero Tolerance of DC 2.0 Transparency |
Quick Viewclick (where applicable) for more info.
|
The Mode section of your side bar indicates which mode you are in.
Pick the icon button (![]() ,
, ![]() , or
, or ![]() ) to change modes.
) to change modes.
 left mouse button |
 right mouse button |
|
 creates a tile |
 erases a tile |
|
 draws a wall (on the edge of the tiles) |
||
 draws a door (but not the underlying wall) |
 draws a secret door (but not the underlying wall) |
Pressing and dragging can be used to create large tiled areas (one tile at a time) and long walls (if you can drag your mouse in a straight line)
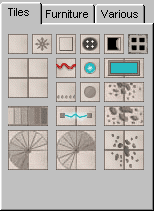
| Dungeon Crafter has four basic tilesets choosen from the tile set drop down |  |
| Abandoned Cathedral | 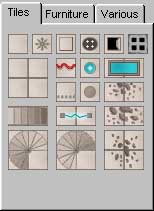   |
| Grave Dungeon | 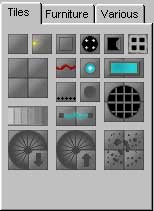 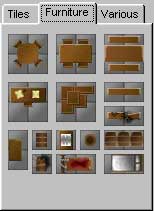  |
| TSR original |  |
| Classic Village | 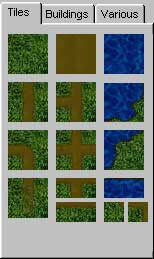   |
At this time there is not a way to view your custom made tiles in this tabbed format
(see also Using Custom Tiles and Searching and Previewing Your Tiles.)
Create your tiles or download them from various sites and save them to a directory on your computer
Choose "Custom" from the "Tile set" pull down
 The custom tile navigation window appear.
Size:
A typical Dungeon Crafter tile is 20 pixels by 20 pixels or some multiple there of. Dungeon Crafter does not reject tile of other sizes but it will look odd on the screen, causing white (or background color) spaces if they are too small, and strange shadowing and/or tiles that appear misaligned if they are too large.When you pull up the tile in the custom section of DC it will display the size (in pixles) of the tile next to the drive letter pull down. (shown here)
Format:
Dungeon Crafter can open jpeg (jpg) and bitmap (bmp) file formats. In my opinion bmp is superior for Dungeon Crafter for reasons I explain elsewhere.
Consistency:
I have found that it is best to start with a basic Dungeon Crafter tile (save them from DC and open them in your art program.) this will insure that your tiles are consistent with other Dungeon Crafter tiles (note: if you're saving your tiles to jpg format, there will be a degradation in quality of the image if you open and save your file many times.)
Tools:
If you are going to be creating tiles from scratch, you should use a "high end" art program for the features such as shadowing, beveling and anti-aliasing. Basic programs such as Microsoft's Paint, can be useful for simple processes such as cutting and pasting existing images together to make a tile or for touch-ups.
If you need a high end program but don't have much money, try Gimp (just remember to download the windows version, unless you have Linux)
Scale:
Dungeon Crafter doesn't have any set scale so here are a couple of "rules of thumb".
Cathedral scale tiles: 1 tile = 3' to 5'
Classic Village scale tiles: 1 tile = 20' (1 pixel = 1')
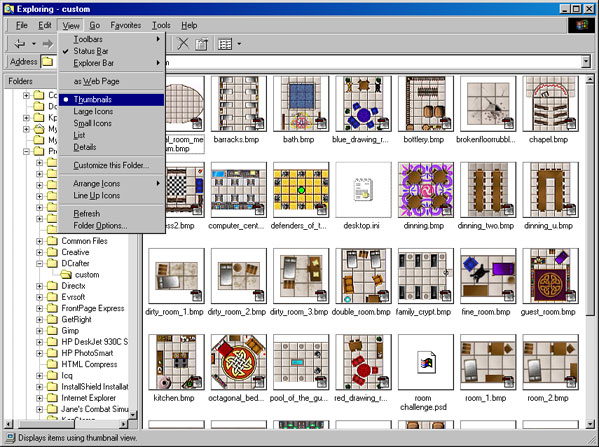
There is not a good way to preview your tile in the present version of DC so this method uses Windows Explorer.
Previewing and Searching Tiles in Windows 98
back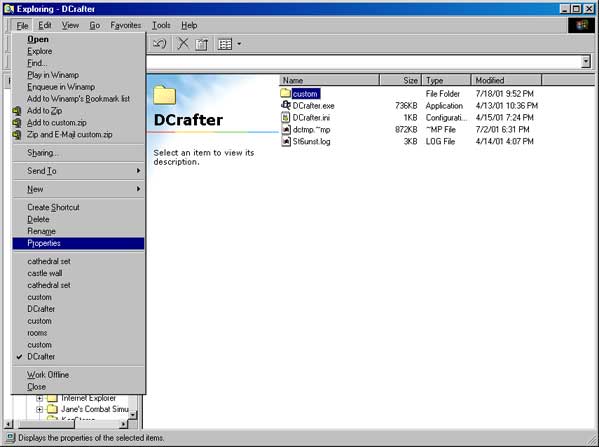 |
|
 |
|
 |
Previewing and Searching Tiles in Windows ME/2000
back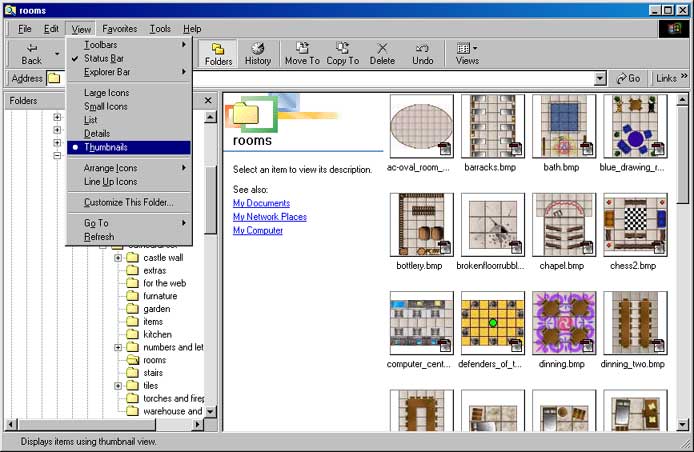 |
The size of maps in DC1.4.1 is dependent on your screen resolution.
For small increases you can set your task bar to auto hide and reduce the size of your title bar and border.
For larger increases adjust your screen resolution.
Or just resign yourself to pasting maps together in a paint program.
The following is from a file I found on the internet and explains the reasons I choose not to use JPEG format for my tiles and the reason DC2.0's transparency will not work well with JPGS
From: "JPEG image compression FAQ, part 1 of 2"
Subject: [1] What is JPEG?
JPEG (pronounced "jay-peg") is a standardized image compression mechanism. JPEG stands for Joint Photographic Experts Group, the original name of the committee that wrote the standard.
JPEG is designed for compressing either full-color or gray-scale images of natural, real-world scenes. It works well on photographs, naturalistic artwork, and similar material; not so well on lettering, simple cartoons, or line drawings. JPEG handles only still images, but there is a related standard called MPEG for motion pictures.
JPEG is "lossy," meaning that the decompressed image isn't quite the same as the one you started with. (There are lossless image compression algorithms, but JPEG achieves much greater compression than is possible with lossless methods.) JPEG is designed to exploit known limitations of the human eye, notably the fact that small color changes are perceived less accurately than small changes in brightness. Thus, JPEG is intended for compressing images that will be looked at by humans. If you plan to machine-analyze your images, the small errors introduced by JPEG may be a problem for you, even if they are invisible to the eye.
A useful property of JPEG is that the degree of lossiness can be varied by adjusting compression parameters. This means that the image maker can trade off file size against output image quality. You can make *extremely* small files if you don't mind poor quality; this is useful for applications such as indexing image archives. Conversely, if you aren't happy with the output quality at the default compression setting, you can jack up the quality until you are satisfied, and accept lesser compression.
Another important aspect of JPEG is that decoders can trade off decoding speed against image quality, by using fast but inaccurate approximations to the required calculations. Some viewers obtain remarkable speedups in this way. (Encoders can also trade accuracy for speed, but there's usually less reason to make such a sacrifice when writing a file.)
Subject: [2] Why use JPEG?
There are two good reasons: to make your image files smaller, and to store 24-bit-per-pixel color data instead of 8-bit-per-pixel data.
Making image files smaller is a win for transmitting files across networks and for archiving libraries of images. Being able to compress a 2 Mbyte full-color file down to, say, 100 Kbytes makes a big difference in disk space and transmission time! And JPEG can easily provide 20:1 compression of full-color data. If you are comparing GIF and JPEG, the size ratio is usually more like 4:1 (see "[4] How well does JPEG compress images?").
Now, it takes longer to decode and view a JPEG image than to view an image of a simpler format such as GIF. Thus using JPEG is essentially a time/space tradeoff: you give up some time in order to store or transmit an image more cheaply. But it's worth noting that when network transmission is involved, the time savings from transferring a shorter file can be greater than the time needed to decompress the file.
The second fundamental advantage of JPEG is that it stores full color information: 24 bits/pixel (16 million colors). GIF, the other image format widely used on the net, can only store 8 bits/pixel (256 or fewer colors). �.
A lot of people are scared off by the term "lossy compression". But when it comes to representing real-world scenes, *no* digital image format can retain all the information that impinges on your eyeball. By comparison with the real-world scene, JPEG loses far less information than GIF. The real disadvantage of lossy compression is that if you repeatedly compress and decompress an image, you lose a little more quality each time. This is a serious objection for some applications but matters not at all for many others.
The following tile was created to show the zero tolerance of DC 2.0 transparency.
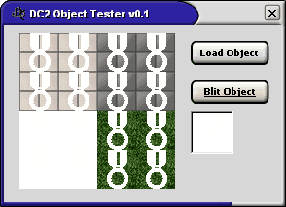
You will notice that the tile in the small preview window of the tester appears to be a solid white tile. Yet when you blit the object the award medal appears.
The background is pure white (color FFFFFF in Hex) while the medal was drawn in the slightest tint of yellow (less than 1%, or color FFFFFE in Hex)