The build up of my '73 Baja Bug
This project all started about 4 1/2 years ago. I first bought this car with the intension of off-road use but later as a daily driver. When I first got this car it was in pretty decent shape for a '73.
 Click on the pictures above to see a huge blowup!!!
On with the buildup. After driving the bug for a couple of weeks I started unbolting stuff from the car and suping it up for the trails. First, I took off the rear bumper. This is a baja cage type rear bumper. I did this to gain a little more ground clearence. And I gained about an inch. Next I added new rear bushings and raised the rear up four inches. This puts the spring plates a whole lot closer to the stops, but hey, I was sitting at 12 inches of ground clearence in the rear. After this I rode the baja around and got ready for the next step. I started unbolting the front (of what I thought was ugly) of the "bug eye" baja kit. Like the name says, It looks to much like bug eyes. Anyway, I wanted to spread the lights out a little further to make it look better. My next step was to go to Fisher Buggies and do a little shoping.
After I came back from Fisher Buggies I had got enough stuff to go to the next stage of my project. At Fisher Buggies I got a new Baja front nose piece, a new tilt front end, and a new balljoint 4" adjustable front end.
After buying all of these pieces it was time to put the new stuff on. During disasembly I removed the gas tank, front fenders and the rest of the bug eye kit. The car had a wreck and some sorry metal work done with lots of bondo, ewww. Knowing this I decided to cut the medal back. Thus leaving all the "good" non bondoed metal that covers your feet. This illimated all the imperfections. In my mind this was the best way to go.
 Click on the picture above to see what the front axle, bumper, and nose piece looked like installed.
The next thing that happend was very unexpected. Not even a month had passed when I ran the car into a 4 1/2 foot wash out made by fourwheelers. I was cutting across a fourwheeler course going through some tall grass at about 20 mph when all the sudden I saw the wash out. By this time it was too late, I had all ready hid the hole and done the damage. I got out of the car and looked at the damage. I was shocked. I couldn't see anything wrong with the car. I had to get my truck in the woods to free the car. The car was high centered and only one wheel was touching the ground. I was in amazement that the car wasn't in pieces (good thing it wasn't my truck, it would have ripped the front wheels and axle right out from under it). When I drove the baja away when I turned the left, front left tire was rubbing like crazy. Upon a closer look, I found out that I had bent the front axle, instant trash.
This leads us to the next step. A new axle. Well I found a new/used axle in a junk yard and got it installed. This new axle was a stock non lifted axle and the ride was great compared to the old axle.
The next step was tires. I wanted something big to give me that extra ground clearence. Most people in the baja world use 31 x 10.50, but I'm not like everyone else so my car's not going to be either. I had narrowed the choices down to three, supperswamper boggers 31x12.50, dick cepek 31X12.50, and mickey thompson 31x13.50. I decided to go with the MT 31x13.50. Mickey Thompson also makes a 31x15.50 but those would look a little too wide for my taste. The front I decided would be buckshot 29x8.50. The rear wheels would be 15x10 (better sidewall protection for the wheel than 15x12). I was worried about losing the beed of the wheel off-road with the 12"ers. The wheels are Douglas wheels. And for the front I stuck with the stock steel wheels till I could make up my mind.
The next step was to make the car a little safer for a daily driver.

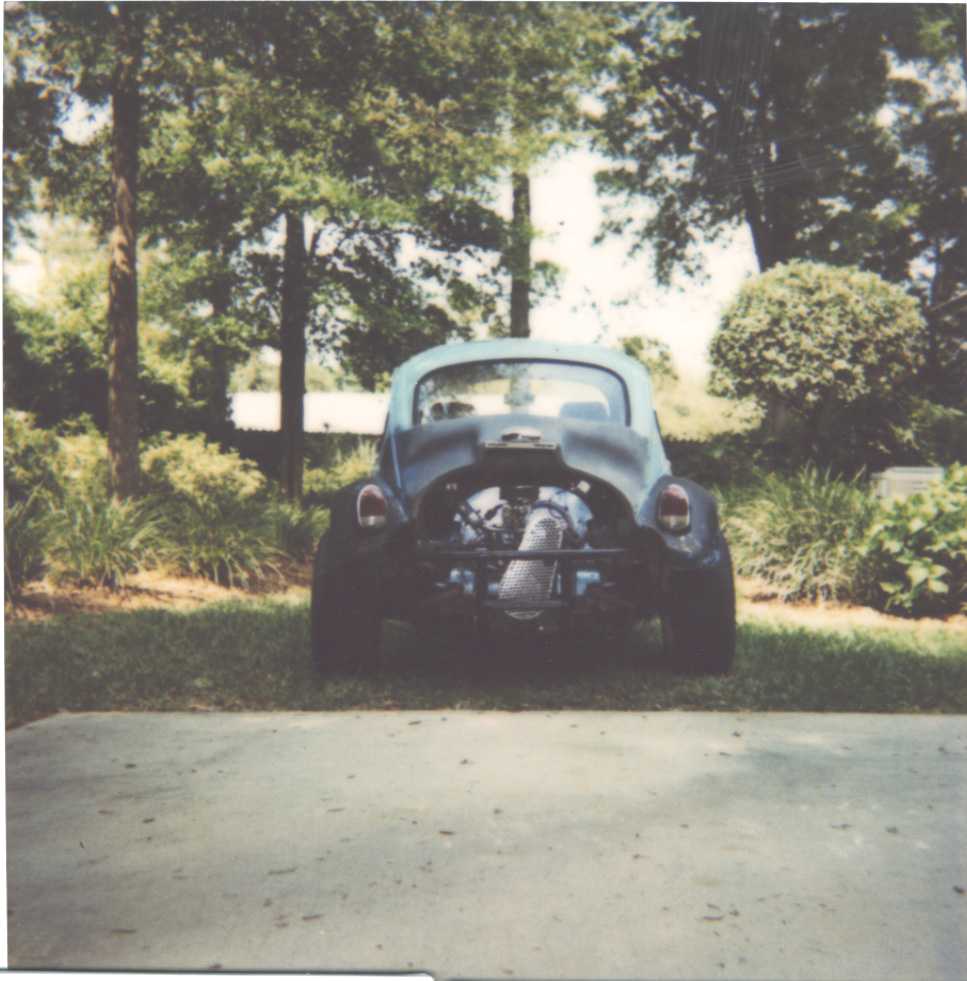
Check out the picture without the nosepiece. Notice how the only metal up front is the hull covering your feet and the nose piece conecting to the front axle.
In this step things got a little wild to say the least. I went to several roll cage guys and tried to figure out just what I wanted. I found this one guy in mississippi (where I go to school) who was going to build a roll cage just how I wanted and the price was right. My dad made him a video and when he saw how much metal was hacked off from the front for the nose piece he said the only way to go now is the full all out race roll cage subframe and all.
We decided that if we were going to take the body off the frame to do the passenger's side floor pan, might as well do the driver's side also.
This is how the new floor pans looked after they were installed and undercoated.
The body was being disassembled and I decided I wanted more protection with the rollcage. This started off as a basic cage and turned into a race ready cage with side impact protection, tieing into front and rear axles, and subframe. With the addition of a roll cage I still wanted to be able to get in and out of the car with ease and not do a Duke's of Hazzard every time I wanted to drive. And of course I wanted to be able to roll up and down my windows.