Let's Start
1. Open a new image 550 x 500 and
flood fill with white
2. Layers new raster layer and
floodfill with colour of choice( I used Black)
3. Layers, Load mask from disk,
select mask and click okay
4. On your layer palette, delete
mask layer and merge group
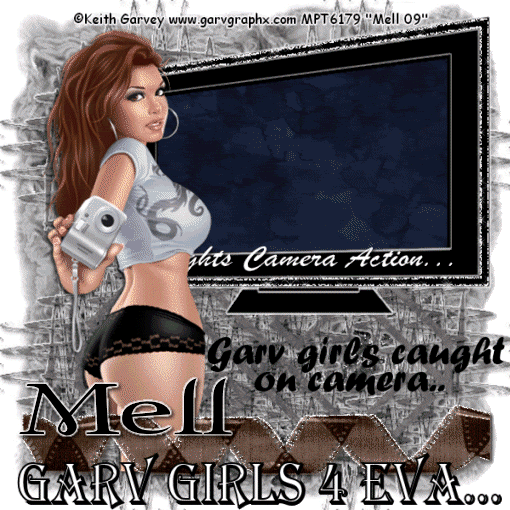
5. Open up my supplied TV template
and paste as a new layer and position near the
top right of your tag
6.Magic wand inside the middle
black rectangle and click delete, layers new
raster layer and flood fill with colour of
choice.
7.Select none and move below the
TV template
8.Now magic wand inside of the
clear section of the TV, selections, expand by
5, layers new raster layer and floodfill with
black.
9.Select none and move this layer
below the TV template as well.
10.Copy and paste your main tube
of choice as a new layer and position to the
right of your tag, give it a drop shadow of
choice
11. Copy and paste your film roll
of choice as a new layer and position at the
bottom of your tag, I changed the hue and
saturation on mine and then used the following
Xenofex2 Constellation settings
12. Now give the film roll layer a
drop shadow of choice, I used 2,2,80,5.00 Black
13.Now magic wand inside of the
inner rectangle, selections modify expand by 3.
14.Copy and paste tube of choice
as a new layer and position inside the
rectangle, repeat for 2 more tubes
15. On the inner rectangle layer,
selections invert and then hit delete on all
tube layers. Select None
16. Move the tube layers below but
above the tv background
17.Add text and word art of choice
18. Add �Information
19. Ok Now I want you to magic
wand inside of the black border of the tv and
duplicate 2 times.
20. On the first layer use the Xenofex 2 Constellation
from above
21. Repeat the above settings for
the other 2 layers but change the random seed.
22. Open up your sparkle of choice
and paste as a new layer, duplicate 2 times and
on the duplicate layers, resize the first by 80%
and the the 2nd by 110%
23. Now comes the fun part
24. I want you to hide all 3 tubes
inside the tv, the 2 duplicate borders(xenofex
ones) and the duplicate sparkles
25. Edit copy merged and paste as
a new animation in animation shop.
26. Back to psp and unhide the
first tube, edit copy merged and paste after
current frame in animation shop
27. Back to psp, hide the original
border and sparkle, and unhiode the first
duplicates and the second tube
28, Edit copy merged and paste
after current animation in animation shop
29. Back to psp, hide the first
duplicate border and sparkle, and unhide the
second duplicates and the third tube
30. Edit copy merged and paste
after current frame in animation shop
31. You should now have 4 frames
in animation shop, select all and change the
frame properties to 25
32. View all and if your happy,
file save as and follow the prompts
Your Done!!
Below is my 2nd trial at my
tutorial. I actually prefer this version to the
one I made above