|
Key to My Heart
Tools needed
PSP- I used version 9 but it should work with all.
Animation Shop
Filter/s- Xenofex 1 Little Fluffy Clouds,
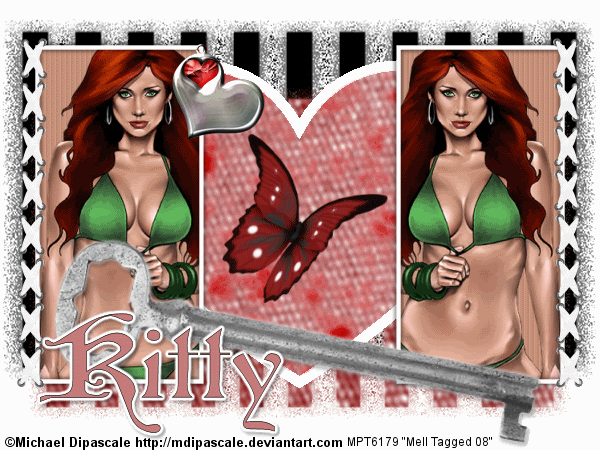
Tubes of choice- I used the work of Michael Dipascale who is a PTU artist. You can buy his tubes at MPT. You MUST have a license to use his work
Font/s of choice-I used Cardinal Regular
Mask of choice- I used WSL_Mask185 which was made by Chelle at Weescotslass and can be dowloaded from her site under downloads.
Scrapkit- I used Romance which is a ptu kit made by Brandi at Designs by Brandi. You can purchase her kit
from Sweet and Sassy
Digiscrappers.
Ok.Lets get started.
1. Open a new image 600 X 450
2. Select your rectangle preset foreground white, background Null and a width of 5.
3. Draw out a rectangle, see my for exanple. and convert to raster, move to the left a bit and duplicate
4. Merge visable and magic wand inside of each one, Selections modify expand by 2
5. Layers, new raster layer and flood fill with a color from your tube, keep selected.
6. Copy and paste your tube as a new layer, resize if needed and position inside of one of the rectangles,
7. Copy and paste tube again this time mirroring it and position inside of the other rectangle.
8.On your rectangle layer go to selections invert and then hit delete on both tube layers, select none. Do not merge
9. Select your rectangle layer and give it a drop shadow of 2,2,40,5.00 black, repeat but change to -2,-2,40,5.00 black
10. On your floodfill layer add blind effect to it using the settings 5,10, black and both boxes UNCHECKED. now merge visable
11. Layers new layer, floodfill with color or paper of choice, Layers new mask layer, find your mask and click ok, delete the mask and merge group. move this to the bottom.
12. Open up your preset shapes, find a heart of choice and draw out a heart to size of liking.. Forgeound and background colors your choice and a width of your choice
13. Magic wand inside of your heart and duplicate 2 times for a total of 3 layers, on the first layer using the following settings

14. click on the 2nd layer, repeat settings but change random seed, repeat for the 3rd layer and change random seed again.
15. Move all 3 layers above your mask layer and hide the top 2 heart layers
16. Add some embellishments, i added a glitter heart, the key from the kit which is the main part of the tut, a ribbon and a butterfly
17. Add your � Information
18. Add your text and any wordart of choice
19. If your happy with it, its now time to animate, make sure 2 heart layers are hidden and go to edit copy merged and paste as a new animation in animation shop
20. back to psp hide the 1st heart layer and unhide 2nd layer, edit copy merged and paste after current frame in animation shop
21. back to psp again, hide the 2nd layer and unhide 3rd layer,edit copy merged and paste after current frame in animation shop
22. View Animation and if your happy go to file save as and follow the prompts.
YOUR DONE!
This Tutorial was written on the 4th May 2008 by Mell aka Babylicious36
This tutorial is written using my imagination and is in no way copied from any other tutorial. Please do not Steal.. You may print this out for future use.
This page was assembled by Mell aka Babylicious36
Artwork � Michael Dipascale
http://mdipascale.deviantart.com MPT6179 |