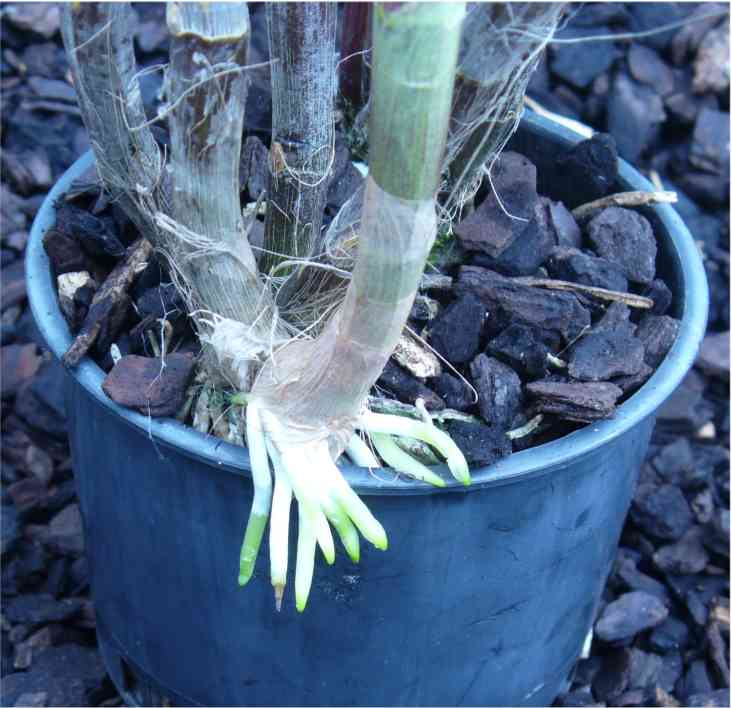
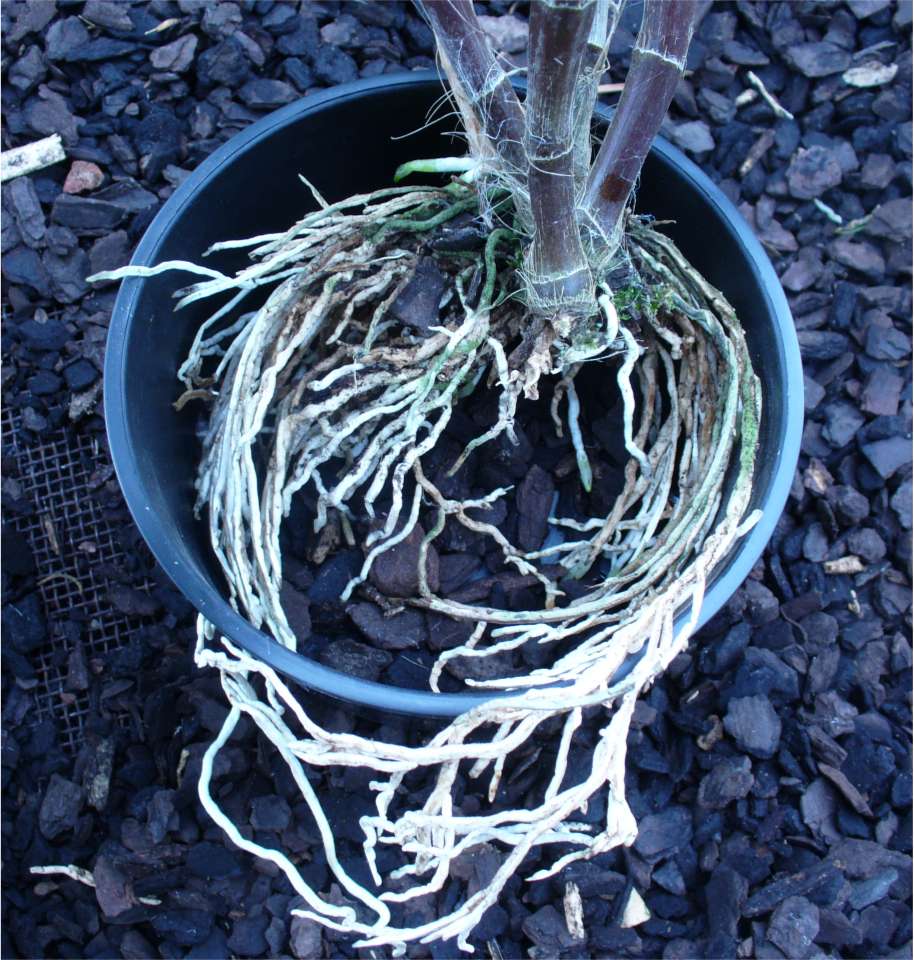
The dendrobium shown below is in need of repotting as it has progressed across the top of the pot over the years and is about to go over the side. It's a good time to repot also as it has just started putting out new roots from the base of the new growth which has started to spread the leaves at the top. |
||
The first picture shows the plant in a 4 inch/100mm pot. The green cane is the new one. the older canes in this particular plant have changed to a darker reddish colour. Throughout the rest of this page the half of the plant which includes the latest growth will be called the 'front half' whereas the rest will be called the 'back half' |
 |
|
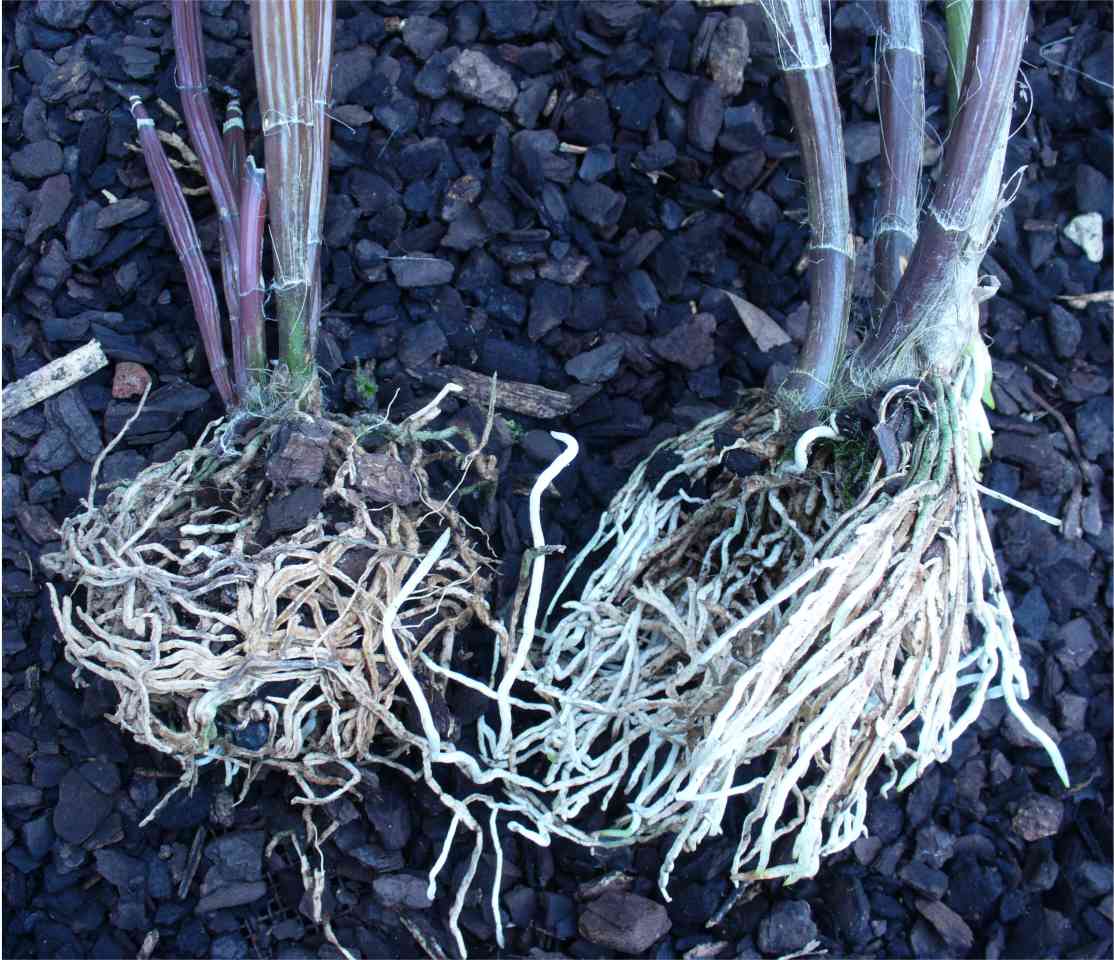
I usually do this by getting a grip around the front 4 canes with one hand and the remainder with the other and then pull apart so the top of the plant parts before the bottom. Note that the 'root ball' on the left has caused the right hand part of the plant to have a semi-circular root ball. This can be seen in the photo below. I find this useful when potting it into its new pot as I can get new mix around the front of the plant as well as into the hollowed area behind it. |
 |
|
In this picture I have removed any older brown roots as well as any which were damaged in the dividing process. I have then placed the front 4 canes into a 6 inch/150mm squat pot with enough bark in the bottom to cover the holes. Before I put the rest of the bark in I will pull the whole plant over to this side of the pot so that the newest growth on the far side in the picture is around about the middle of the pot. I will then tuck the remaining roots in around this side of the pot. The bark I am using in this case is around 10mm chunks. I use finer bark on smaller plants in 2-3inch pots and move to the larger bark for the larger plants once they get into a 7-8inch pot. |
 |
|
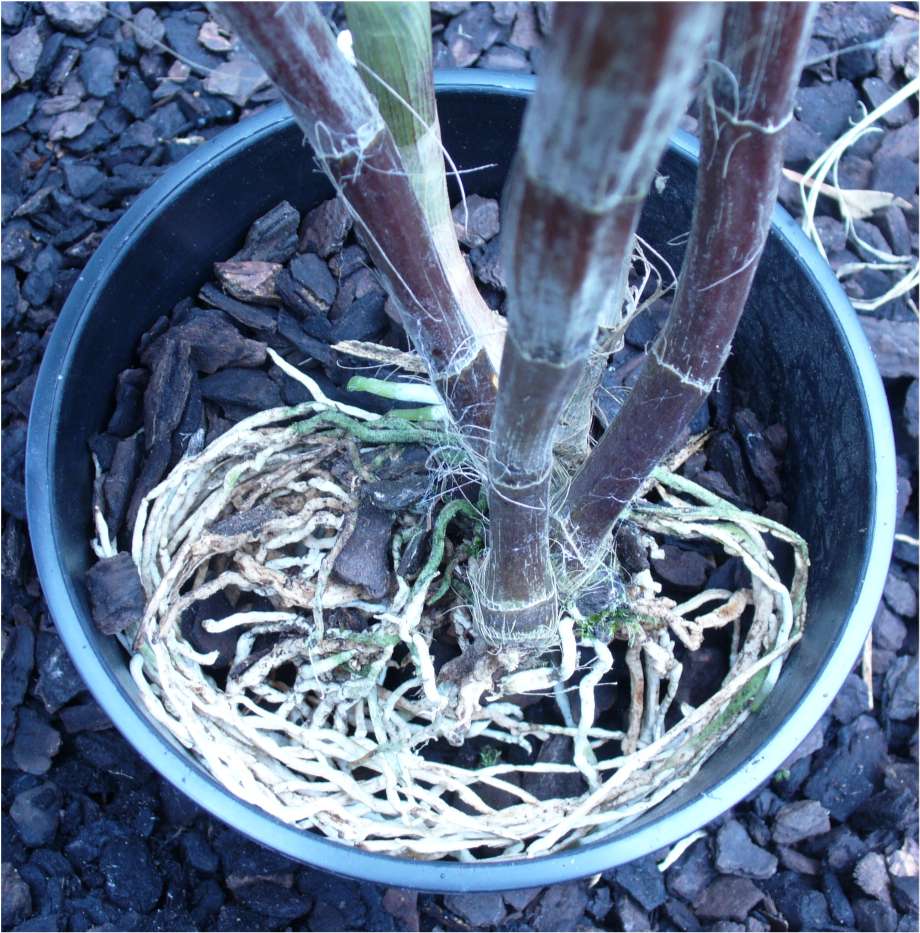
This shows the plant pulled back to the middle with bark filled in roughly half way up the pot around the front where the new roots are. The next step is to fill in the back, then top up the front to the top of the pot. Finally, push the bark down tight in the back area with your thumb. Then top the back up again level with the top of the pot. I usually don't push the bark down around the front of the plant as there is too much chance of damaging the new roots. |
 |
|
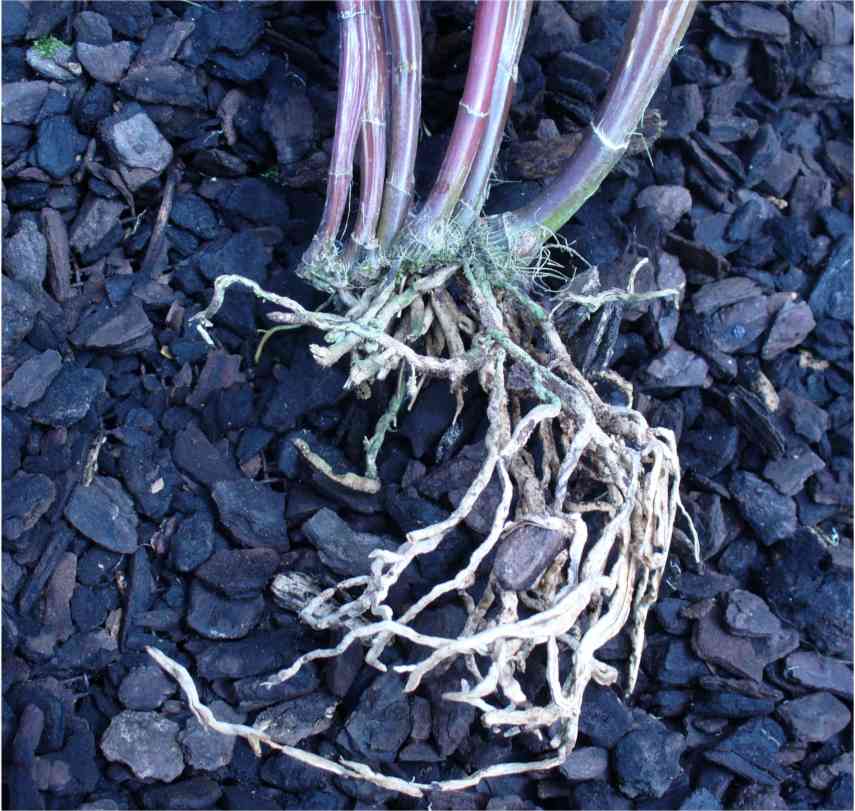
This picture shows the back half of the plant with most of the roots removed. Old brown roots should be taken off and in this case I have removed most of the roots which were connected to the oldest three canes. If you compare with the second picture above I have probably taken off more than I needed to. I could have left the whole lot on and simply potted it up. It would then need to be tidied up later on if it produces a new growth. |
 |
|
This last picture will show the two plants potted up when I get time to re-take the photo.
GO TO index for MORE ORCHID CULTURE INFO |
||