|
For
this tutorial you
will need Paint
Shop Pro 6 or 7, this zip
file Unzip the selections into your PSP selections folder Open a new image 310x540 1. Add a new layer and go to Selections>Load from disk>hat.sel flood fill with black, add a new layer and go to Selections>Load from disk>hat1.sel flood fill with #CF203F, add a new layer and go to Selections>Load from disk>hat2.sel flood fill with black, add a new layer and go to Selections>Load from disk>hat3.sel flood fill with #F5EA40, deselect and add a drop shadow: Color Black, Horizontal and Vertical "1", Opacity "60" and Blur "2.6". Turn off visibility of Layer 1 and merge these 4 layers visible, name this layer hat. Save. 2. Add a new layer and go to
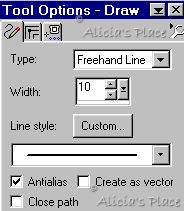
Selections>Load from disk>legs.sel flood fill with white, do not deselect,
change your foreground color to #CC60AC and your background to
"null" and with the Draw tool
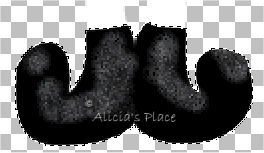
3. Add a new layer and go to
Selections>Load from disk>shoes.sel flood fill with black, do not
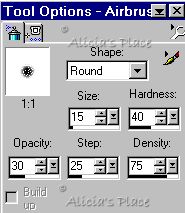
deselect, add a new layer, and with the Airbrush
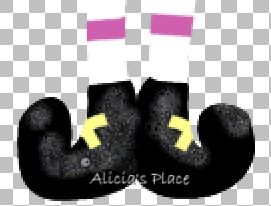
3a. Add a new layer change your
foreground color to #FEFF8A background to "null" and with the draw
tool
Turn off visibility of Layer 1 and Hat Layer and merge visible, name this new layer legs. Save. 4. Add a new layer and go to Selections>Load from disk>dress.sel flood fill with black, do not deselect and add a new layer, repeat the Airbrush as on step 3, merge this 2 layers and name it dress. Save. 5. Add a new layer and go to Selections>Load from disk>broom.sel flood fill with #1D6D60, do not deselect and add a new layer, repeat the Airbrush as on step 3 but this time change the color to #2CD4B6, deselect. 5a. Add a new layer, go to
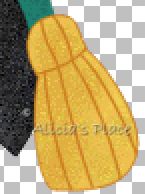
Selections>Load from disk>broom1.sel flood fill with #C97B1F go to
Selection>Modify>Contract "1" and flood fill with #ECC850.
Do not deselect, add a new layer and apply the Airbrush using color #C97B1F, add
a new layer, turn your background color to "null" and your foreground
to #C97B1F, with the draw tool
5b. Add a new layer, go to Selections>Load from disk>broom2.sel flood fill with black, go to Selections>Modify>Contract "1" and flood fill with white. Now at this point you can add a new layer and go to Selections>Load from disk>broom3.sel and flood fill with black or you can decorate it the way you want it. Turn off visibility off Layer 1, hat, legs and dress layers and merge visible, name this new layer broom. Save. 6. Add a new layer and name it
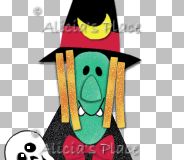
hands, go to Selections>Load from disk>hands.sel flood fill with #75CCAC,
do not deselect, change the color to #1DB582 and apply the airbrush 7. Add a new layer, go to Selections>Load from disk>face.sel repeat the flood fill and airbrush as step 6, now if you want to do your own face add a new layer and decorate it and skip the next step, if you want to do the face with selections go to step 7a. 7a. Add a new layer and go
to Selections>Load from disk>face1.sel flood fill with black, zoom your
image and with the Magic Wand 7b. Turn off visibility of off Layer 1, hat, legs, dress, broom and hands layers and merge visible, name this new layer face. Save. 8. Add
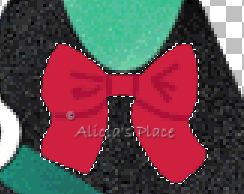
a new layer and go to
Selections>Load from disk>bow.sel flood fill with #CF203F, do not
deselect, add a new layer, change your foreground to #A81437 and background to
"null" and with the Draw tool
8a. Turn off visibility of off Layer 1, hat, legs, dress, broom, hands and face layers and merge visible, name this new layer bow. Save. 9. Add a new layer, change your
Foreground to #ECC850 Background to "null" and with the Draw tool
10. Go to the hat layer and go to Layers>Arrange>Move to top and apply Drop Shadow: Color "Black", Vertical "2", Horizontal "0", Opacity "60" and Blur "2.6" 11. Turn off visibility of Layer 1 and merge visible, if you want to tube your image, go to Copy>Paste as a new image and then Export as a Picture tube. Go to Layer 1 and add the background you want and Juana its ready. I hope you enjoyed this tutorial if you have any questions or comments please email me
Copyright Terms and Conditions No Part of this Tutorial shall be Copied - Distributed - Placed on a CD - Sold - or Copied onto another Website. Webpage, Graphics, and Tutorial are © Alicia's Place - October/2001 All Rights Reserved
|