|
For
this tutorial you
will need Paint
Shop Pro
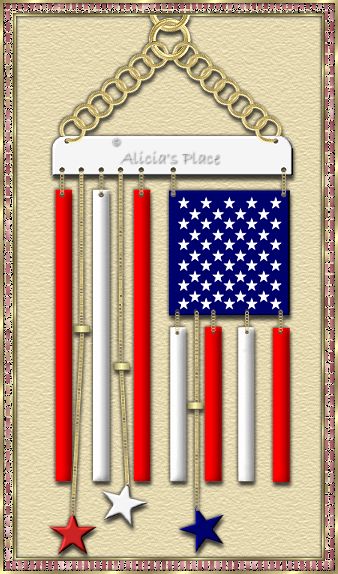
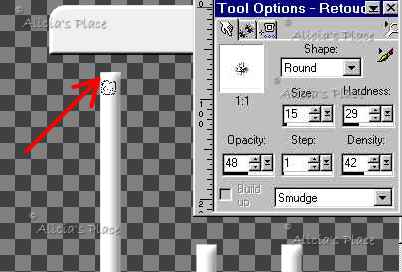
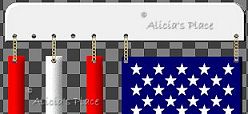
6 or 7, this zip file Unzip the selections into your PSP selections folder, open the chain tube and export it as a picture tube. Open a new image 400x550. 1. Add a new layer, name it top, go to Selections>Load from disk>Top.sel, flood fill with white, and go to Effects>3D Effects>Inner Bevel, apply the "Metallic" preset. 2. Add a new layer and name it white, go to Selections>Load from disk>White.sel, flood fill with white, deselect and go to Effects>3D Effects>Inner Bevel, apply the Pillow Preset but change Intensity to "66", load again the white selection and with the Retouch tool and the settings shown below, wipe away the unwanted shadow along the top and the bottom of each pipe:
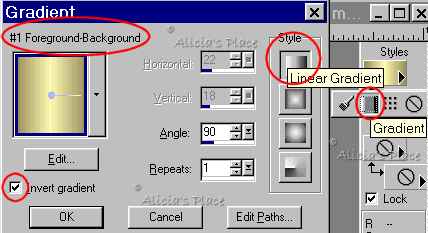
3. Add a new layer and name it red, go to Selections>Load from disk>Red.sel, flood fill with #FF0000, deselect, apply the same Inner Bevel and repeat the Retouch tool. 4. Add a new layer and name it blue, go to Selections>Load from disk>Blue.sel, flood fill with #04089A, apply Inner Bevel "Metallic" preset, but this time change the color to #04089A, go to Selections>Load from disk>Stars.sel, flood fill with white, turn off visibility of the first 4 layers and merge this two layers visible. 5. Add a new layer, with your Selections tool: Rectangle, Feather "0", Antialias "checked", draw a little rectangle between the first 2 pipes, change your Foreground to #FCFAB3 and your Background to #988959, with the following settings flood fill your selection, copy and paste as a new selection and position the new ring between the next two pipes, paste as a new selection again and position between the first two little pipes.
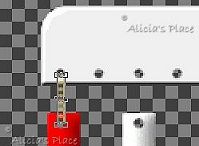
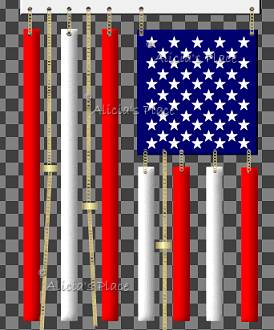
6. Go to the "top" layer, go to Selections>Load from disk>holes.sel and hit the delete key, deselect. Go to the white layer and go to Selections>Load from disk>holes1.sel and hit the delete key, do not deselect, go to the red layer and hit the delete key, do not deselect, go to the blue key and hit the delete key, deselect. Go to Selections>Load from disk>holes2.sel and hit the delete key, do not deselect, go to the red layer and hit the delete key, do not deselect, go to the blue key and hit the delete key, deselect. 7. Add a new layer, zoom the image and with the Tube tool apply the chain at Scale "10" and using the deformation tool move and pull a little bit at the top the chain until is in position, copy and paste as a new selection until you have your five chains.
8.Add
a new layer and with the tube same settings click on
9. Add a new layer, change your foreground to Null and your background to same red as before and using your Preset tool "Star 2" Antialias "checked" and holding the Shift key draw a star, the size I used on my 3 stars is 59x56 but you can change the sizes if you want to; apply Inner bevel "Metallic" preset but change the color to #D36F6F and the Width to "2". Add a new layer, change your color to blue draw your second star this time use right click and your star will rotate so you can position it however you want, repeat the Inner bevel with color #04089A. Add a new layer, change your color to white and draw the last star, apply the Inner bevel with color white. 10. After you have your stars in position, turn off visibility of all the other layers and merge the 3 stars layers visible, add a new layer, change the color to black and with your Paintbrush tool "Round", size "3", step "25" all the rest "100" paint a dot on top of each star, go to selections>select all, selections>float, go back to the stars layer and hit the delete key, deselect and delete the layer with the dots. Move the stars layer under the chains layer and you'll probably need to erase a little bit of the chains. 11. Merge your layers visible , resize to 80%, all layers "not" checked and move the flag to the bottom so you can have room for the top chain. Add a new layer and use the chain tube, scale "50" and with the deformation tool rotate the chain and place it in position, duplicate the layer and go to Image>Mirror zoom the image and erase some of the chain to make it look like if is going inside the hole. Add a new layer and use the chain tube scale "80", erase some here too and your flag it's ready. I hope you enjoyed this tutorial, if you have any questions or comments please email me
Copyright Terms and Conditions No Part of this Tutorial shall be Copied - Distributed - Placed on a CD - Sold - or Copied onto another Website. Webpage, Graphics, and Tutorial are © Alicia's Place - September/2001 All Rights Reserved |