|

First I want to
thank
Dee
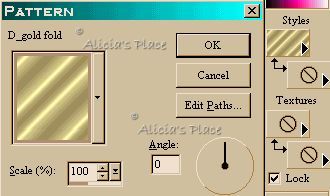
for been so kind and let me use her Gold Fold Pattern for this tutorial. Thank you Dee!!!
For
this tutorial you will need
Paint Shop
Pro
and this zip file

Unzip the selections into
your PSP selections folder, the D_Gold Fold and Alimarble Patterns into your PSP Pattern
folder.
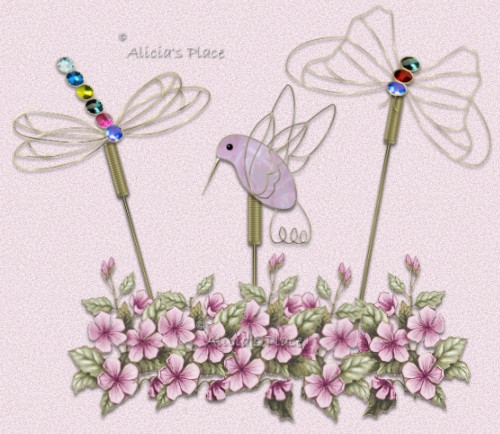
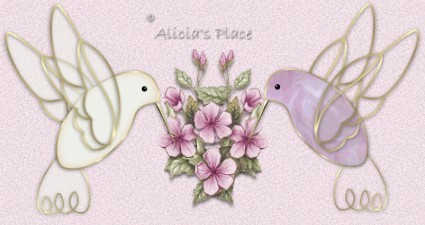
First we are going to do the
hummingbird:
Open a new image 400 x 400
transparent, add a new layer and go to Selections>Load from disk>alicolibri.sel,
if needed click on the Magnifing Glass>Zoom in and Flood Fill inside the
selections with the D_gold fold pattern, deselect.
Using your
Magic Wand with Tolerance 0, Feather 0 and Sample Merged not checked click
inside the body and go to selections>modify>expand 2, make your layer 1
active and add a new layer and flood fill with the Alimarble pattern, deselect,
turn off visibility on layer 1 and merge visible, rename this layer Body, go to
image>effects>3D effects>drop shadow and apply the following settings:
Horizontal and Vertical 1, Opacity 50, Blur 9.4, Color Black.
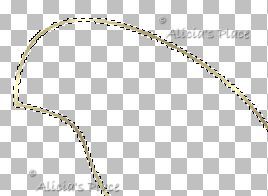
Add a new layer
and name it wing1 go to selections>load from disk>alicoliala.sel flood
fill with the gold pattern and add the same shadow. Duplicate this layer
and with the Deformation tool turn the second wing to the left and position it
like the one at the bottom of this page, rename this layer wing2, move wing1
layer under the body layer. Be sure you are on wing1 layer and add a new
layer, name it tail, go to selections>load from disk>alicolicola.sel flood
fill with the gold pattern and add the same shadow, deselect. Add a new
layer and go to selections>load from disk>alicolipico.sel, flood fill with
the gold pattern and go to image>effects>3D effects> inner bevel and
apply the following settings:
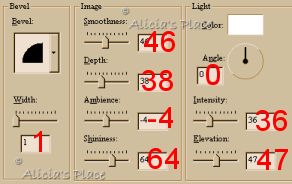
Ad the shadow
and deselect. Go to body layer and add a new layer, with your selections
tool, circle, feather 0, antialias checked draw a little circle for the eye,
flood fill with black and add an inner bevel using the round preset. Merge
your layers visible and your hummingbird is ready, go to edit>copy,
edit>paste as a new image and export it as a tube,
minimize it now.
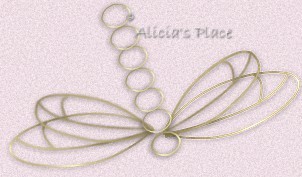
Now let's to do
the Dragonfly:
Open a new
image 400 x 400 transparent. Add a new layer and go to selections>load
from disk>alidragala1.sel, flood fill with the gold pattern, add a new layer
and go to selections>load from disk>alidragala.sel. flood fill with the
gold pattern, turn off visibility on layer 1 and merge visible, duplicate this
layer and go to image mirror, and with the deformation tool position the second
wing on place (see model on bottom) Add a new layer go to
selections>load from disk>alidragonfly.sel flood fill with the gold
pattern, go to layers duplicate and repeat seven times, with the mover tool move
each layer and position them like this:
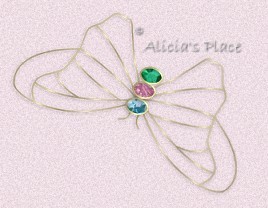
Turn off
visibility on layer 1 and merge layers visible, go back to layer 1 and add a new
layer and name it gems, go back to the merged layer and with your magic wand
same settings as before click inside the first ellipse, go to
selections>modify>expand 2, go to the gems layer and fill the selection
with your gem (you can find wonderful gems at
Justkissme)
repeat this step until you'll get all your gems in place. Merge your
layers visible, go to edit>copy, edit>paste as a new image and export it as a tube, minimize it.

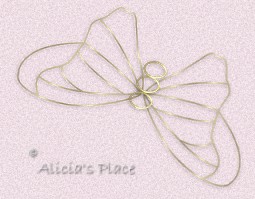
Now let's make
the butterfly:
Open a new
image 400 x 400 transparent, add a new layer and go to selections>load from
disk>alimariposa.sel, flood fill with the gold pattern, deselect. Go to
layers>duplicate and then layer>mirror, with the deformation tool position
the second wing as shown on bottom. Add a new layer and go to
selections>load from disk>alimariposa1.sel, flood fill with the gold
pattern and deselect. Go to layers>duplicate, do this two times,
with your mover tool move this two layers and position them as shown:
For the gems
repeat the same we did with the dragonfly. Turn off your background and
make sure you have the gold pattern on your foreground and with the draw tool:
Freehand line, Width 1, Antialias checked draw the antennas. Merge all
layers visible, go to edit>copy, edit>paste as a new image and export as a
tube, minimize it.
We almost
finish, open a new image 100 x 400 transparent, with the Selections Tool,
Rounded Rectangle, Feather 0, Antialias checked, draw a rectangle on top of your
canvas, the size is 20 x 80, flood fill with the gold pattern, but this time
change Angle to 135 and the Scale to 50%, go to effects>texture
effects>blinds with this settings: Width 2, Opacity 44, Color Black,
Horizontal and Light from left checked. Do not deselect, add a new layer
and apply a cutout: Horizontal and Vertical 2, Opacity 58, Blur 4.7, Shadow
Color Black and Fill Interior not checked, add another layer and apply the
cutout again but this time change Horizontal and Vertical to -2 (minus two)
merge this 3 layers visible. Add a new layer and draw a new rectangle,
this time 5 x 300 flood fill with the gold pattern and apply the same Inner
Bevel we used on the hummingbird. Move layer 2 under layer 1 and position
it in the center, merge your layers visible. Now is time to decorate, I
live that to your imagination.
I
hope you enjoyed this tutorial, if you have any questions
or comments please email
me
TUTORIALS
-
HOME
Copyright
Terms and Conditions
This Tutorial is solely
derived by My Imagination. No Part of this Tutorial shall be Copied -
Distributed - Placed on a CD - Sold - or Copied onto another Website.
Webpage,
Graphics, and Tutorial are © Alicia's Place - May/2001
All Rights
Reserved
|