Deerskin Tawing
Project, 2006
December 12, 2005
Received the deerskin on Dec. 10th, 2005 totally frozen. I thawed the hide today by placing it in hot water. In retrospect, it was effective, but extremely messy; water, hair, and fat everywhere, not to mention that scraping became a very cold and wet job.
After the hide was workable, I trimmed the head off, legs, and sides to make a semi rectangular work area.
The scraping when well, not much to take off, the hunter did a wonderful job of skinning the deer. I did however have a problem with my scraper to begin with, what I had originally intended to use was a scraper that I had made. The scraper was not nearly sharp enough to be very effective. So, I switched to a “wood carving” knife, which worked extremely well.
Once the hide was scraped, and my work area cleaned up, I salted and rolled the hide. It now sits and at an angel in a tote to drain. I’m expecting that the salt will prevent the hide from re-freezing since I have to do this all outside in an unheated garage. So far, after a couple of hours, the hide is still unfrozen.
December 14, 2005
Scraped off 1st salting and re-salted. Not too happy with what I’m seeing, but I hope that changes with 2nd salting.
December 16, 2005
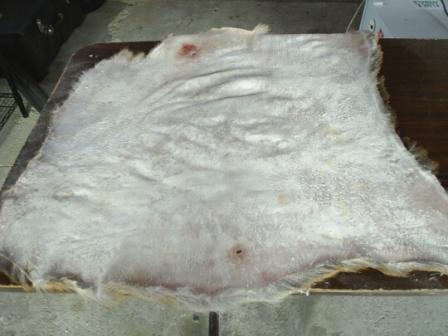
Took off 2nd salting, a little better but still not happy. The hide has turned white except for several spots through the skin that were left brown and hard. So, after all the salt was removed I scraped the entire hide once again, paying close attention to the “brown spots”. It looked much better after the scraping. The hide was re-salted and laid flat to dry out. In two days, I will give the hide a 24-hour salt bath.
Photos
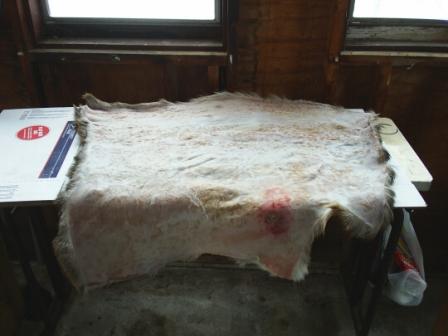
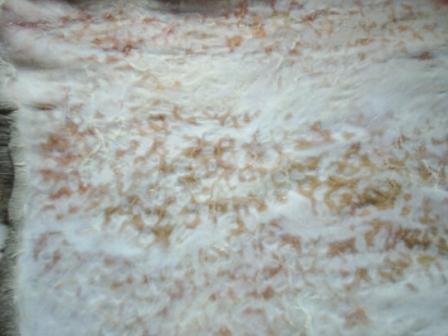
December 18, 2005
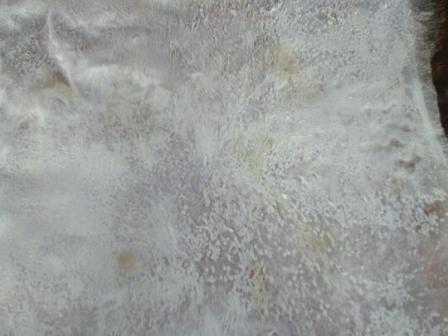
Scraped off the 3rd salting. Things look a lot better; the brown spots are almost indistinguishable from the rest of the hide. Now I am soaking the hide in a salt solution, 3 lbs. of salt to 10 gallons of water to re-hydrate the hide and prepare it for the final steps.
Photos
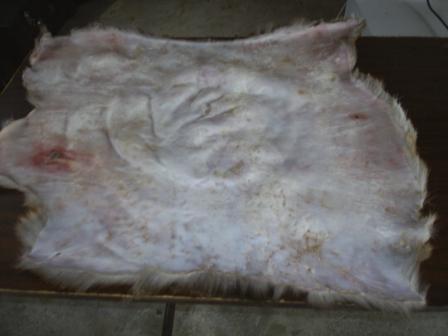
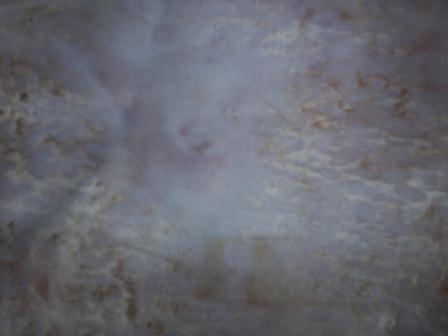
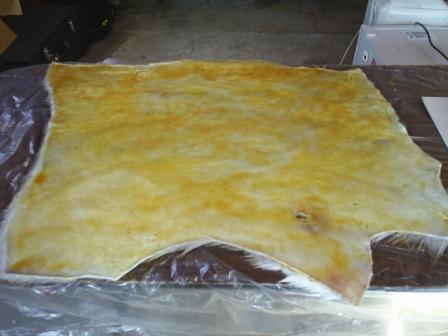
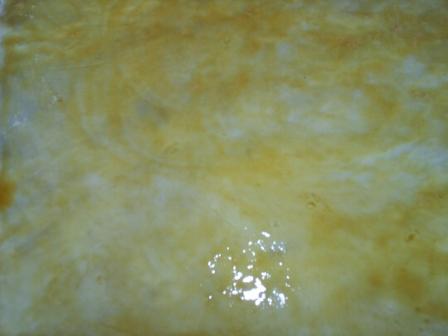
December 19, 2005
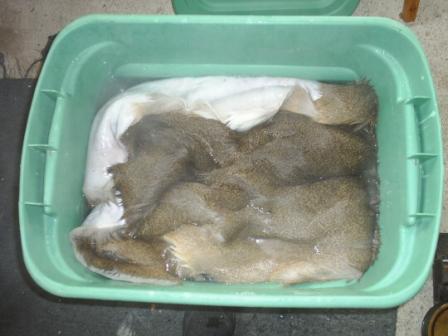
Hide has been soaking for about 24 hours. I drained it, and then rinsed the hide in fresh water to get rid of any salt residue. Once hide was drained and the flesh side was damp I applied the tawing mixture. Now I wait until the hide is completely dry, which might take as long as a week due to the temperature in the garage. Once dry, I should be able to rasp the hide to a desired texture.
What I did notice once the hide was wet was that there are several places where the scraping was deeper then other places. I’ll be more able to judge this when it’s dried thoroughly.
Photos
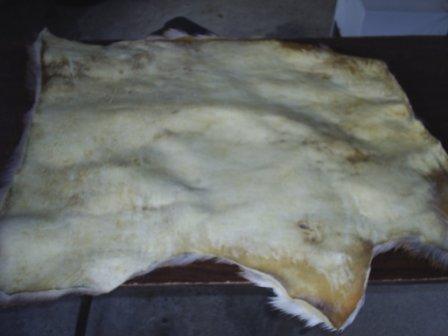
January 16, 2006
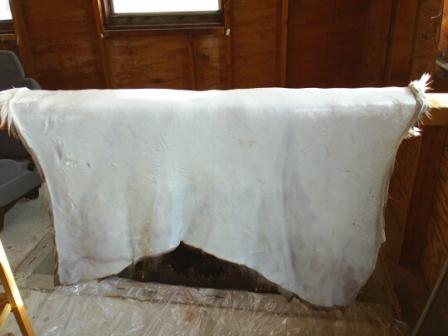
Hide is almost dry, a few more days and it should be ready to rough out. Thank God for the past few weeks where it has been dry and sunny.
Photos
January 29, 2006
Hide is ready to be roughed up to make it supple. Trimmed the hide down to a more presentable shape. All I need to do is get a pumas stone and rough it up.
As of April 29, 2006, the
hide has been done for several months. I
just haven’t finished the “journal” or taken any pictures of the finished
hide.
Final thoughts on the
project: Although I was ready to give up on it early on, I’m glad I saw it
through. It was a great experience, and
hope to be able to do it again.
![]()
![]()