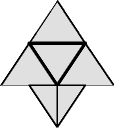


B- L- B+
R+ B+
L- B-


Because the puzzle mutates with each move, it may be hard to keep track of which side is what. Focus on the center tile (upside-down triangle) on the front side, and do not allow it to move at all during the transformation.

| 
| 
| ||
B- L- B+ | R+ B+ | L- B- | ||

| 
| 
| ||
B- | R2 L+ | L- B+ R- | ||
...Other solutions exist.
I. Match 2 Vertices Together | ||
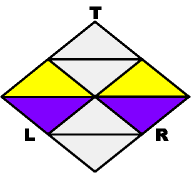 |
R2 (check)
Repeat the 3 moves (4 times max) | |
II. Swap the Other 2 Vertices in Place | ||
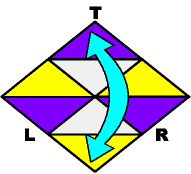 |
B2If and only if necessary. | |
III a. Rotate a Single Vertice Clockwise | ||
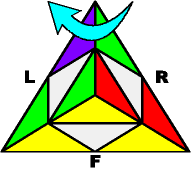 |
R+ B+ L+ |
|
III b. Rotate a Single Vertice Counter-Clockwise | ||
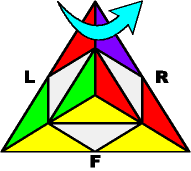 |
L- B- R- | |
Case I: |
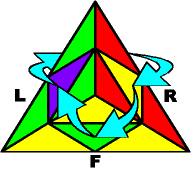 |
B- R2 L+ B2 R+ |
Result: Your Pyramorhix is solved! | ||
Case II: |
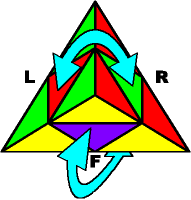 |
R2 B2 L2 |
Result: Your Pyramorhix is solved! | ||
Case III: |
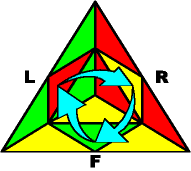 |
B- R2 L+ B2 R+ |
Result: Go to Case V | ||
Case IV:
| 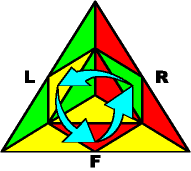 |
B- R2 L+ B2 R+ |
Result: Go to Case I | ||
Case V: |
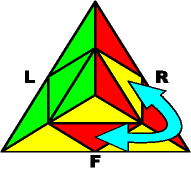 |
R2 B2 L2 |
Result: Go to Case I | ||