Flap Handle Installation
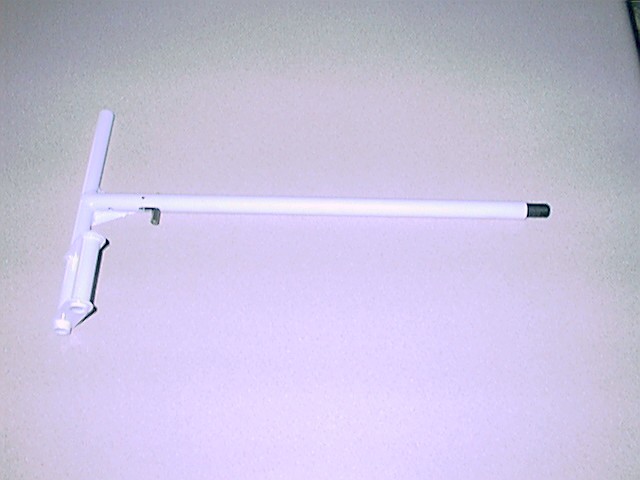
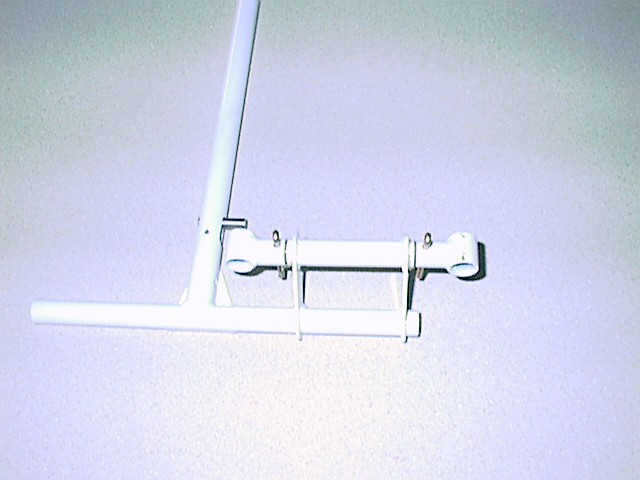
The installation of the flap handle is not too difficult. The first step is to assemble the flap handle. The detent pin is secured with a small roll end metal insert. This piece goes into a hole you drill through the flap handle and the detent pin. This hole is best drilled with a drill press. The spring and slider as well as the flap cable retainer clamps are assembled prior to attachment to the fuselage. Below are some images of the installation:
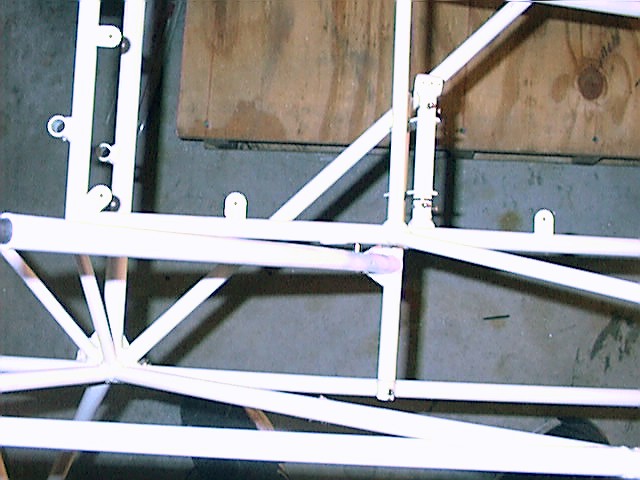
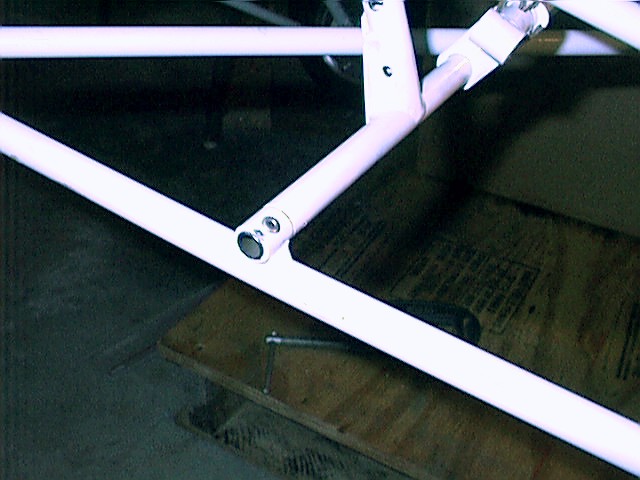
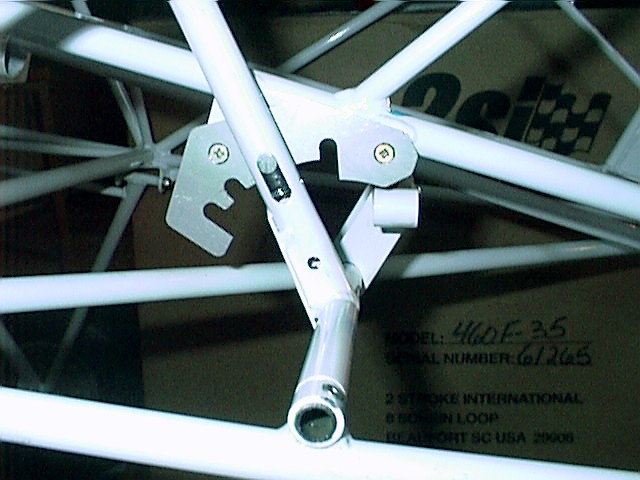
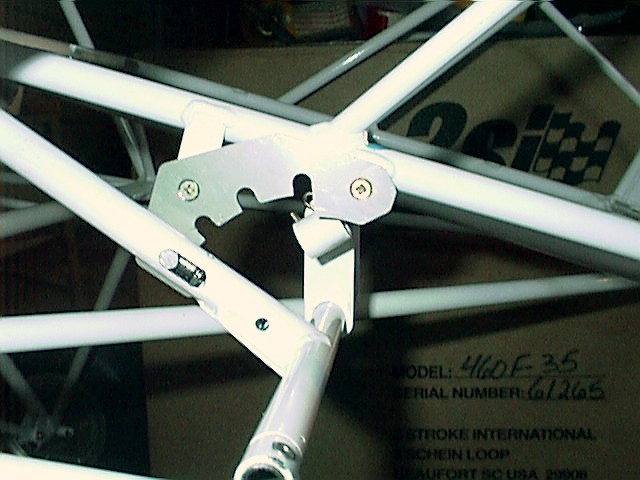
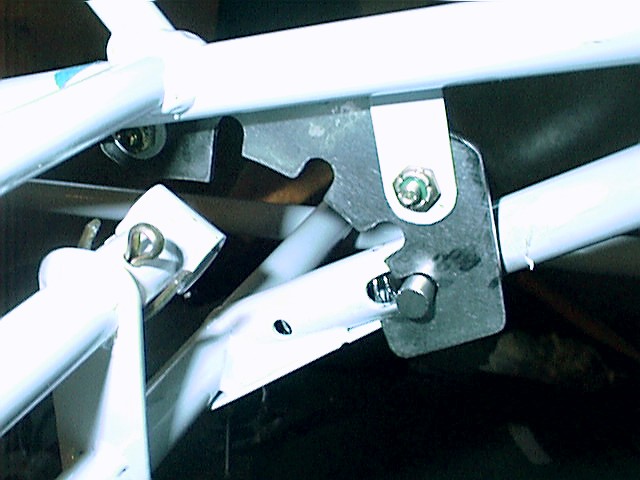
The assembly of the flap handle to the fuselage requires reaming of the slots for the flap handle pivot tube and alignment of the flap ratchet plate. The manual states that hot glue can be used to hold the ratchet plate in position. Double sided tape also works well. Below are photos of the installation: Note the rivet to secure the flap handle pivot tube. The last picture show the back side of the ratchet plate. Note the nut in the upper left corner. You may have to initially bend the tabs out slightly to facilitate attaching the nut. After attachment you can then bend the tabs and ratchet plate back into proper position.