Flap Bellcrank and Control Cable
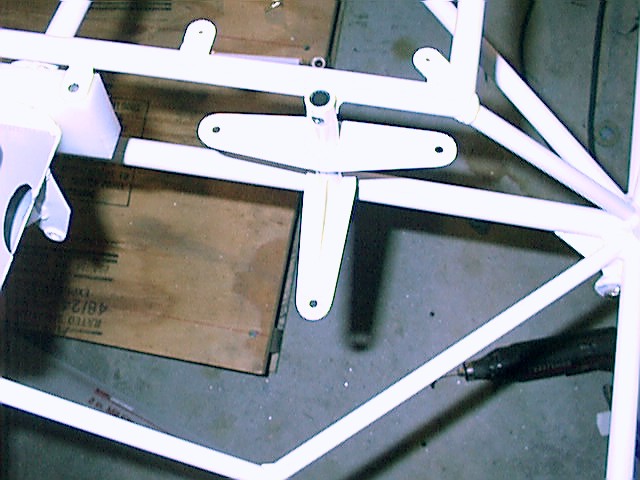
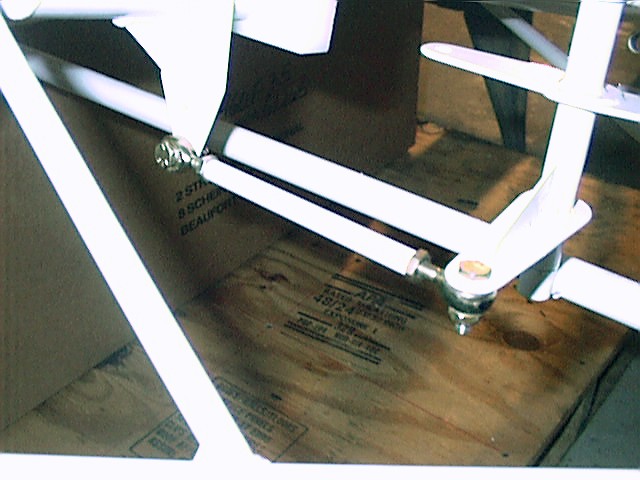
The flap bellcrank requires some removal of the power coating in order to fit properly. Also the slot that the pivot tube fits in to may have some weld material that creates a ridge that may prevent smooth operation of the bellcrank. Carefully file this material away to allow the bellcrank to move freely. Do not nick the fuselage tubing. Photos below:
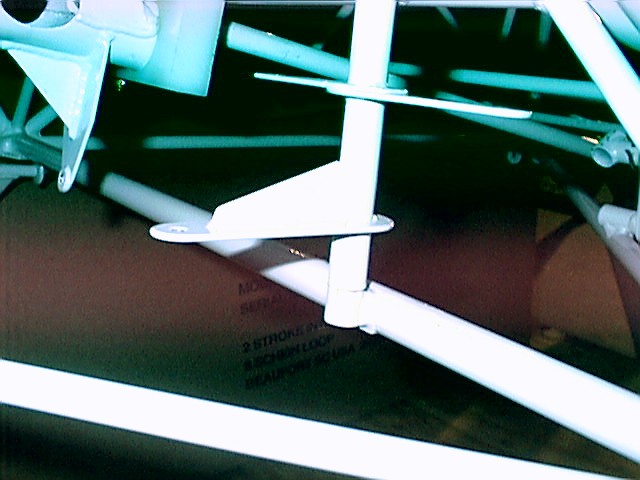
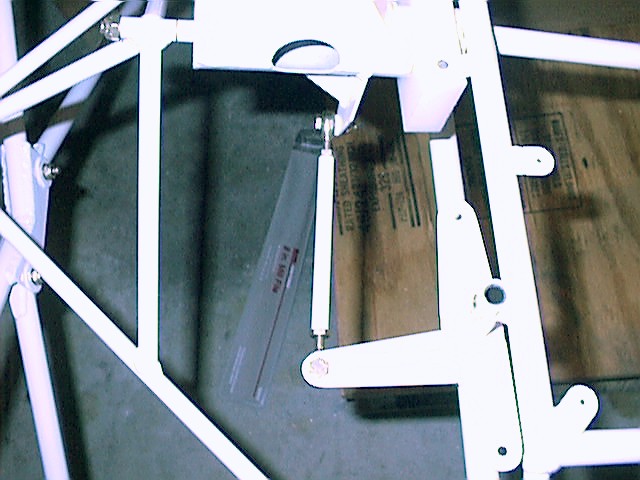
The pushrod for the flap bellcrank is a fairly easy assembly. However, if you require your wife to check if your tie is on straight, you may also want her to visually align the control stick and the neutral position of the bellcrank! Below are photos of the push rod for the flap and aileron control (flaperons).
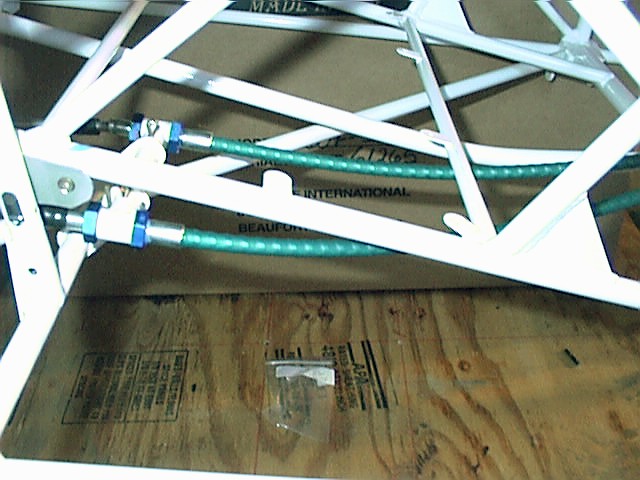
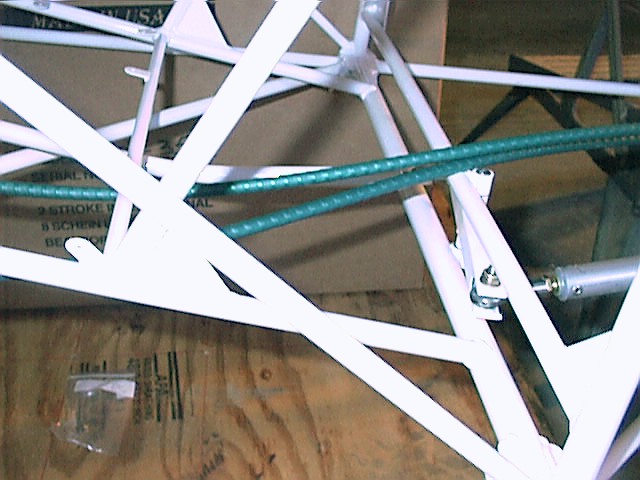
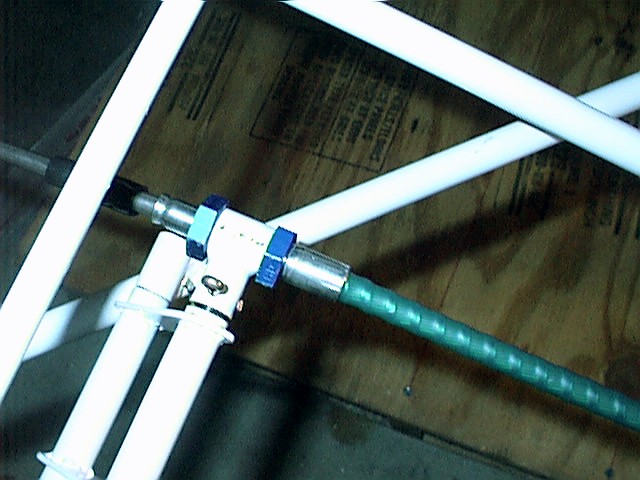
Below is a close up of the cable attachment to the flap positioner. Locktite is used on the blue nuts that secure the cable to the flap positioner.
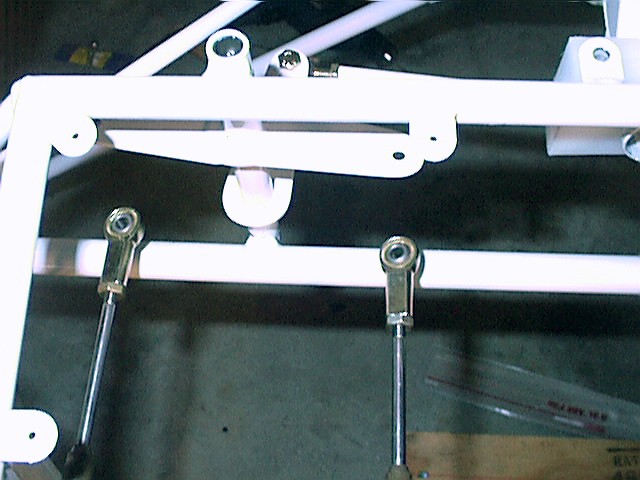
It's hard to see the routing of the flaperon cable in the manual. These pictures may help.