Elevator Controls
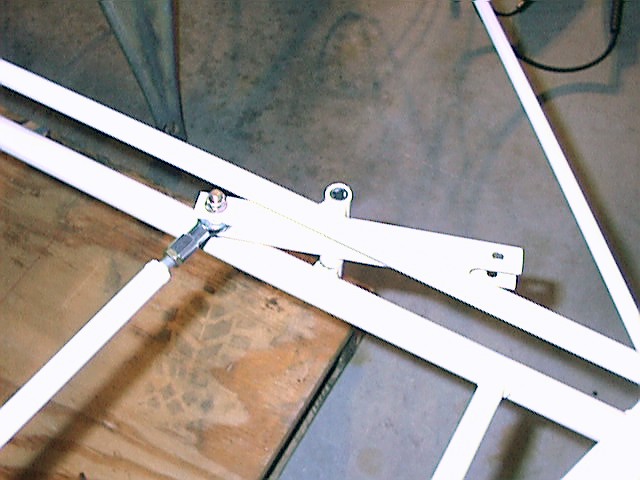
The elevator controls start with installation of the elevator bellcrank. Below are some pictures of the bellcrank. The forward push-pull tube is connected in the first picture.
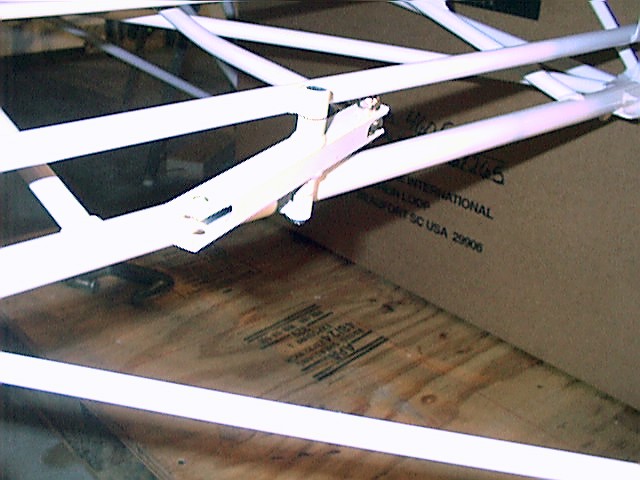
The next step is the assembly and attachment of the forward elevator push-pull tube. Note that there is no check nut on the front rod assembly. Also make sure that there is no internal burr inside the control column that might interfere with the operation of the push rod. Below is a picture of the forward push rod attached to the control column..

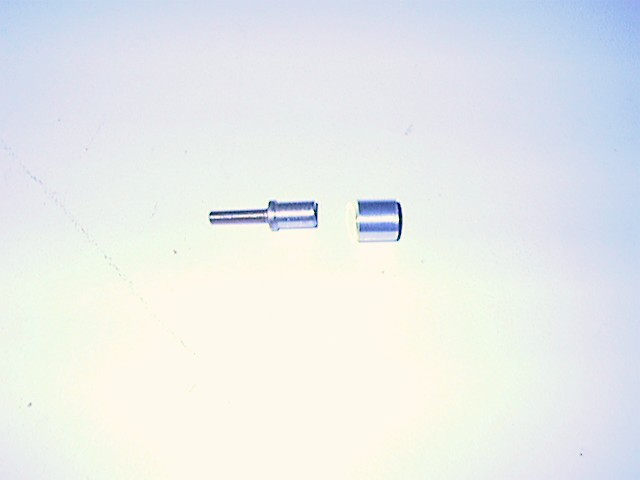
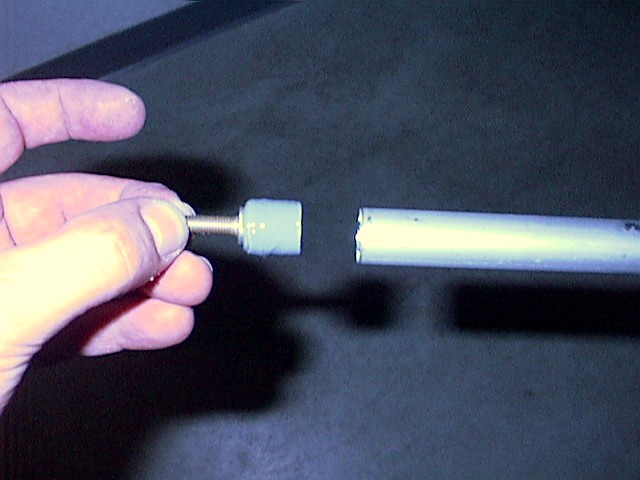
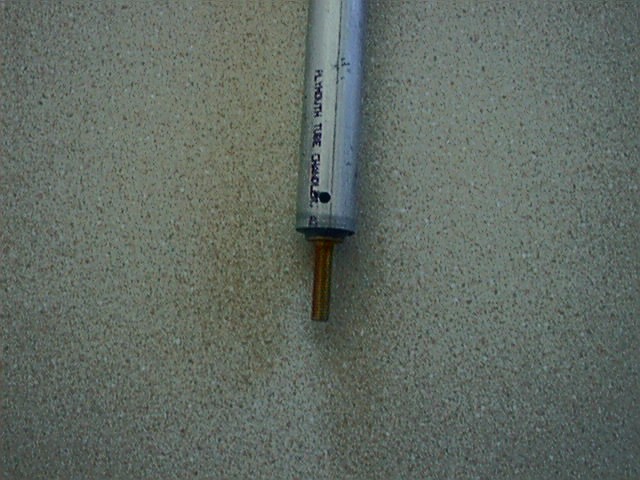
The Aft push-pull tube needs to be cut to 97 inches. Care should be taken to remove the burrs at the ends of the control tube. Also, the rod end and rod end bushings need to be prepared for epoxy as per the manual. Below are pictures of the epoxy gun for use with the Hysol epoxy, the rod and and bushing and the end of the push-pull tube with Hysol just before seating. The last picture is the tube end after the Hysol epoxy has cured.

to be continued