THE FRAME WAR
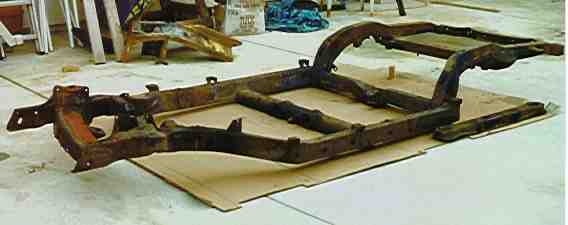
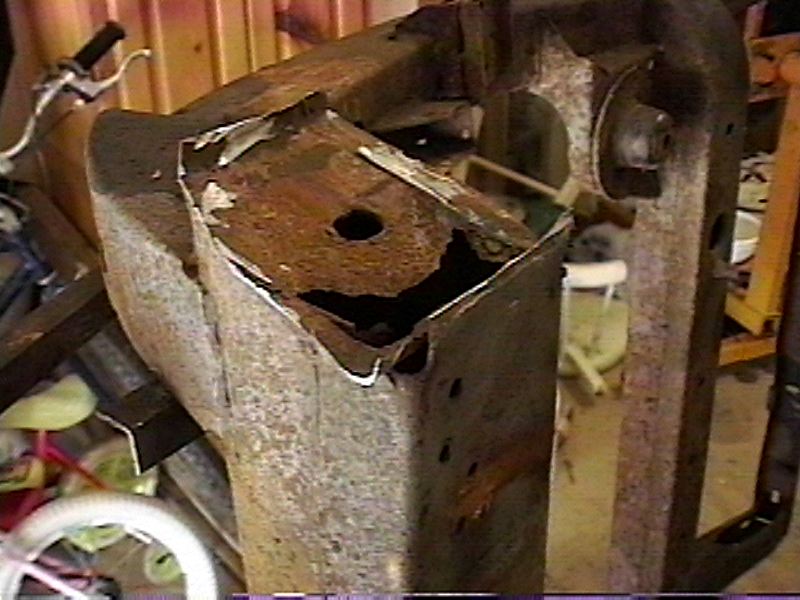
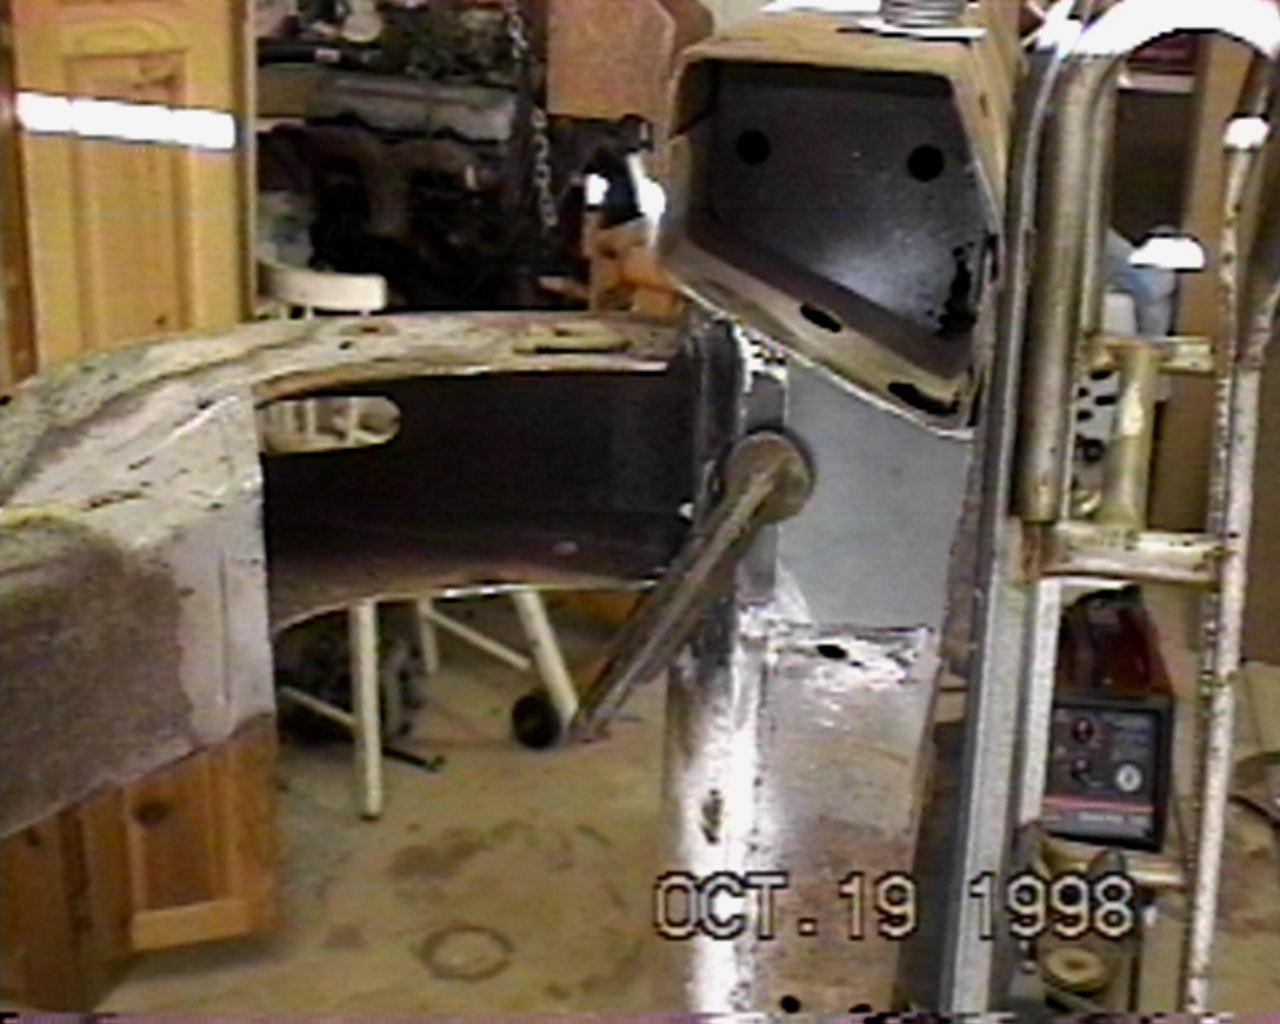
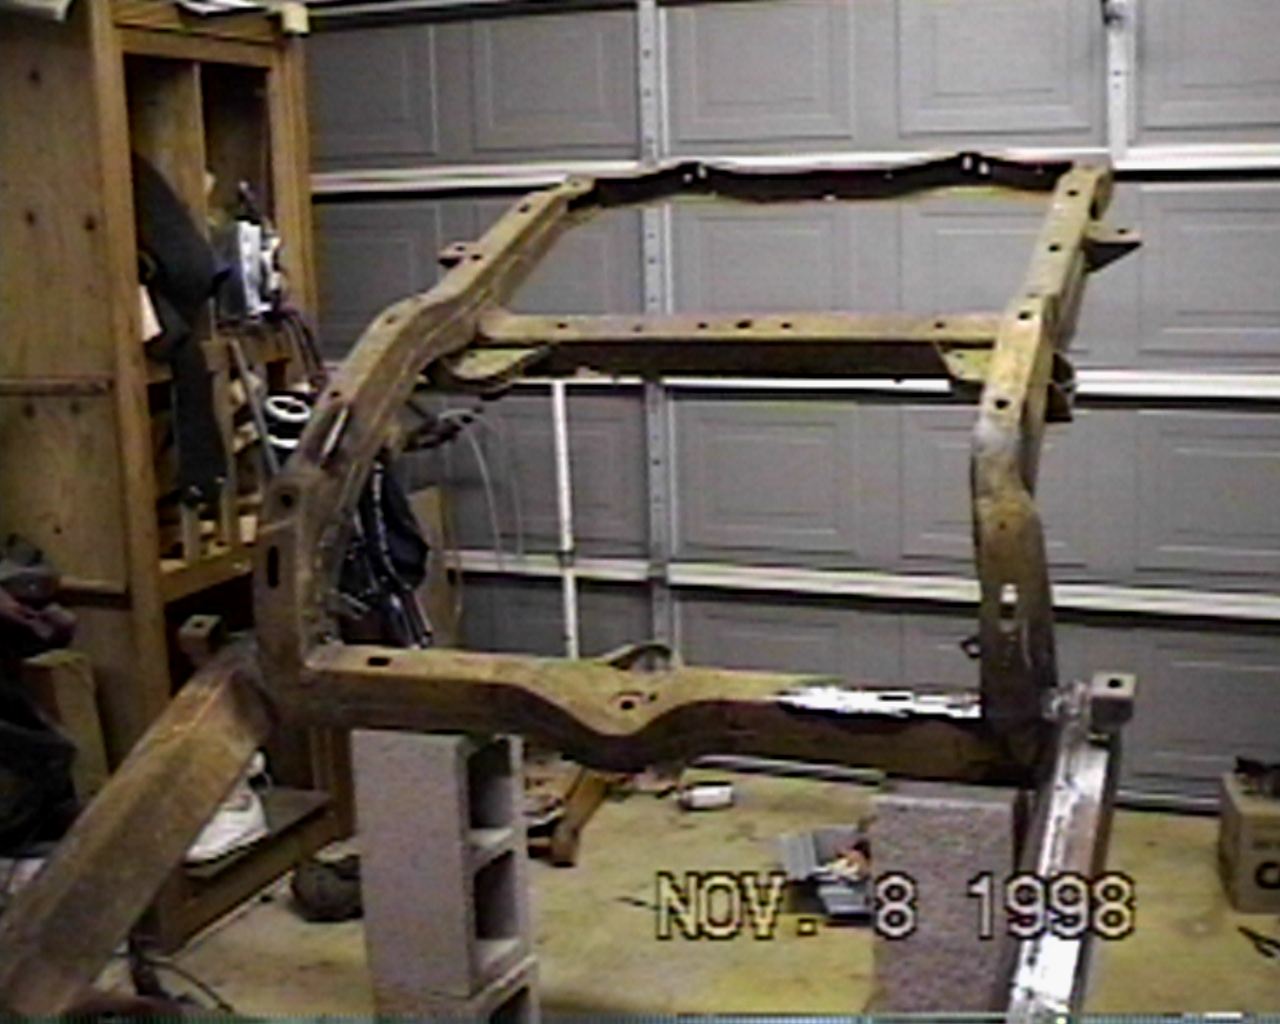
This is the frame with everything removed.
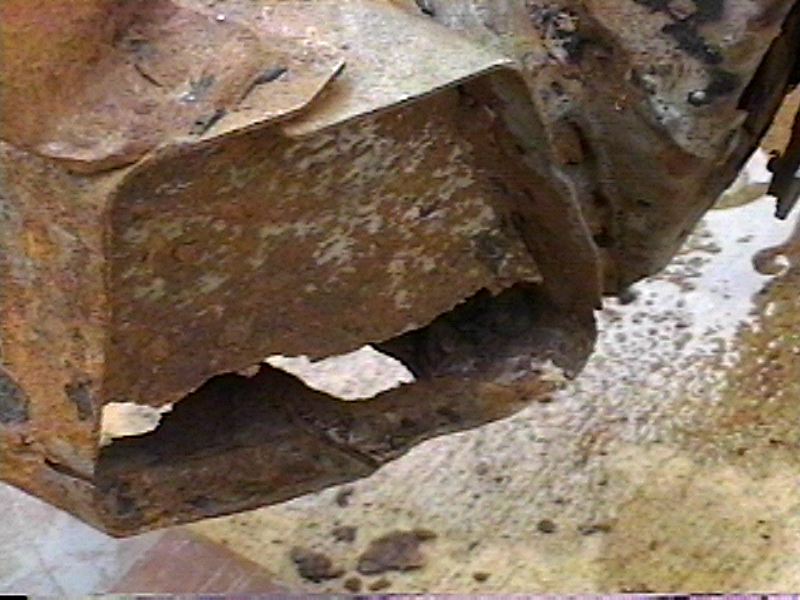
The rust is so bad on the left rail that the whole bottom of the end plate is rotted away. The bottom of the inner and outer frame rail is rotted also, that is why you can see right through
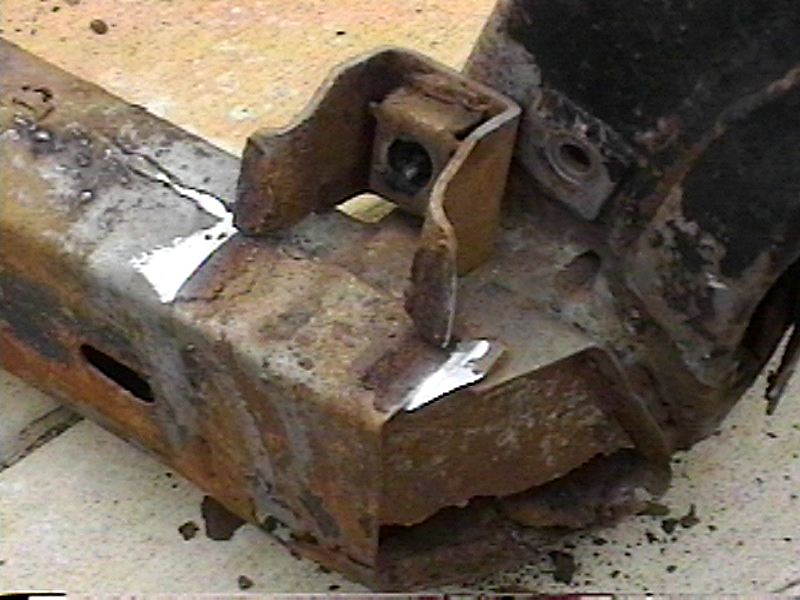
The body mount is in great shape so I cut of the welds and removed it from the rail section that will have to be replaced
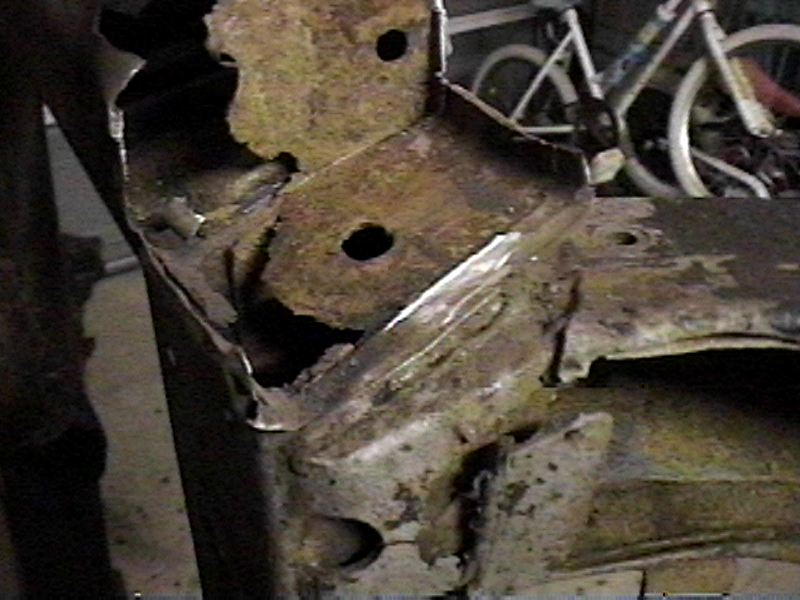
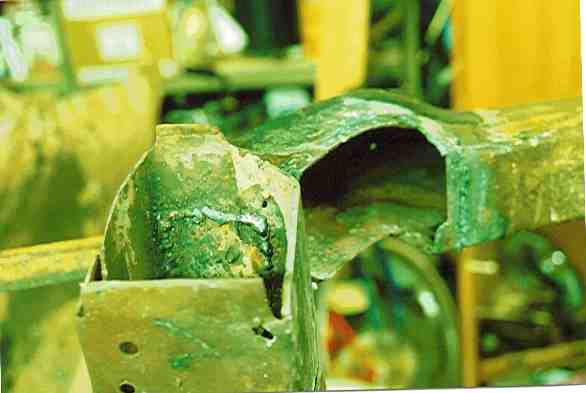
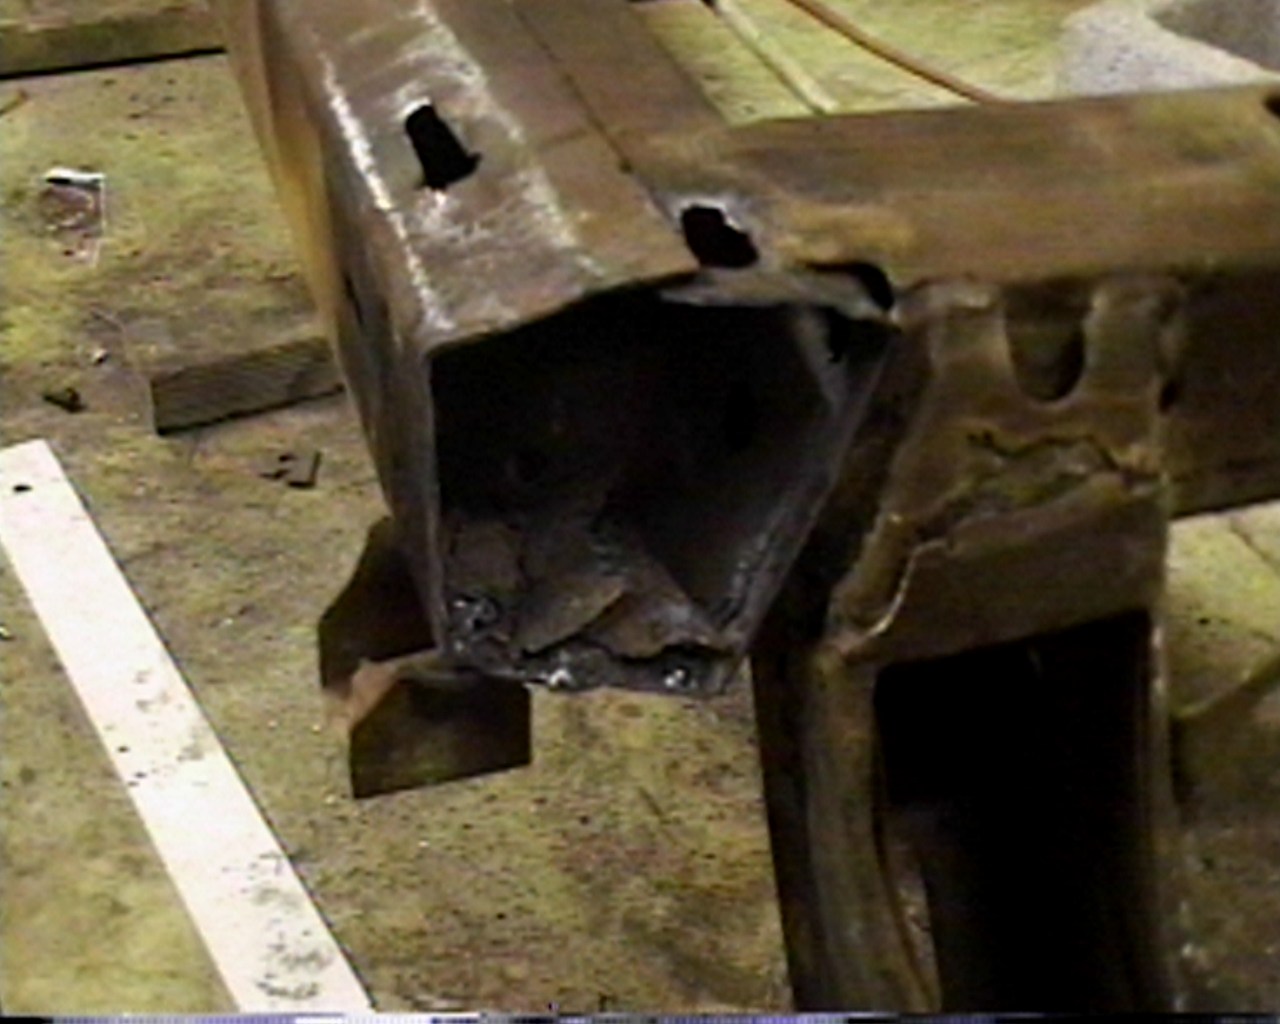
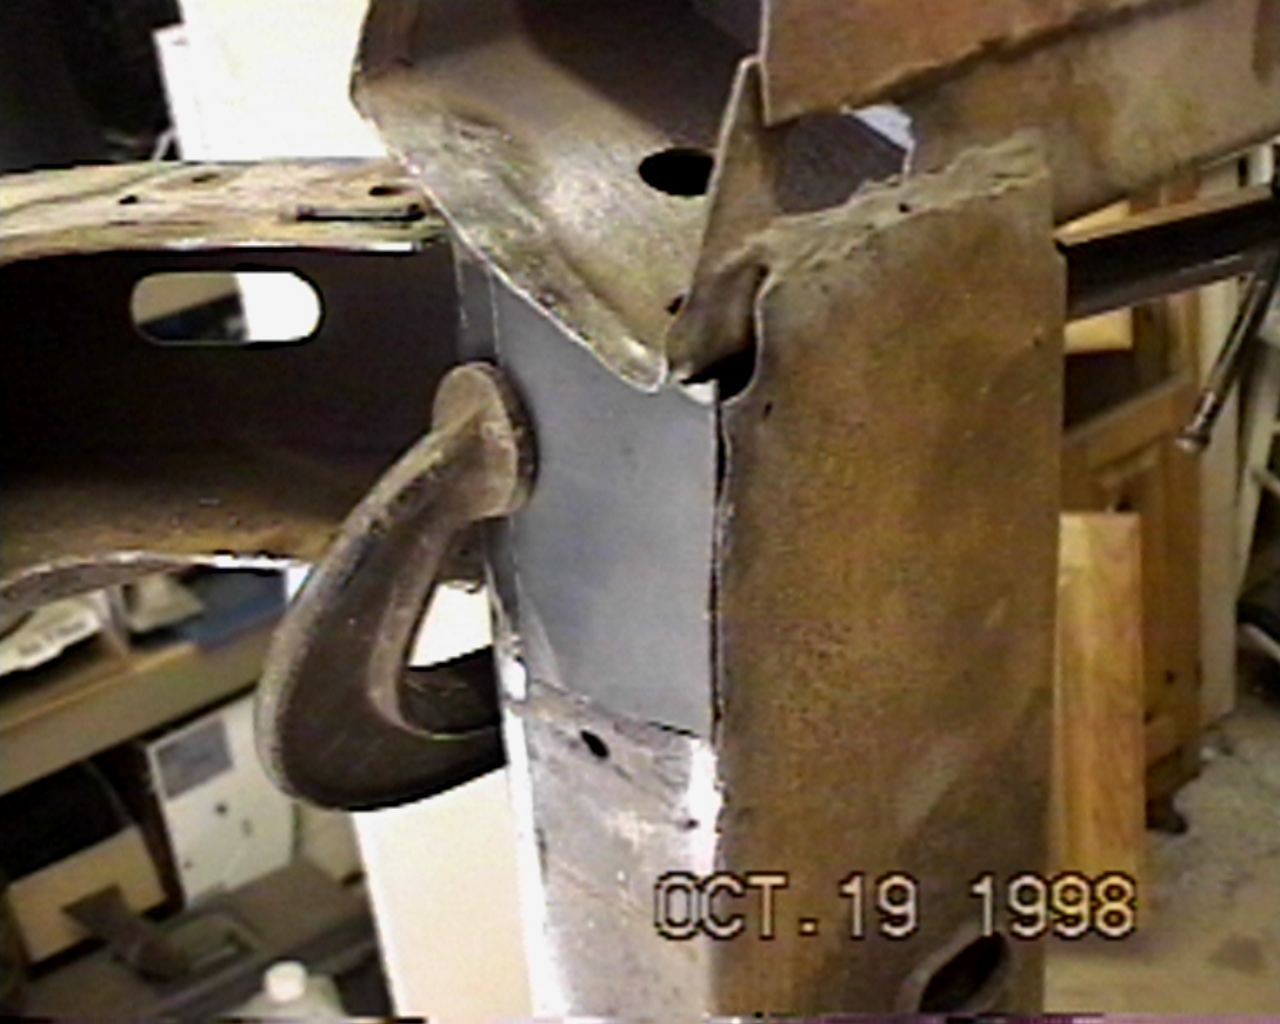
This is a shot of the same area except the frame is standing on its side. I have cut away the last 4" inches of the frame rail to reveal what remains of the inner jacking support(top left). The rotted section in the middle is actually the inner frame rail, Notice the damage to the rear kickup. In the lower area of the kick up what looks like steel was actually crystalline rust. One smack with the hammer and it crumbled away. Almost everything in this shot was replaced.
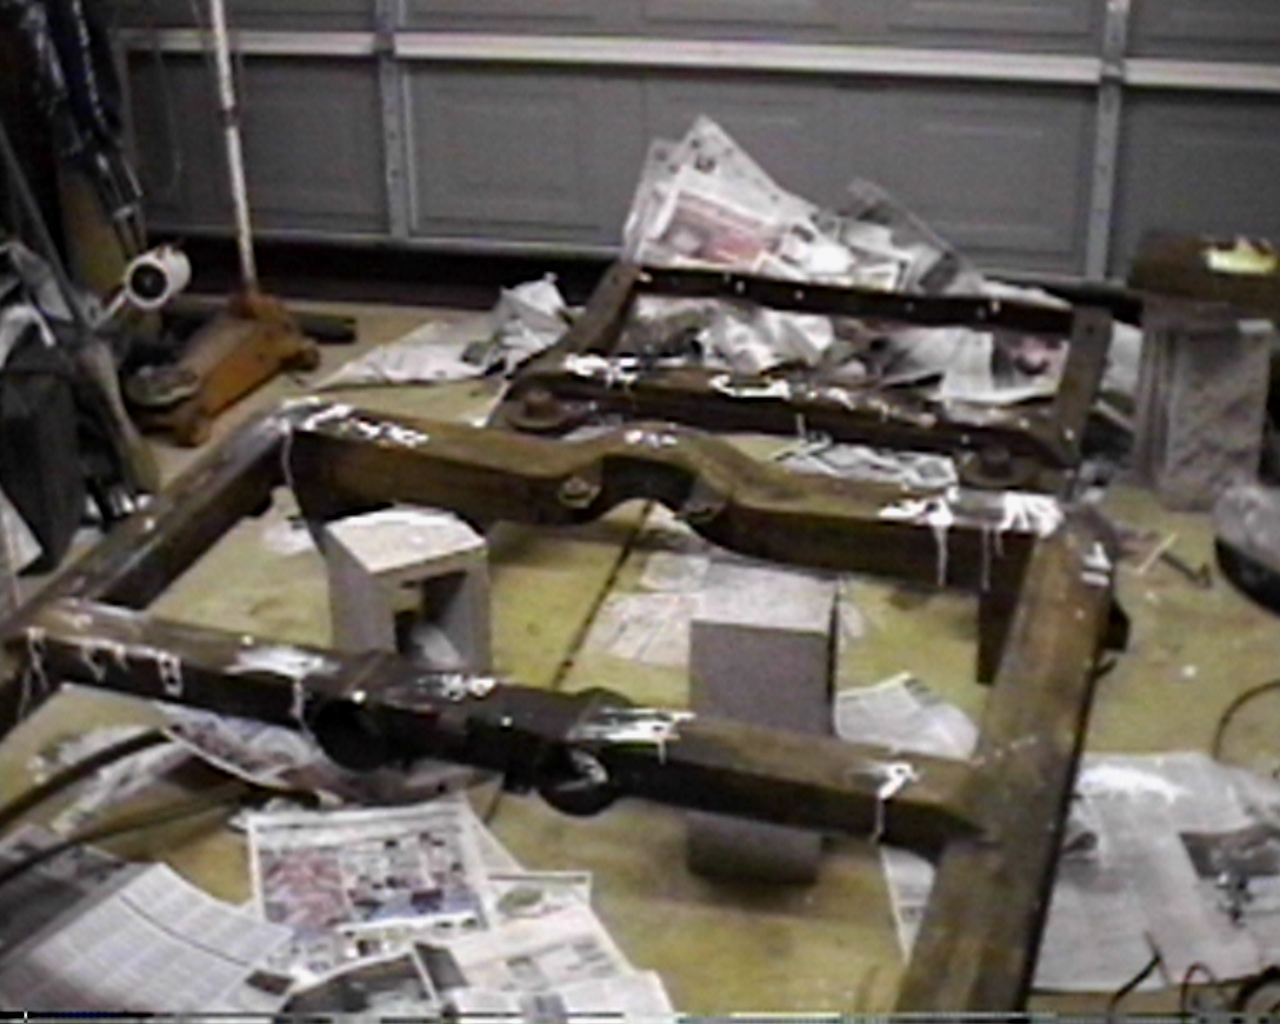
This is again the same area but looking from the left front and with 2' of the left frame rail removed. The rust was very localized to the area at the crossmember
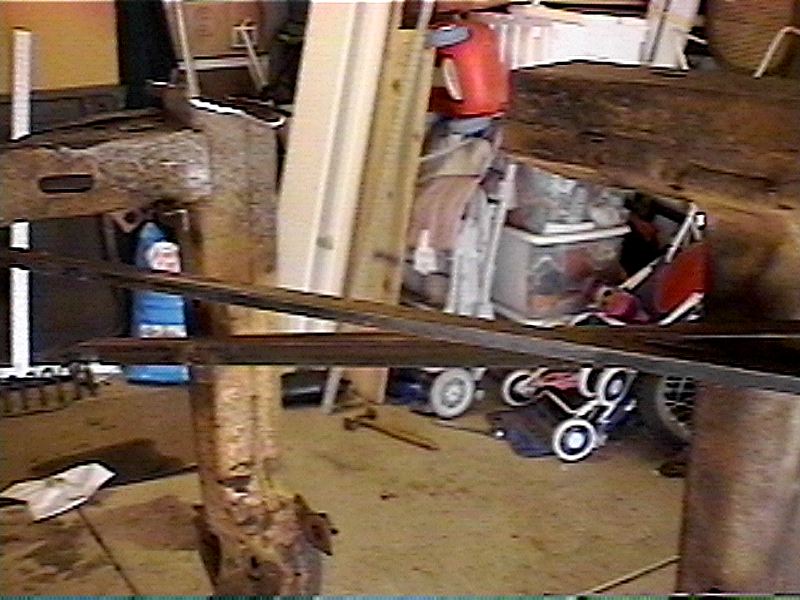
The 2' of frame rail is clearly missing. The angle iron in this shot was welded in place before the work began to insure that the rear frame section did not warp out of place. Regardless the frame will go to the alignment shop and will be laser sighted to insure everything is as it should be.

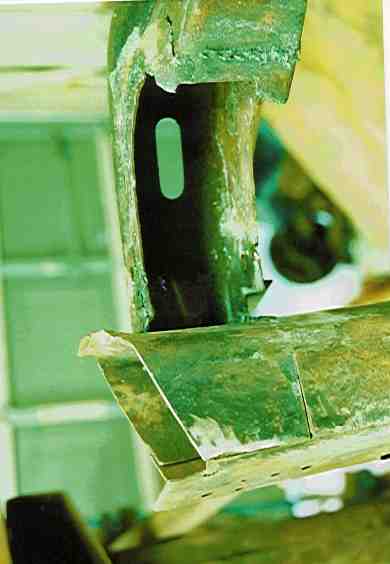
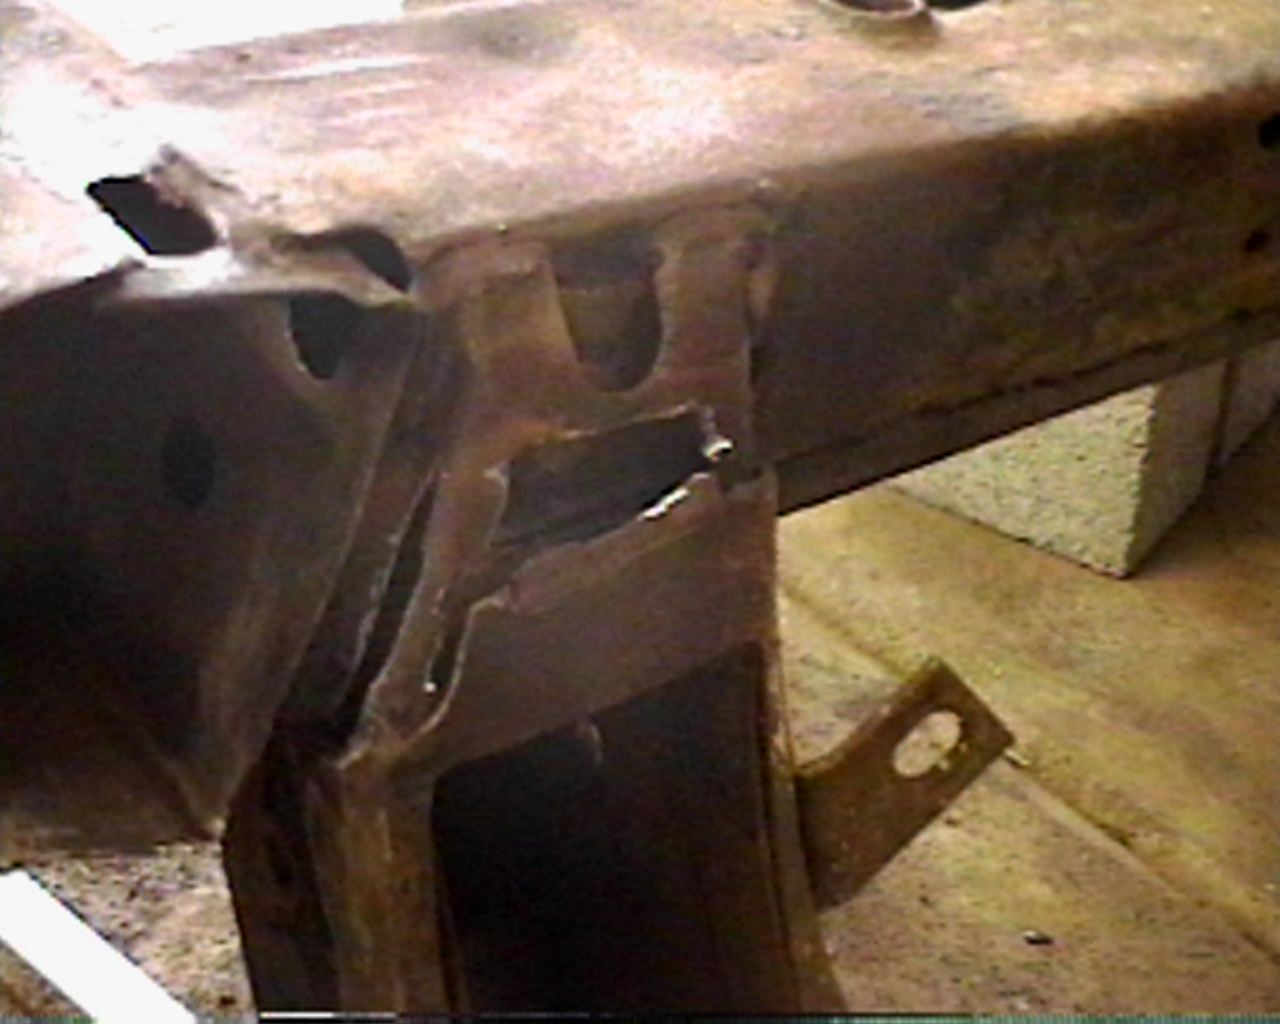
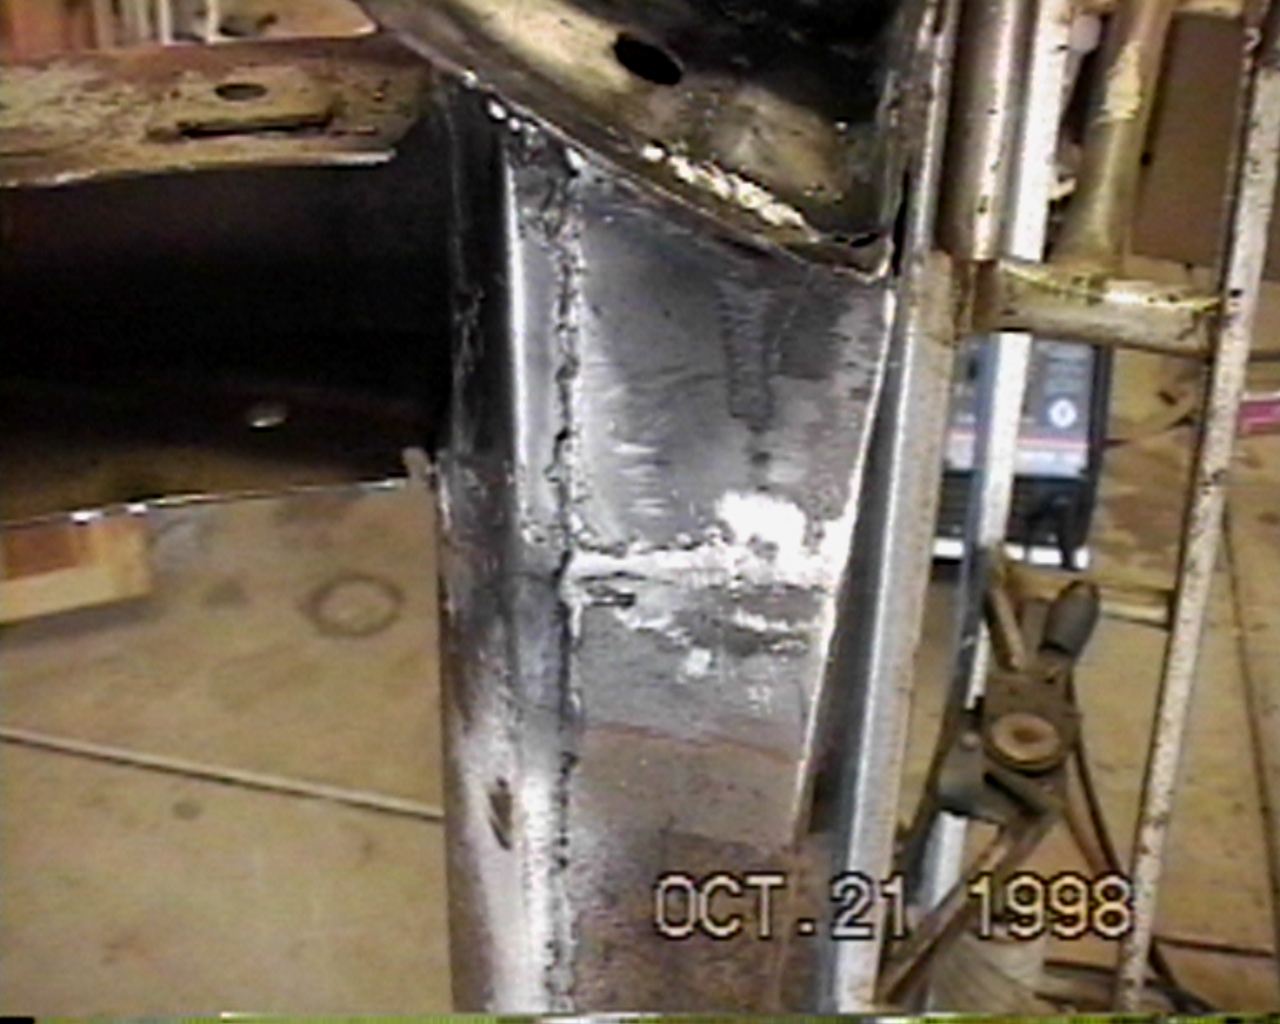
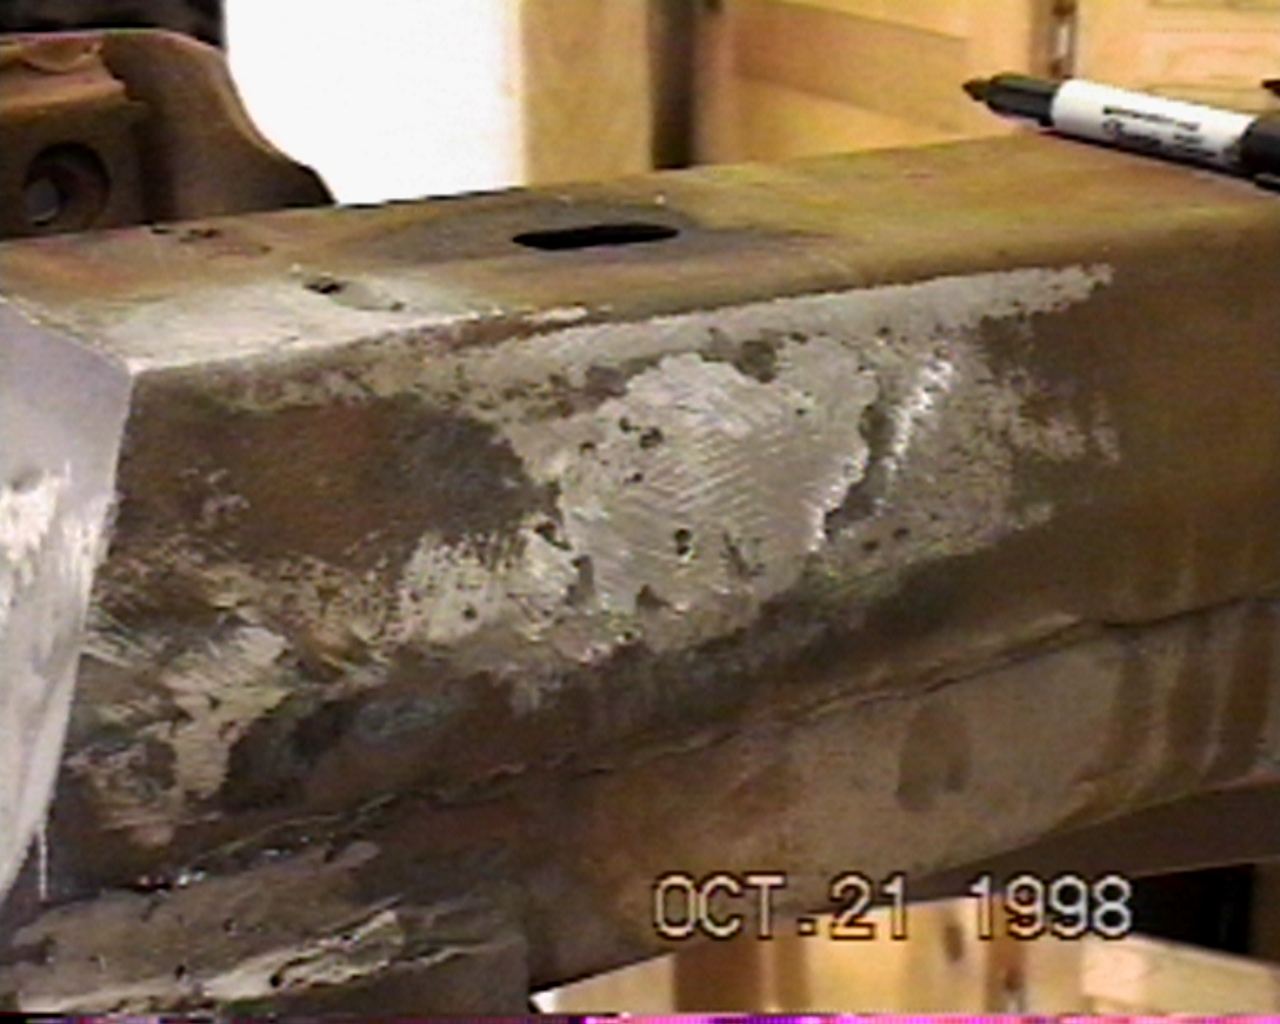
close-up of the remaining left hand frame rail. Notice the nice thickness. The rust here is just surface rust.
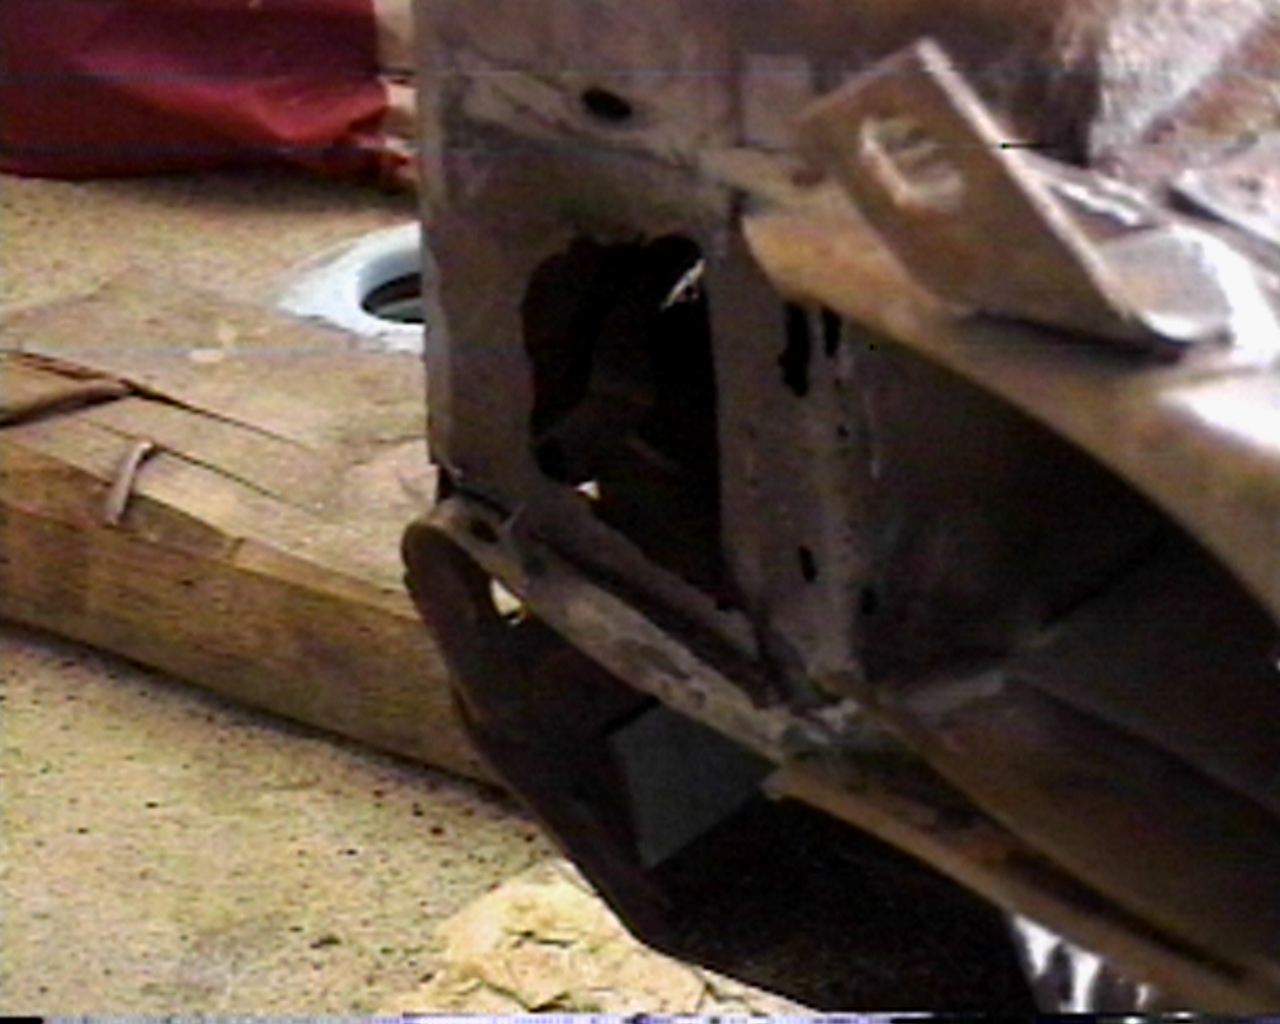
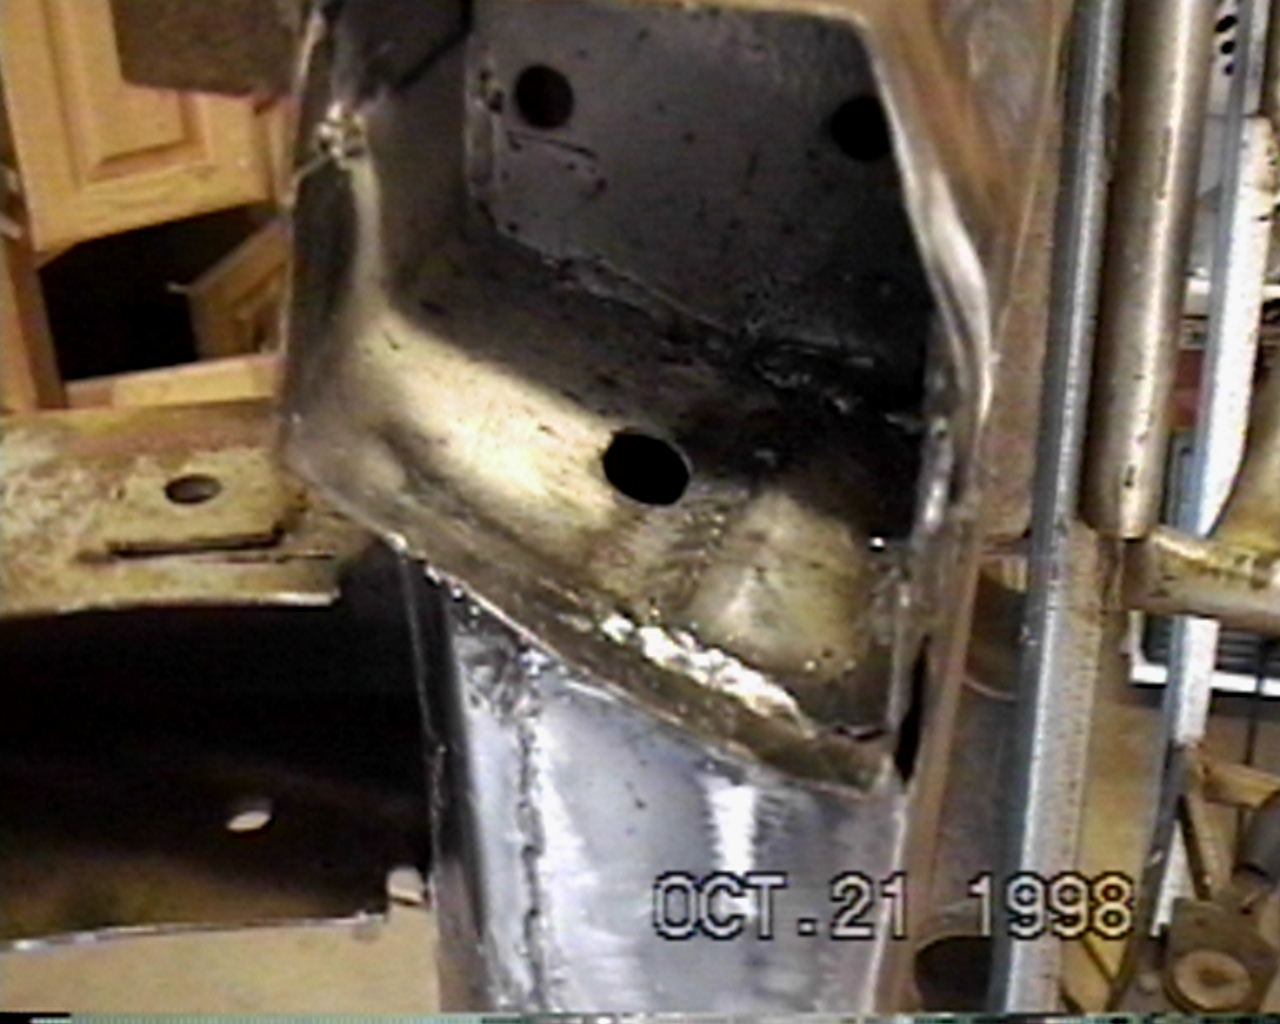
This is a shot showing the left rear kick-up with the rusted sections removed.
The crossmember section at the bottom was also rotted. This shot shows the new section in place.
This is a bottom view of the above

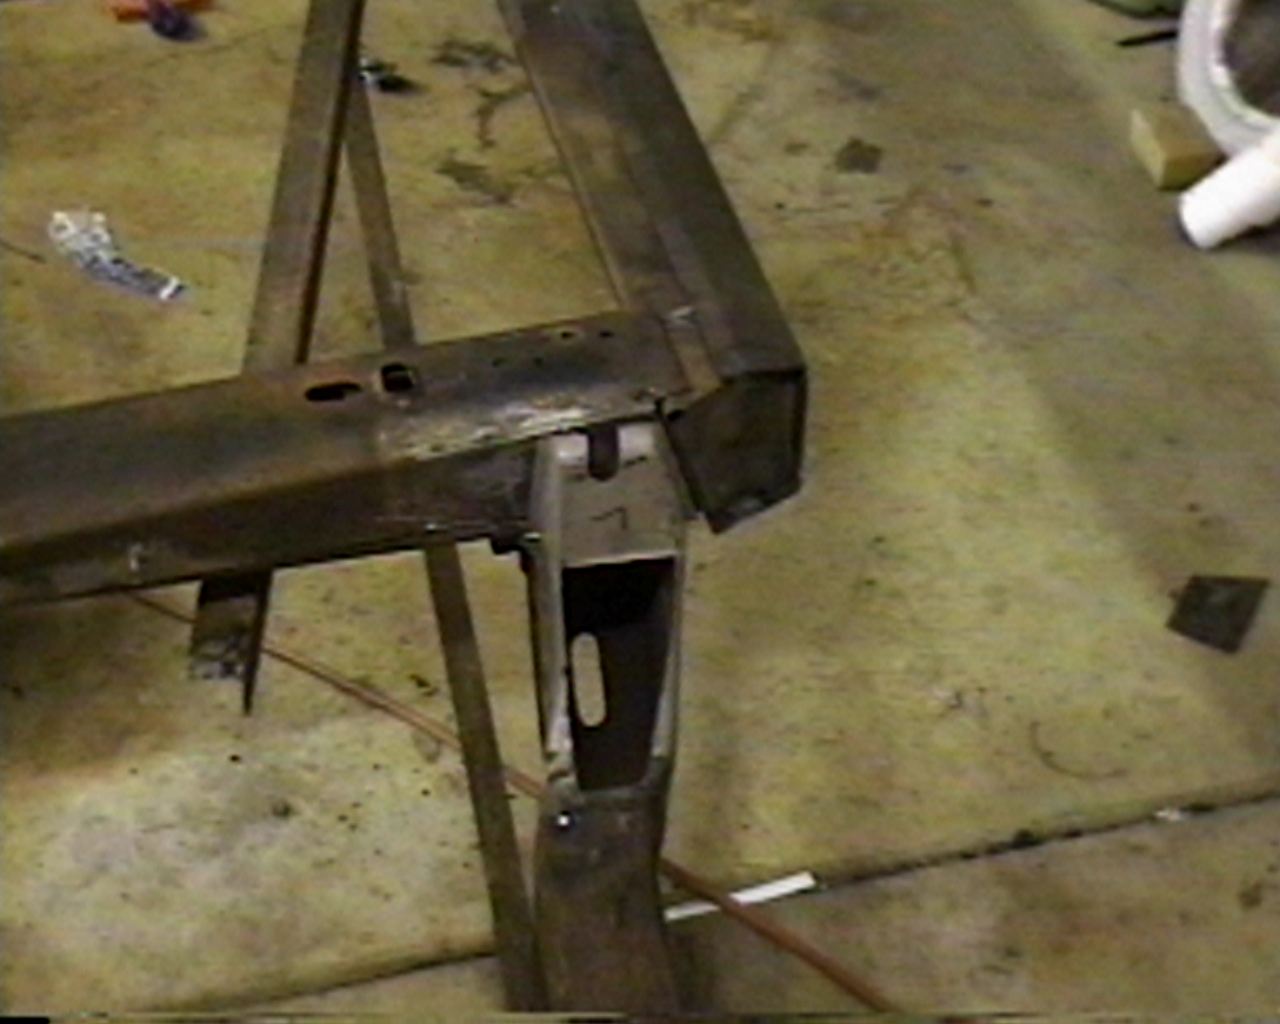
The new inner frame rail has been welded in place. This shot also show the new kickup(Marked with an "L")
Now moving to the Right side and removing the cap on the Rail, it does not look good. Believe it
Or not it is way better than the left side.
Panning back to the Left side, this is now the good side.

Close up of the Right side after cleaning out the rust debris in the frame rail.
Begging to cut the bad sections out.
After cutting off the Lower back half of the Kick-up, the rust on the cross member, it is revealed
That the rust damage is as bad as the left side was.
The healing begins. This shows two custom made repair sections in place and
Ready to be welded. The second piece is left of flat piece shown. IT is custom formed
To match the top half of the cross-member. Note the hole just south of the new flat piece.
This is where the guys at GM burned through with their arc welder when the frame
Was made.
Lower view of the repair section. Notice the Hole in the Right Frame rail.
repair sections welded in place. I also welded the weld hole closed
There was some rust inside the rail. This shows a steal plate welded in place.
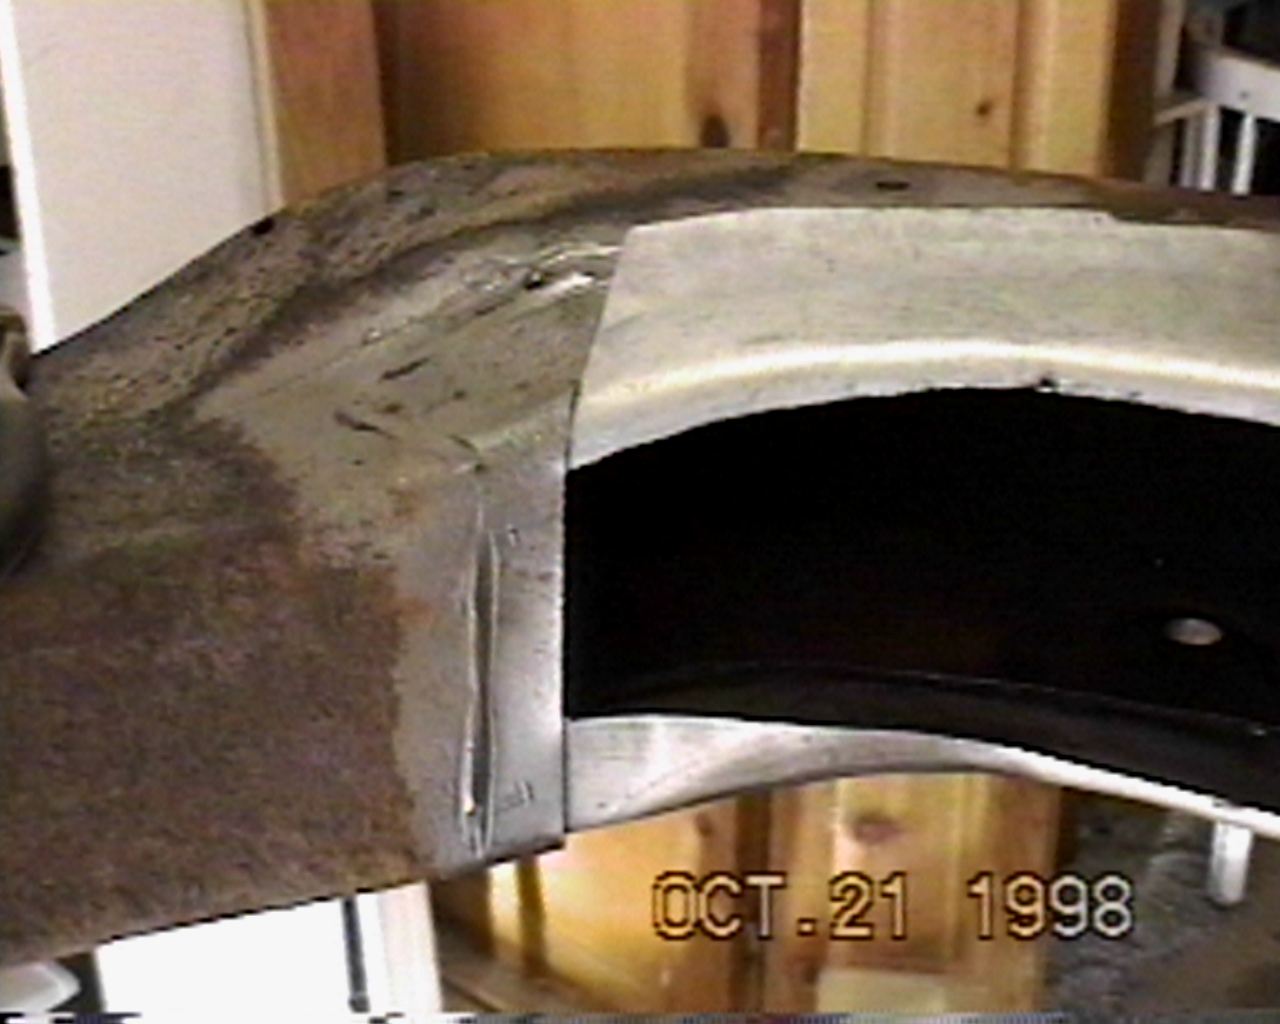
New rear kick-up section from Caledonia Classic Cars in Michigan. Also notice the
New Frame Rail End Plate tacked in place. The new kick-up piece will be welded over the sections
That was replaced. However the weld will actually be to the cross-member and the side rail
And not the repair sections.
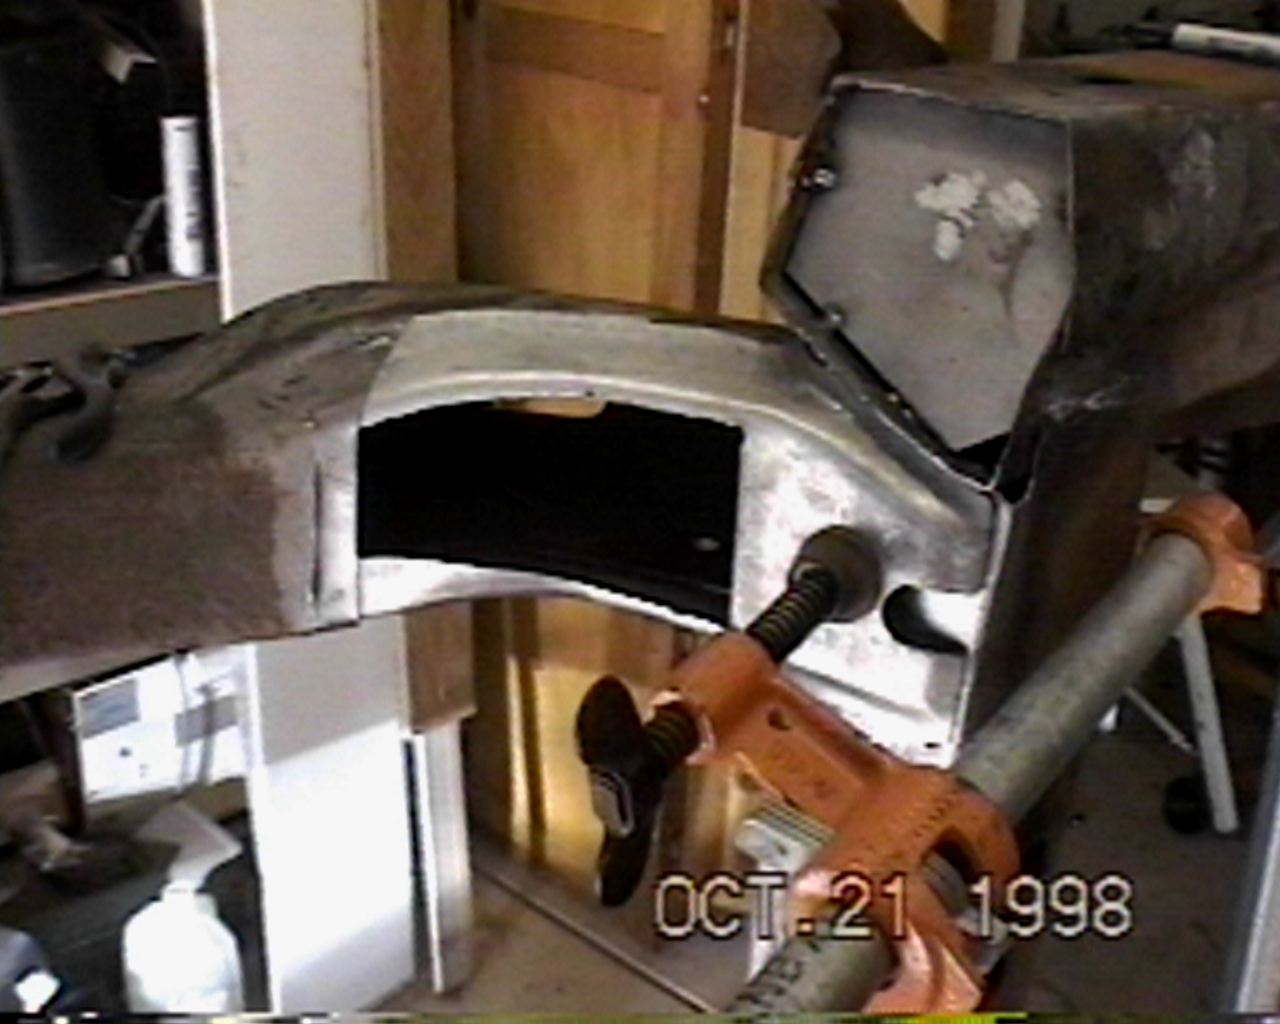
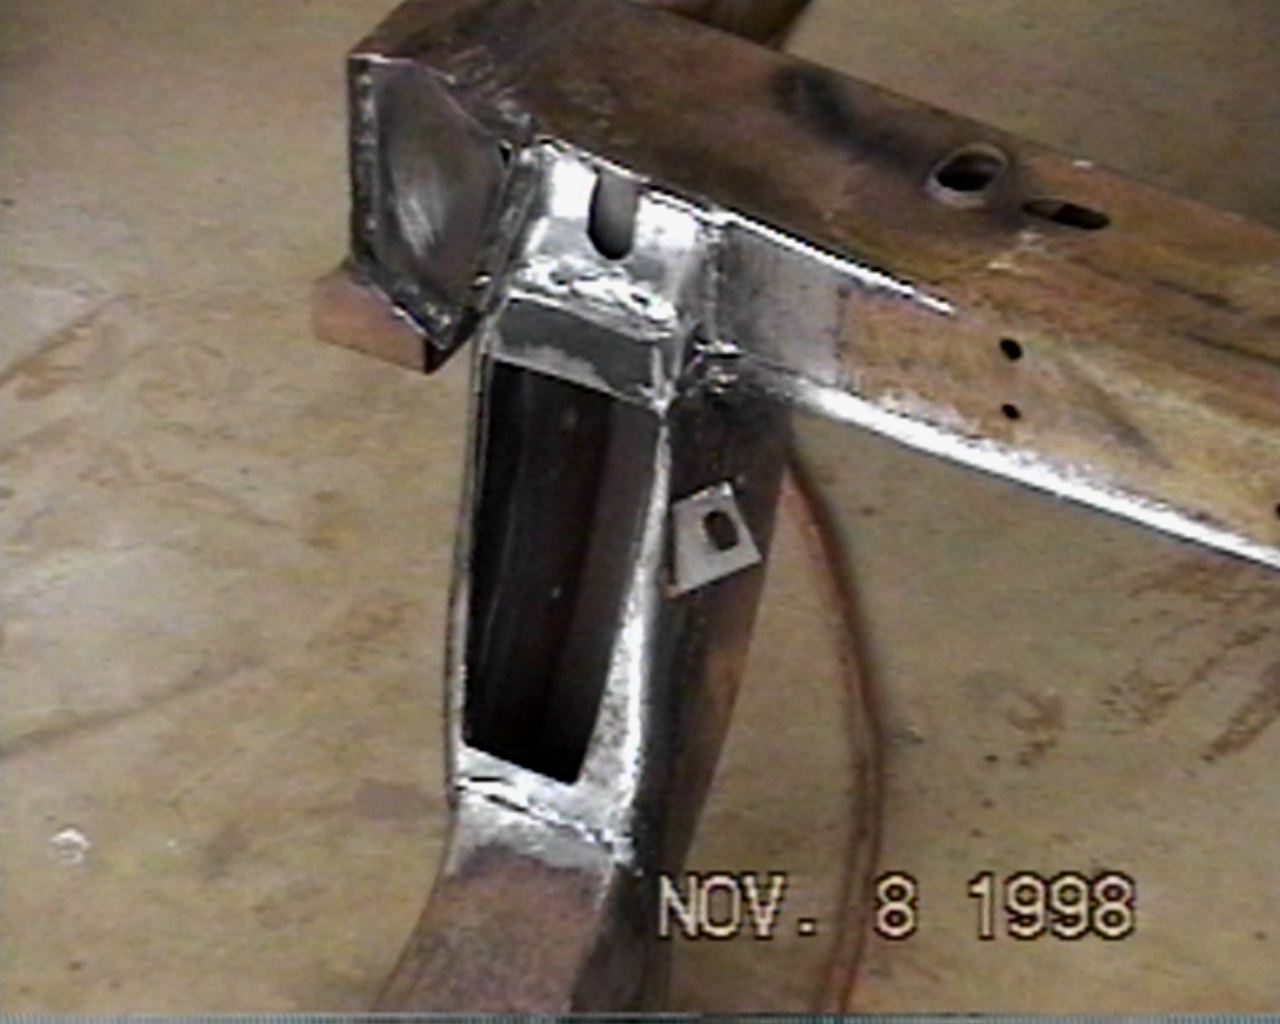
The Kick-up has been modified to fit tightly against the existing rail and weld.
The replacement kickup has been trimmed to fit snuggly. This seam will be welded
But the strength will come from the trailing arm opening reinforcement that is welded over this area.
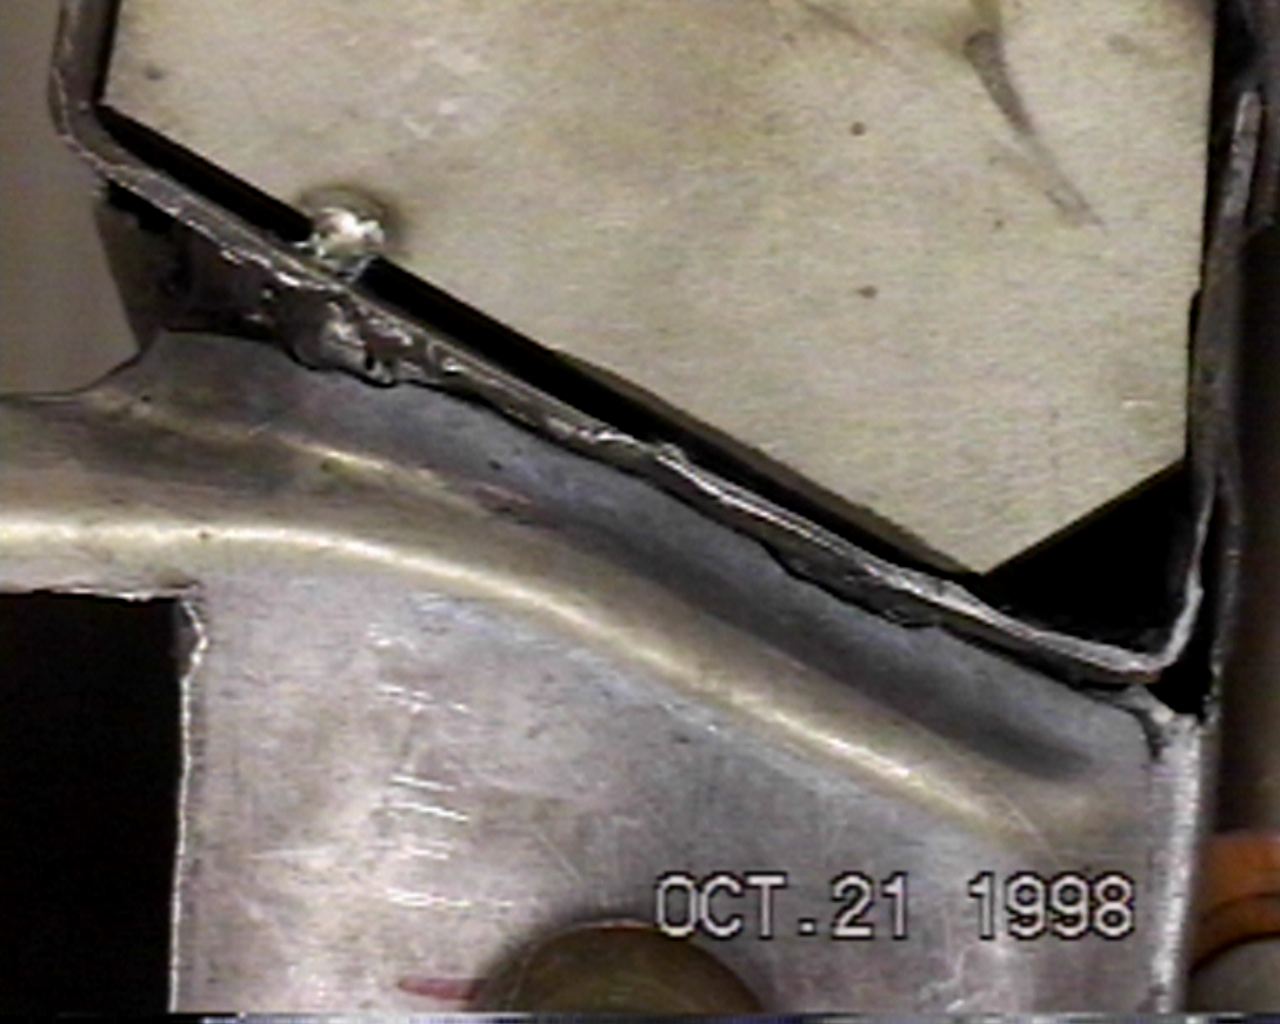
This shows the new kick-up and the repaired hole in the rail that was shown above.
The area in the center was where a slot was cut in the rail to allow the side pipes to
Be attached. A steel plate was welded behind it and then the depression was filled
With weld.
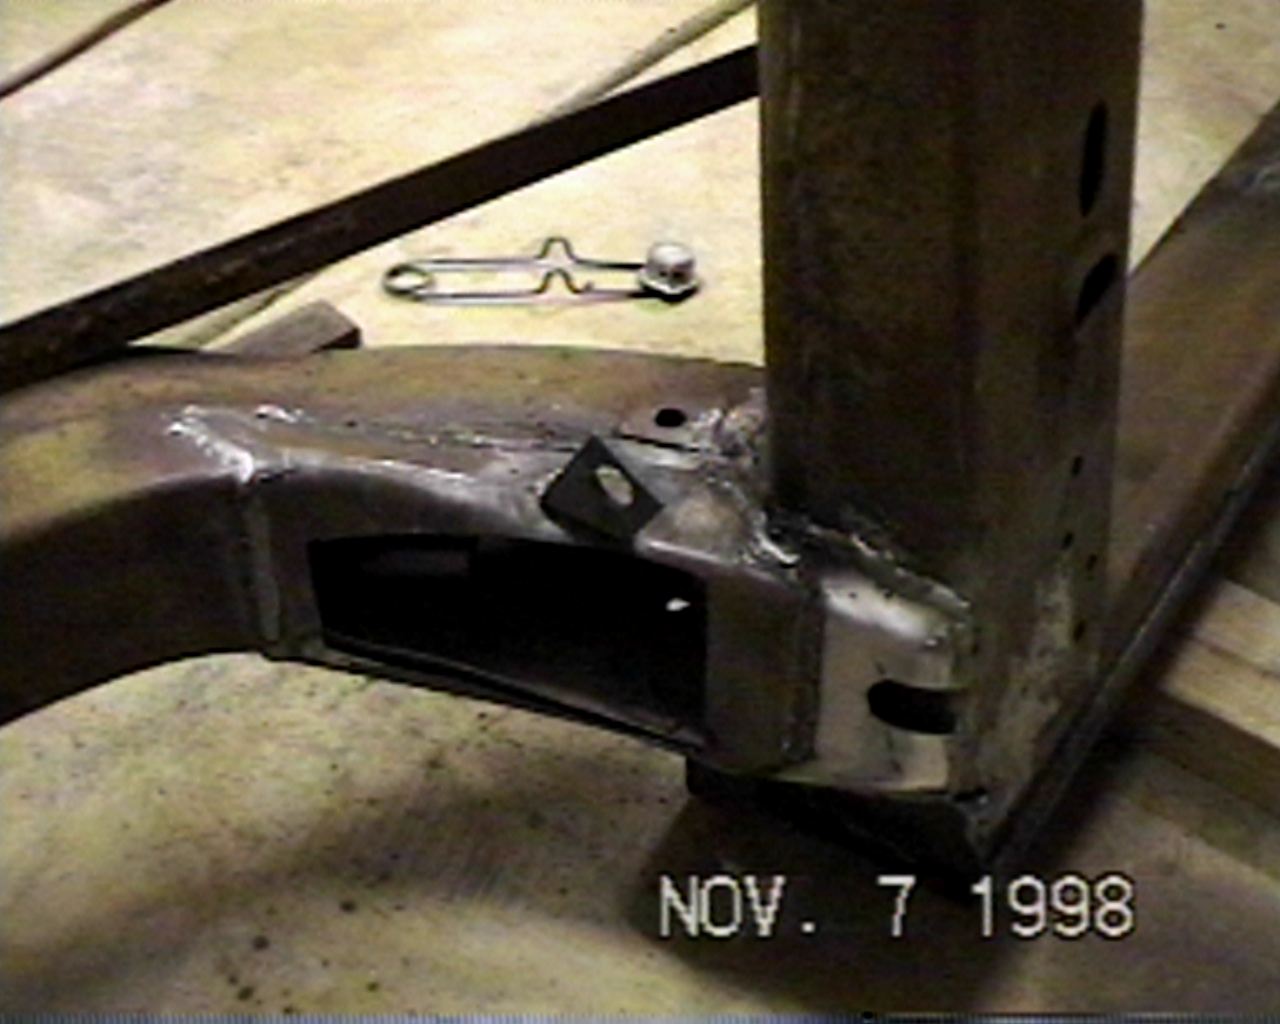
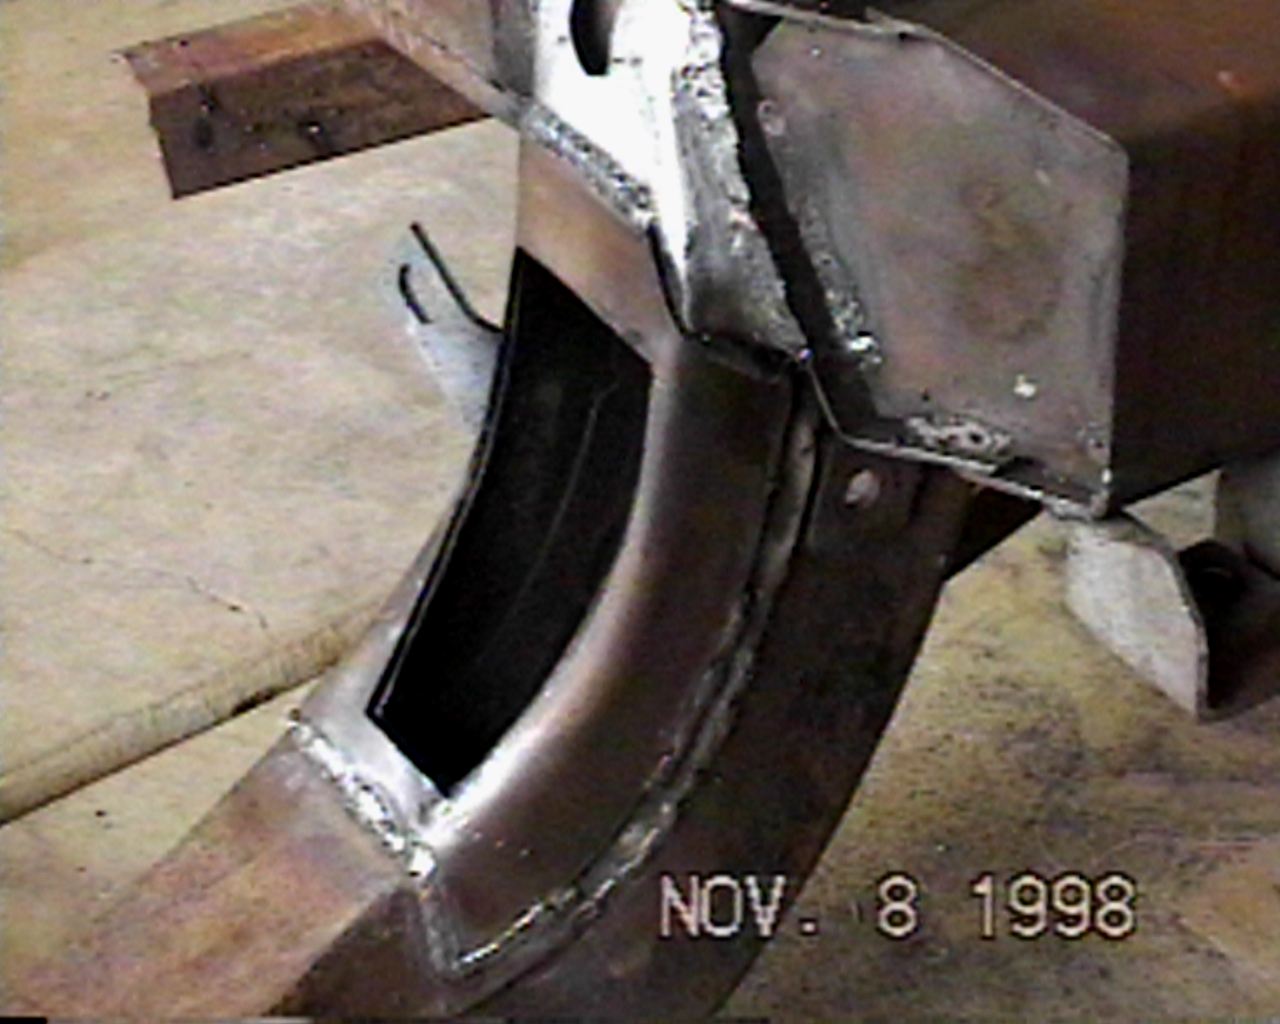
This shows the left side after the trailing arm re-enforcement has been welded in
Place and the entire assembly is welded and complete
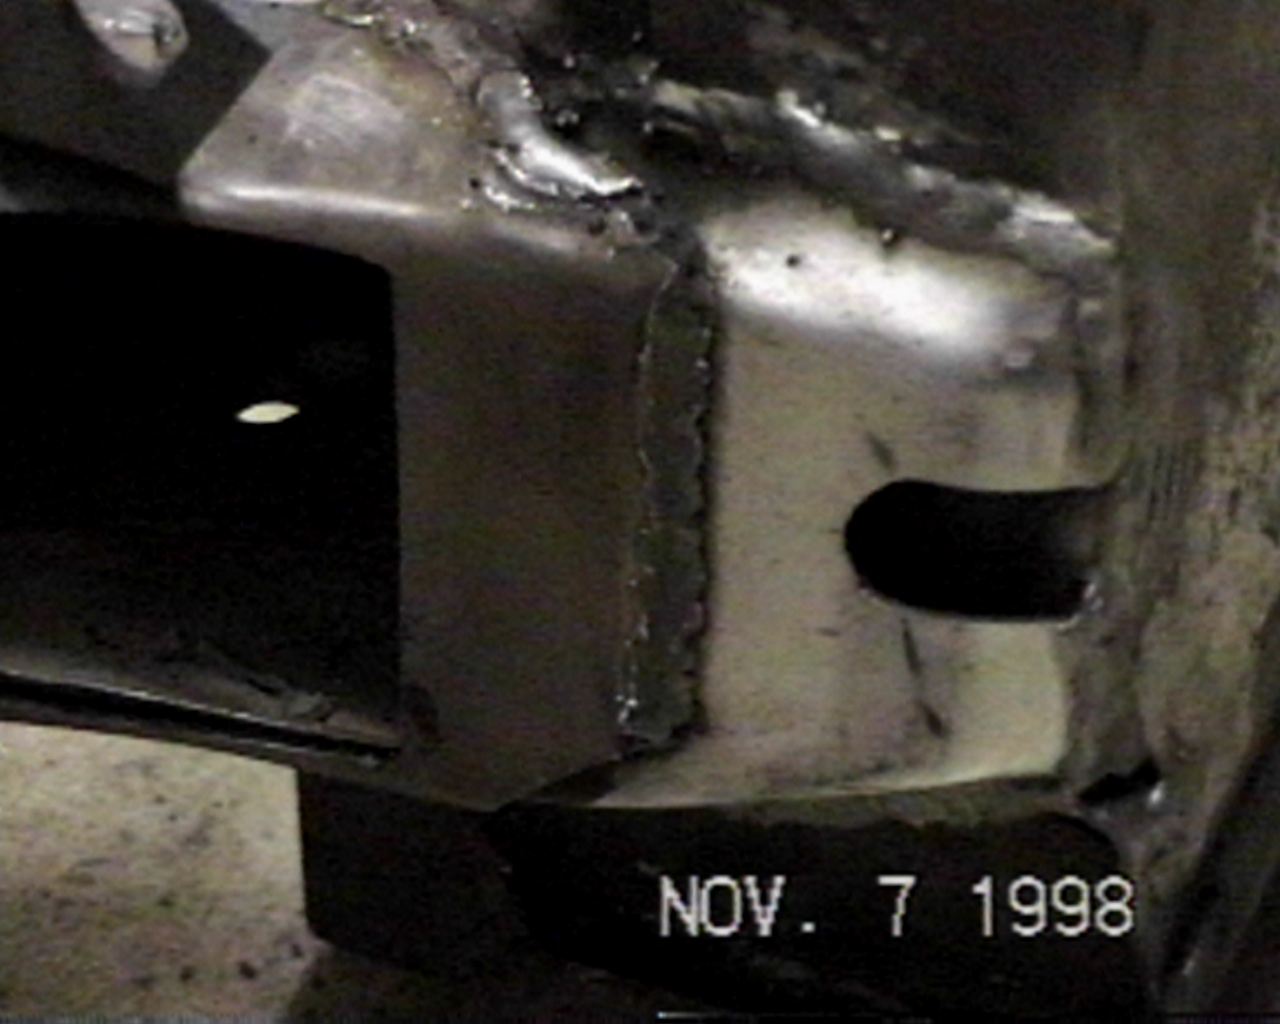
Close up of the re-enforcement weld to the new kick up.
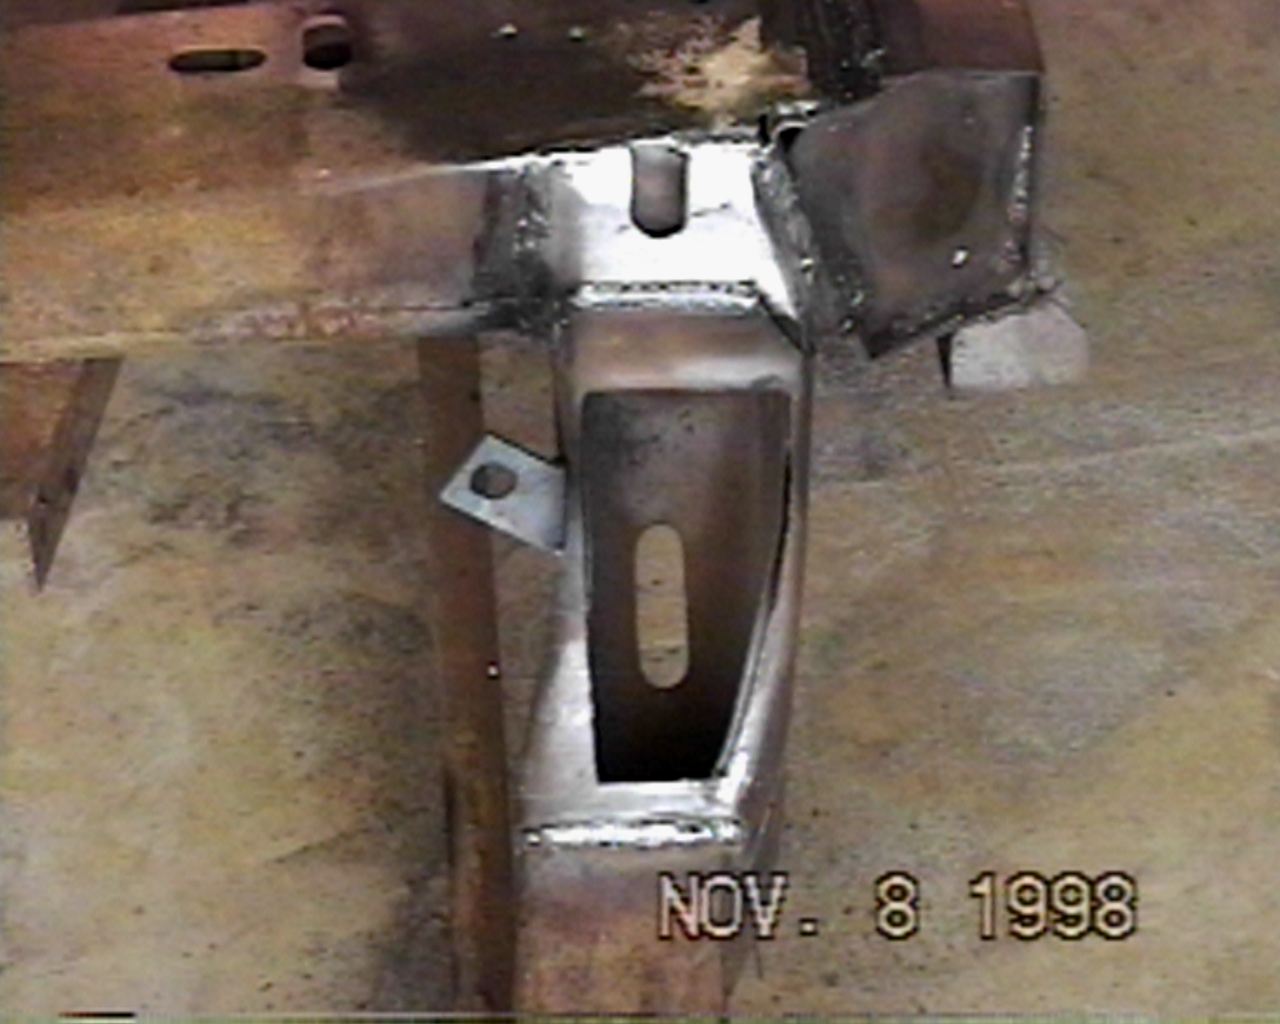
This shows the front inner side of the left kick-up.
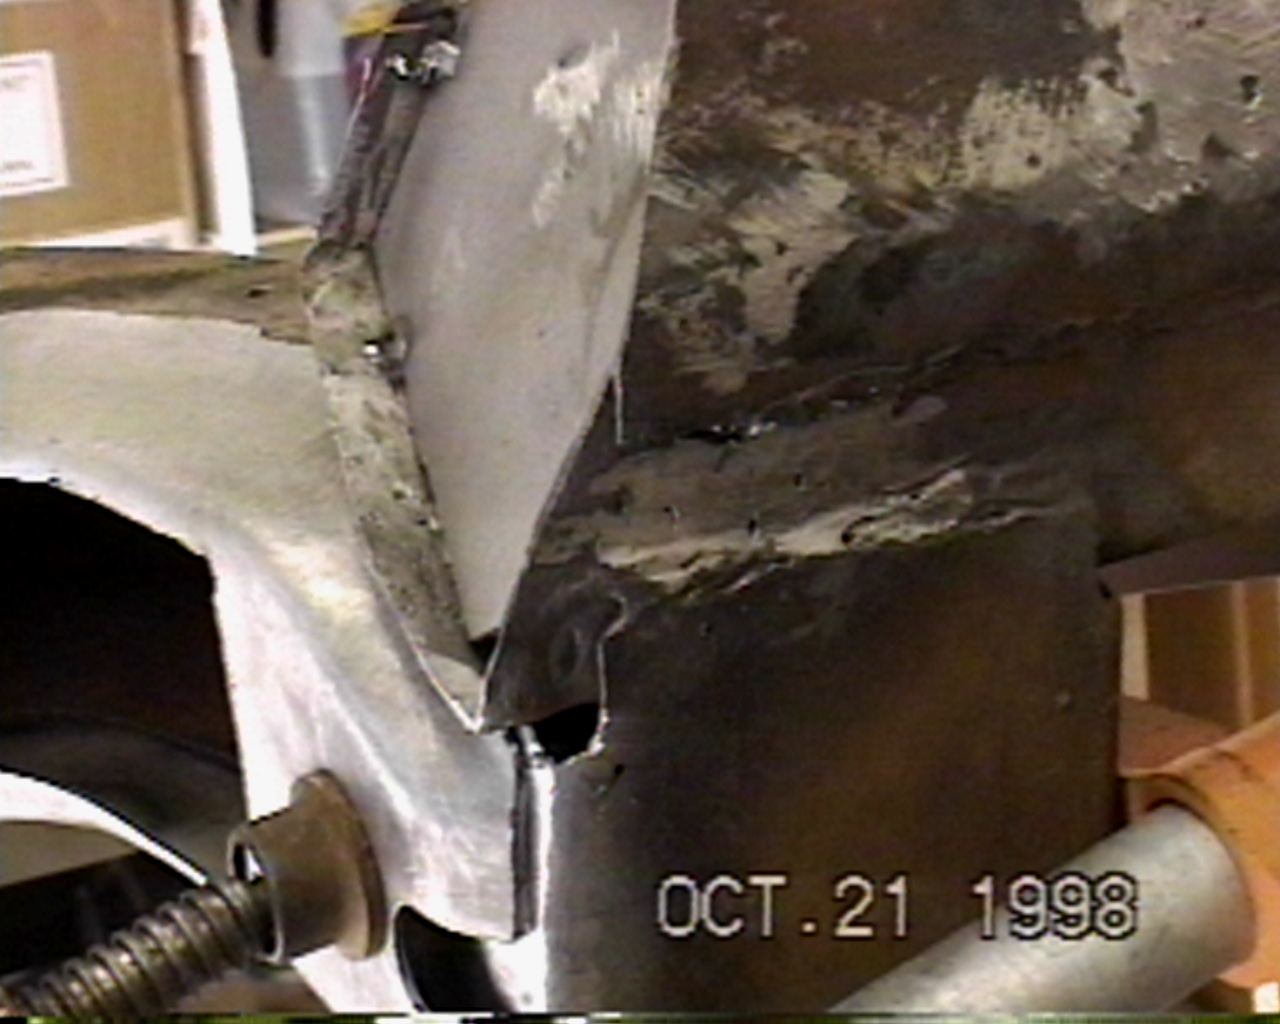
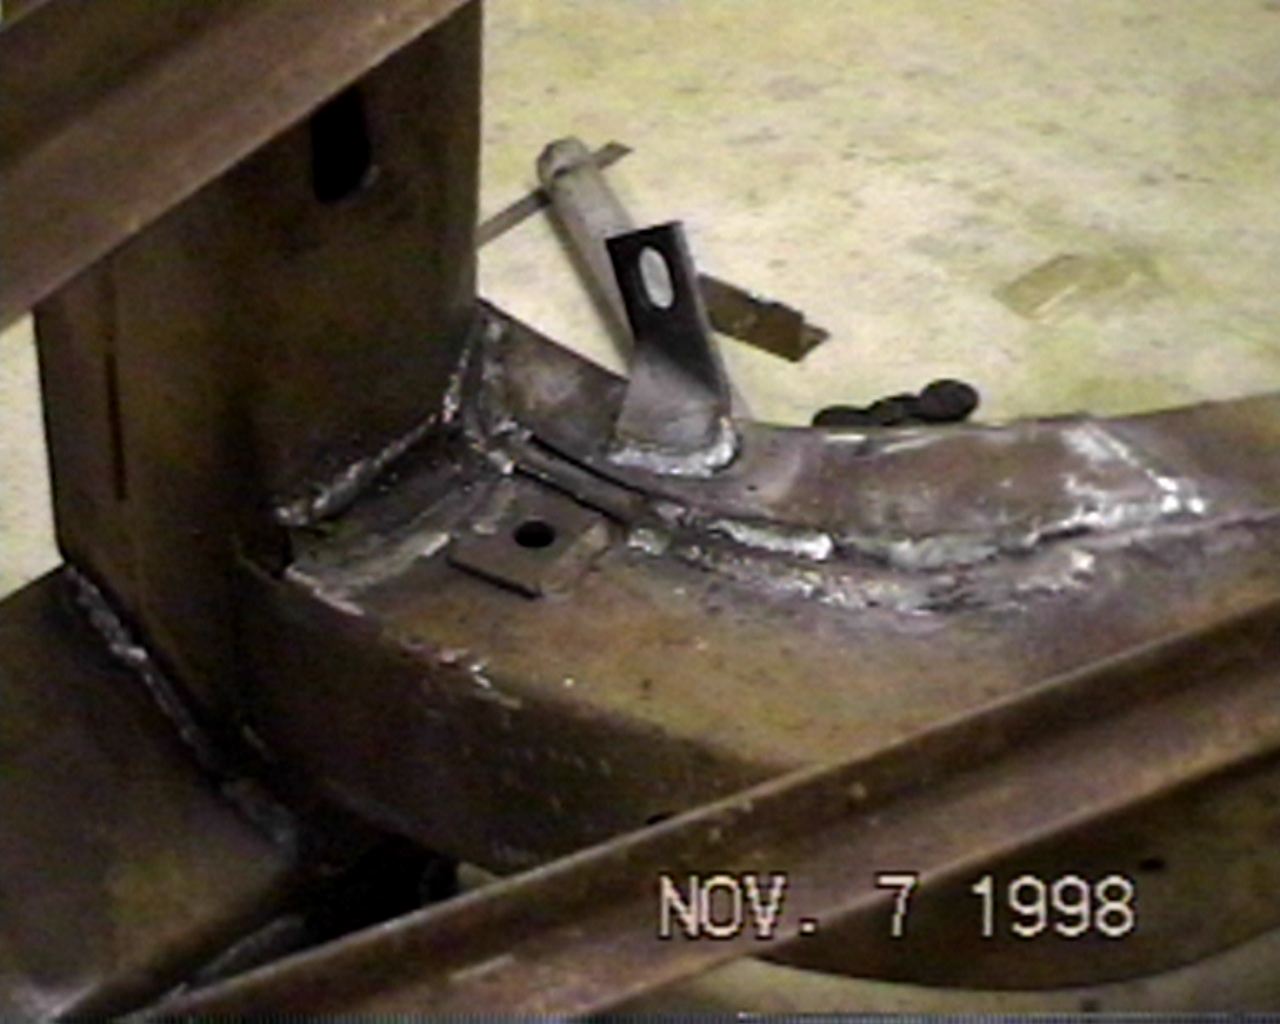
This shows the right side kick-up with the new section welded and with the re-enforcement
Welded in place.
Another shot of the completed left side, the frame is upside down in this shot.
Side shot of the completed left side repair.
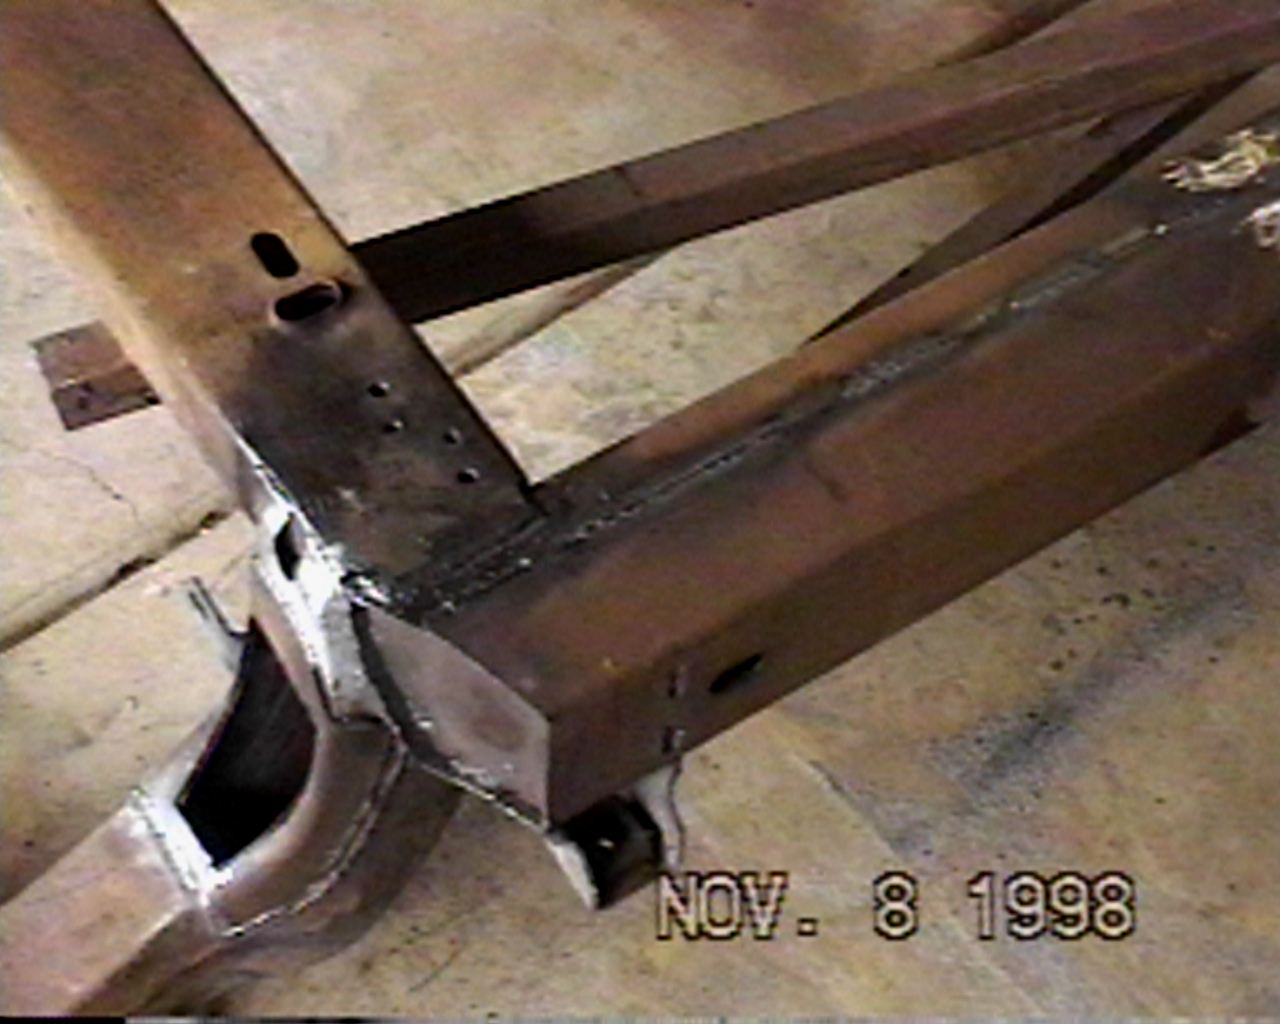
This shot shows the completed repair on the left side and the new left side frame rail. Notice the
Steel bars are still welded in place to prevent the frame from moving out of alignment.
This is the shot of the completed frame with the frame support steel removed

Off to the car wash to blast the grease off the front half of the frame and to blast out the
Rust inside the frame rails.
After the carwash and after it was totally dry, the inside of the frame was painted
Using a high pressure insecticide sprayer. Special paint was used that was designed to be
Applied over rust and to prevent further rust. I used white paint so that I could see
That coverage was adequate. This shows paint around all the frame holes that were
Used to gain access to the inside of the frame.
This is a shot through one of the frame holes showing the coverage of the paint inside
The frame.
At this point the exterior of the frame is ready to be sand blasted and painted. However, since it is
December it is too cold and too wet, so this will wait.