Here's some pics of the ASP Crank Pulley installation.
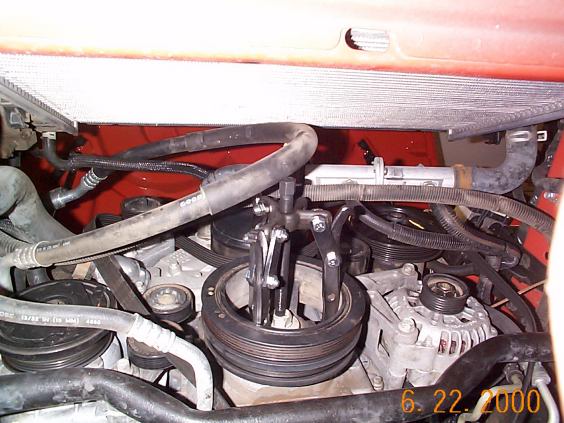
This was after we removed the fans, that gave us a lot more room to work with. Here you can see the 3 fork pulley puller inside the stock pulley beginning to remove it.
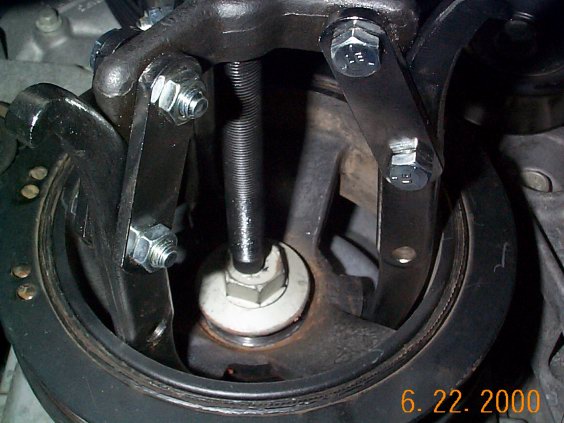
Here you can see a close up on what the pulley puller looks like on the stock pulley. You can see how it pulls the pulley off; on the puller it has a center bolt that presses against the stock pulley bolt and you turn the bolt on the puller with a rachet and socket, and it pulls the pulley off. You have to stop, and loosen the stock pulley bolt back off more and then repeat with the pulley puller to get the pulley off.
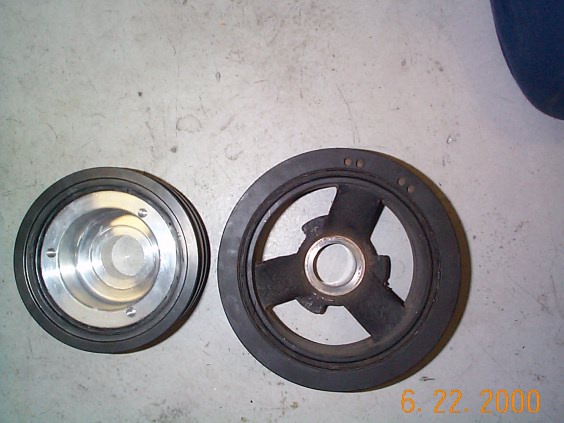
Here you can see the comparison between the stock pulley (RIGHT) and the ASP Pulley (LEFT). The ASP pulley can pretty much fit inside the stock pulley.
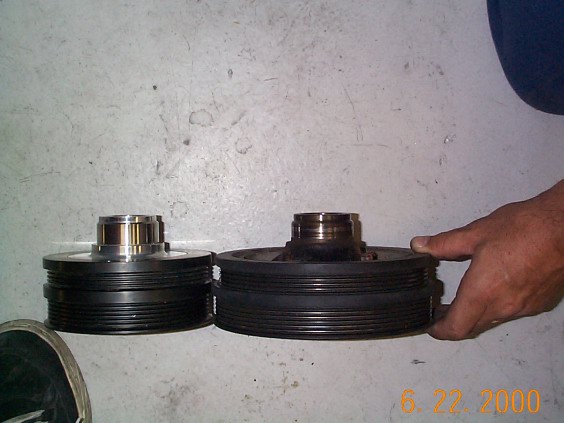
Here's another comparison shot of the two pulleys, ASP left, Stock right.
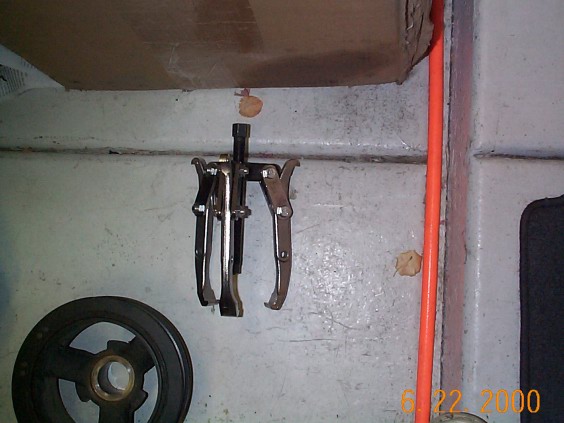
Here's a pic of what the 3 fork pulley puller looks like, just in case you didn't know, like me =) This was the first time I did one of these. It was pretty simple, of course my buddy did most of the work, but it looked pretty easy hehe =)
When put the ASP pulley on, use the stock bolt to "seat" the pulley. You torque that bolt down to 240 ft lbs, then you take that bolt out, and put the new bolt that comes with the pulley on. You torque the new bolt down to 250 ft lbs. And then put on the new belts, and put the fans back on if you removed them, and plug all the components you disconnected back in, and you're all set.
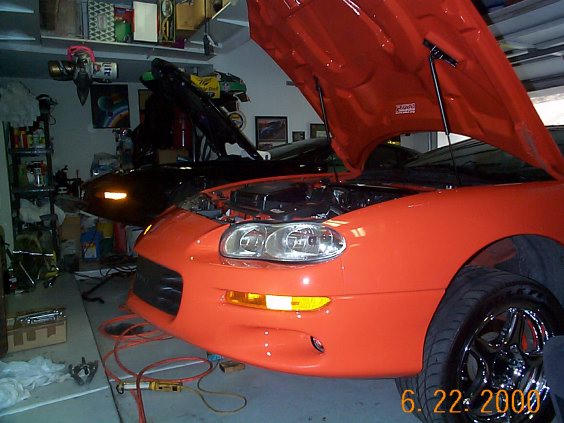

Just a couple pics of the SS in the air.
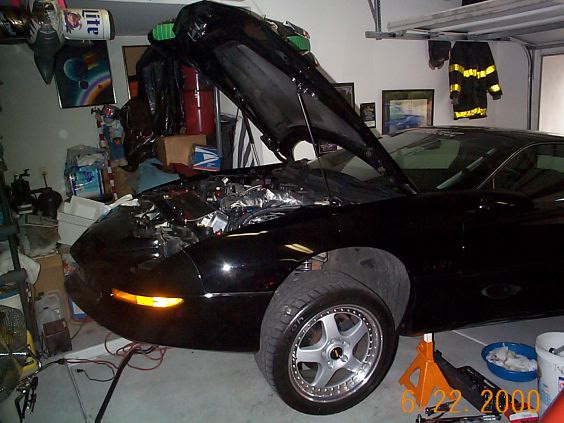
A shot of my buddies '93 383 Supercharged Z28. That car has run a best of [email protected]. That was before his upgraded fuel system and better tuning, it's SOOO FAST!!
|