Coilover Conversion
A coilover conversion is a great way to take control of your ride
characteristics. Coilovers can be had in many different spring rates and are cost
effective.
In addition to the usual wrenches and sockets, you will need access to a
welder, grinder and a cut-off tool with 1/16" thick discs.
Please visit my spring
rate selector page to see what kind of spring rate you need for your car (works with
any car, not just Z's).
Click the images below to enlarge:
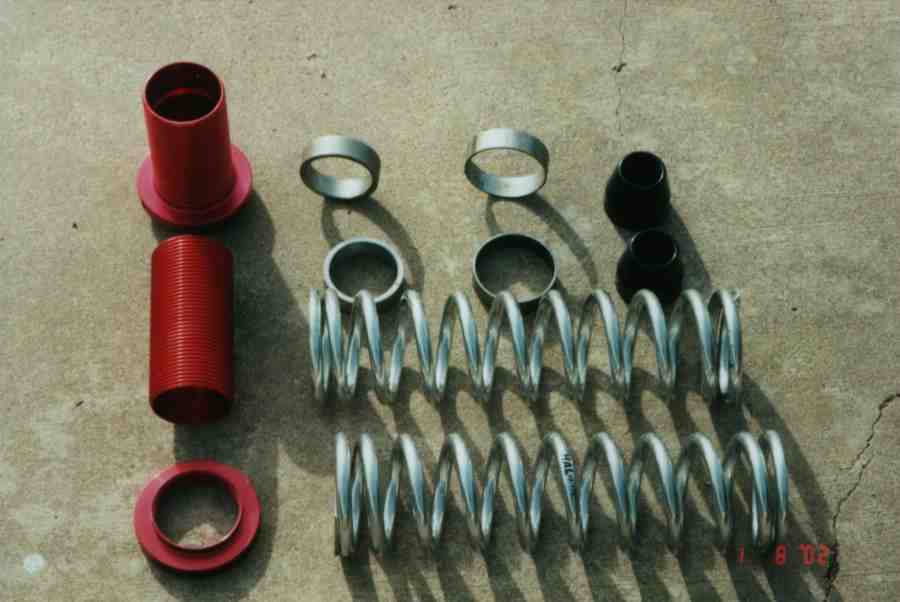
To convert one end of your car to coilovers, you'll (2x)
each of the following:
- 5" long threaded tubes
Buy from Stock Car Products for $16.24 each,
p/n BRP600.
- Coilover nuts
Buy from Stock Car Products for $13.40 each,
p/n BRP602.
- Coilover springs:
2.5" i.d. x 12.0" long
Buy from Summit for $36.95 each.
Available in spring rates other than what is listed in the catalog.
(12" long works well for cars lowered not more than an inch)
- Spring support sleeves:
2.38" o.d. x 2.007" i.d. x 0.7" long (Doesn't have to be exact)
- Spring centering tubes:
2.50" o.d. x .08" wall x 0.7" long (exhaust tubing works great!)
- Bump stops
Buy from Victoria British for $12.95 a pair,
p/n 88-715.
|
 |
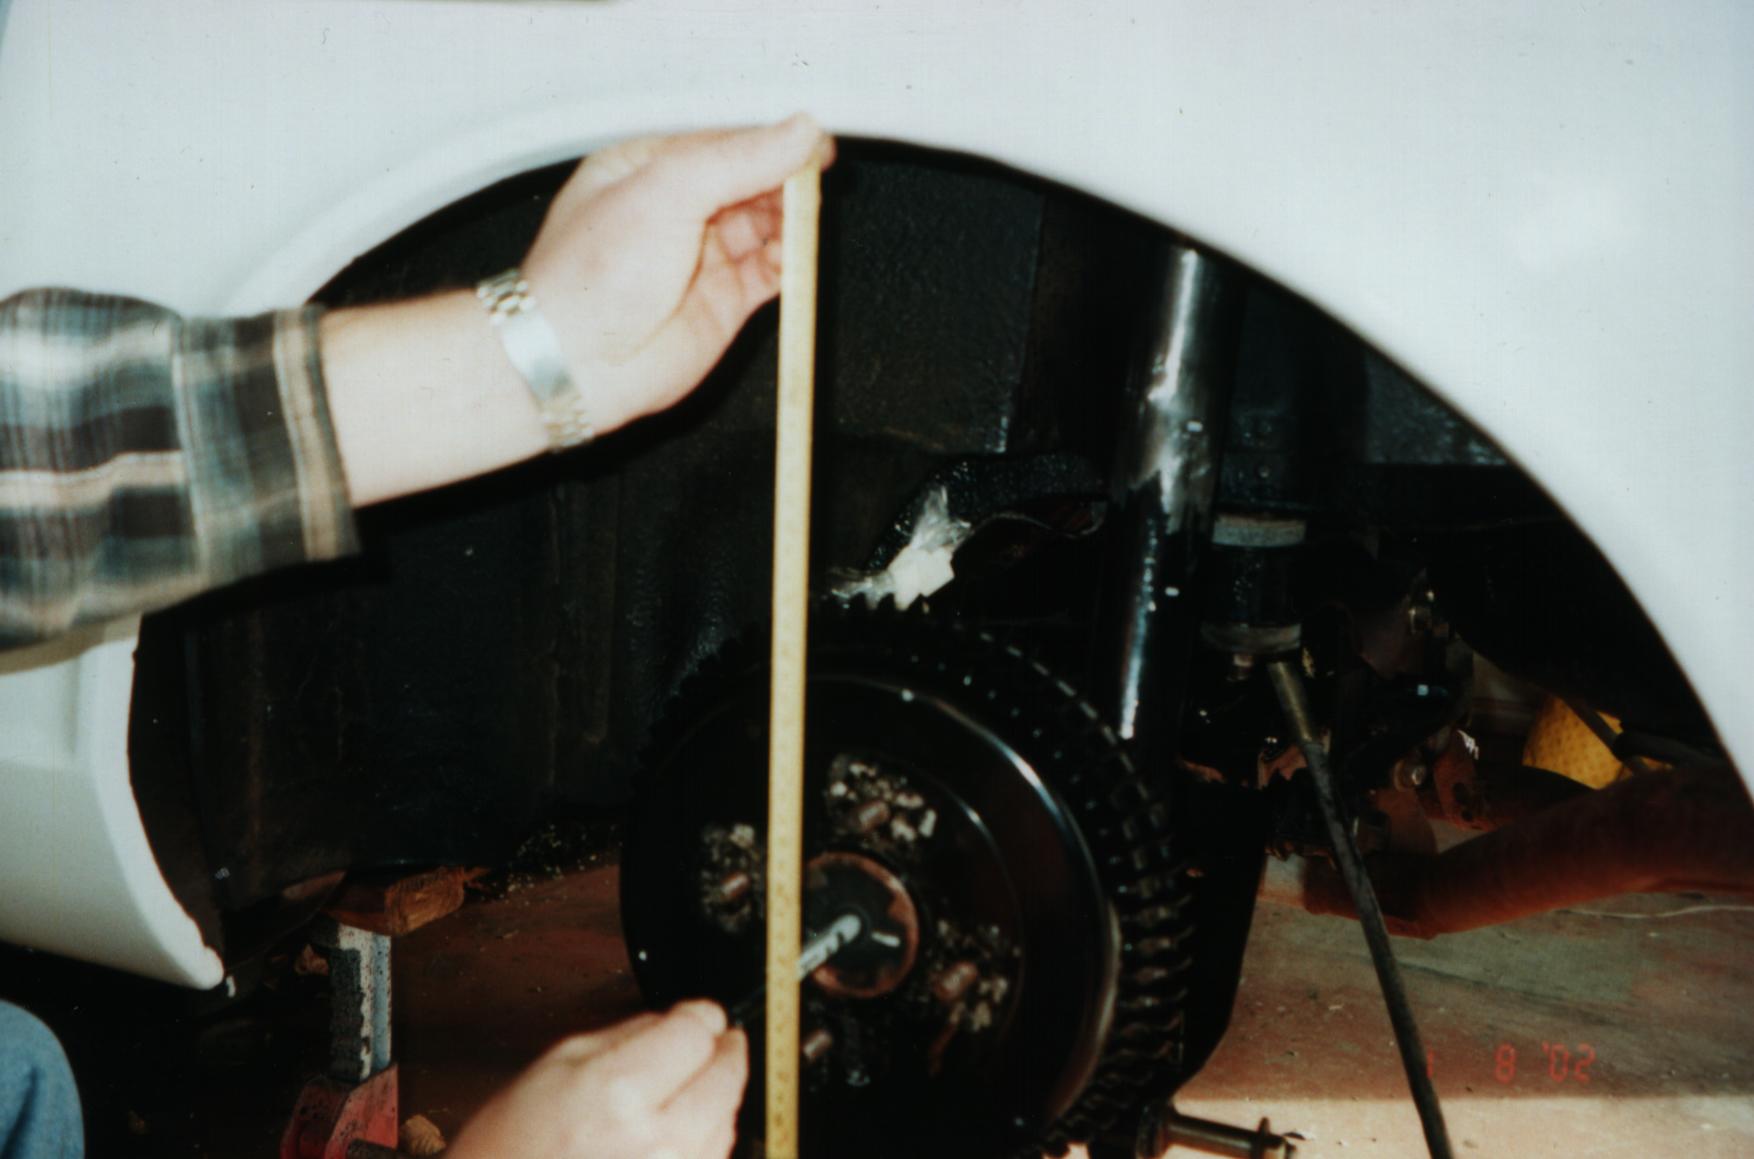
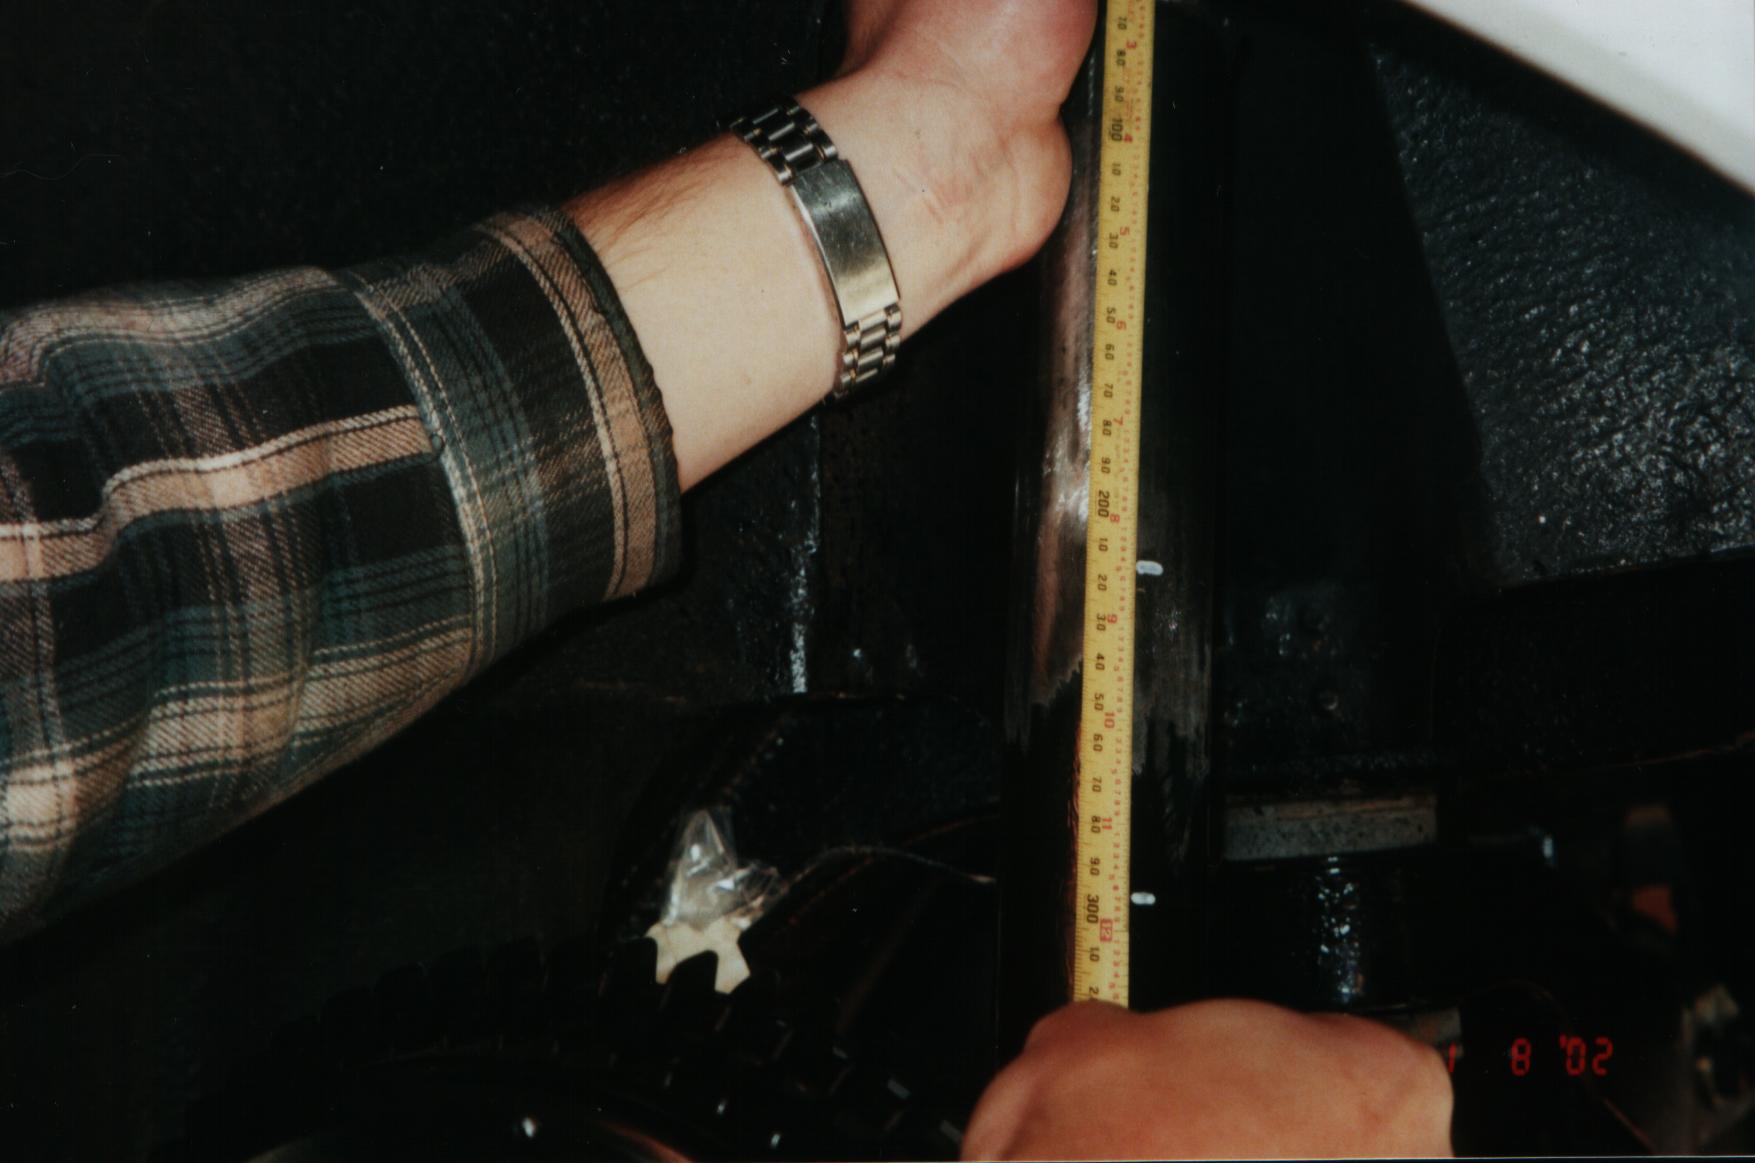
STEP 1: This is kind of important, so pay attention! First, we
measure and record the trim height for each suspension leg. Trim height is a
reference distance used to: 1) locate the support sleeves, 2) determine how far the
car has been raised or lowered relative to the factory springs. To make things
convenient, let's define trim height as the distance from the center of the wheel to the
bottom edge of fender lip.
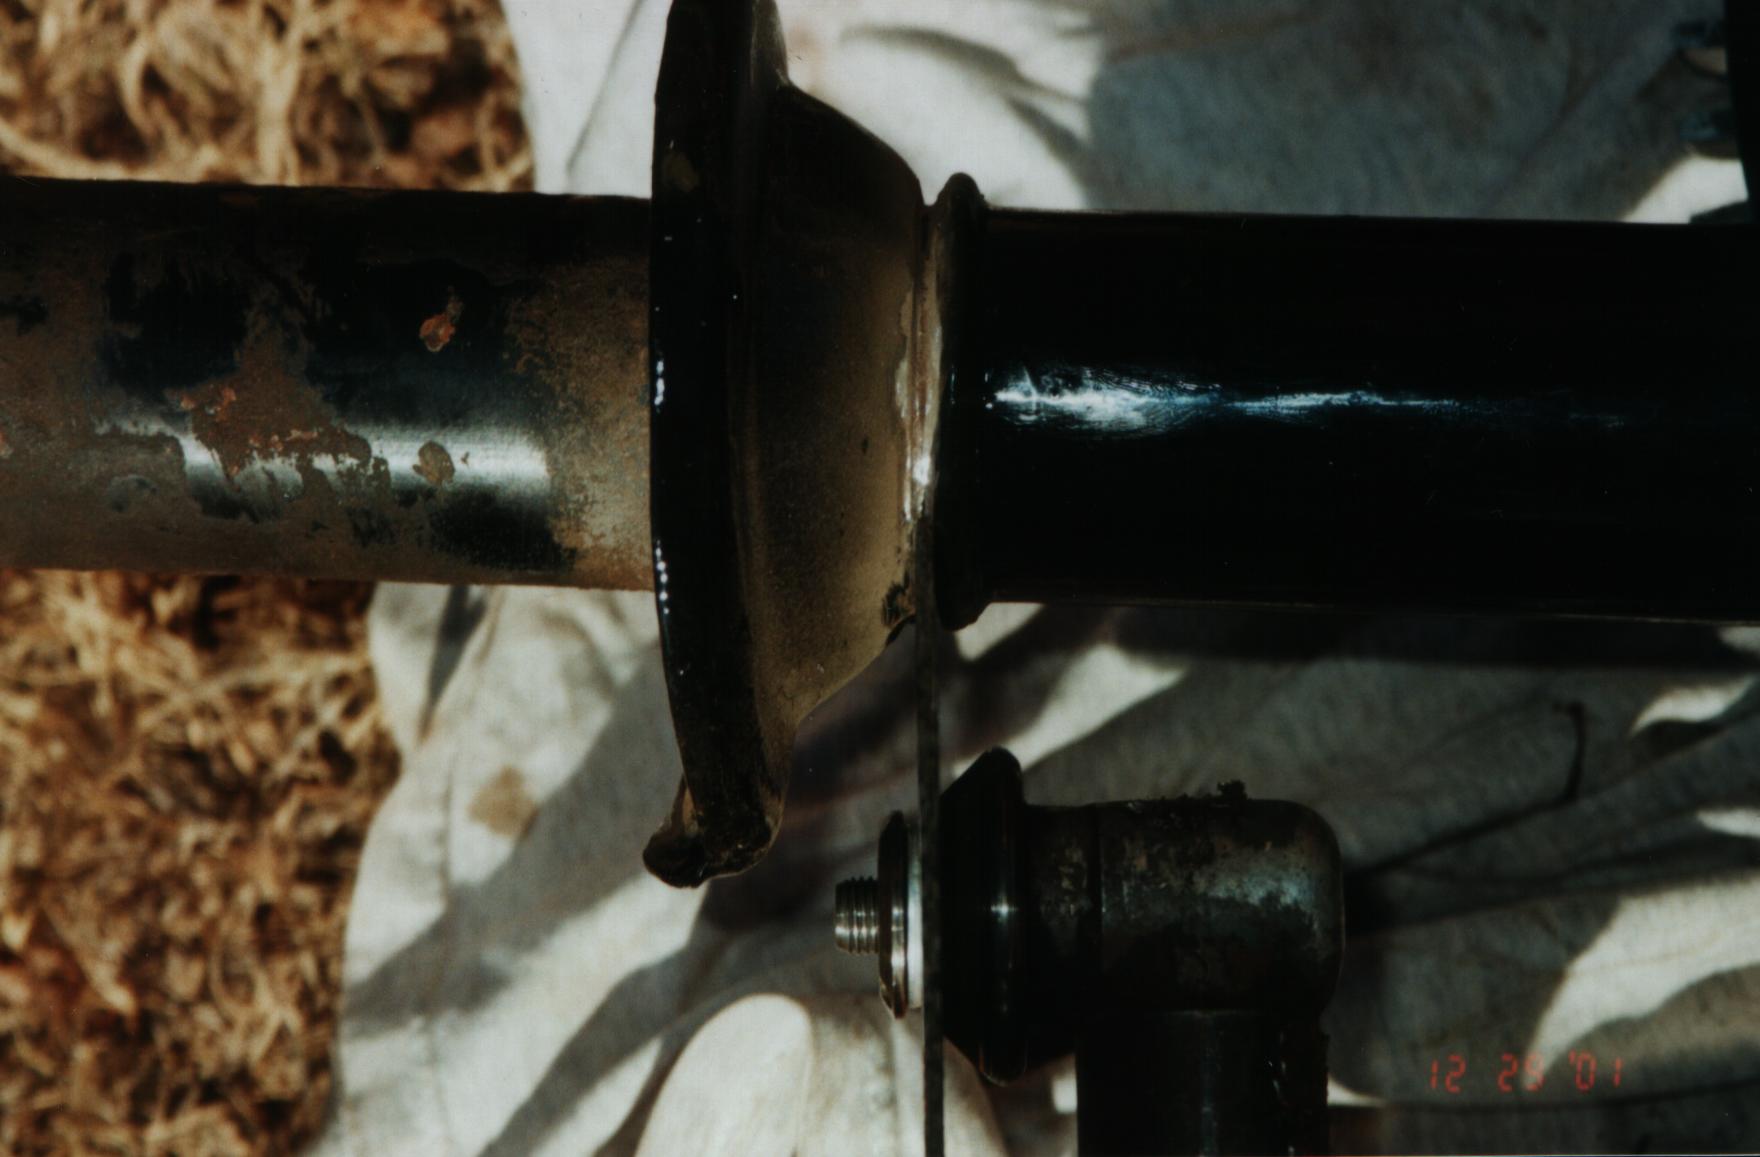
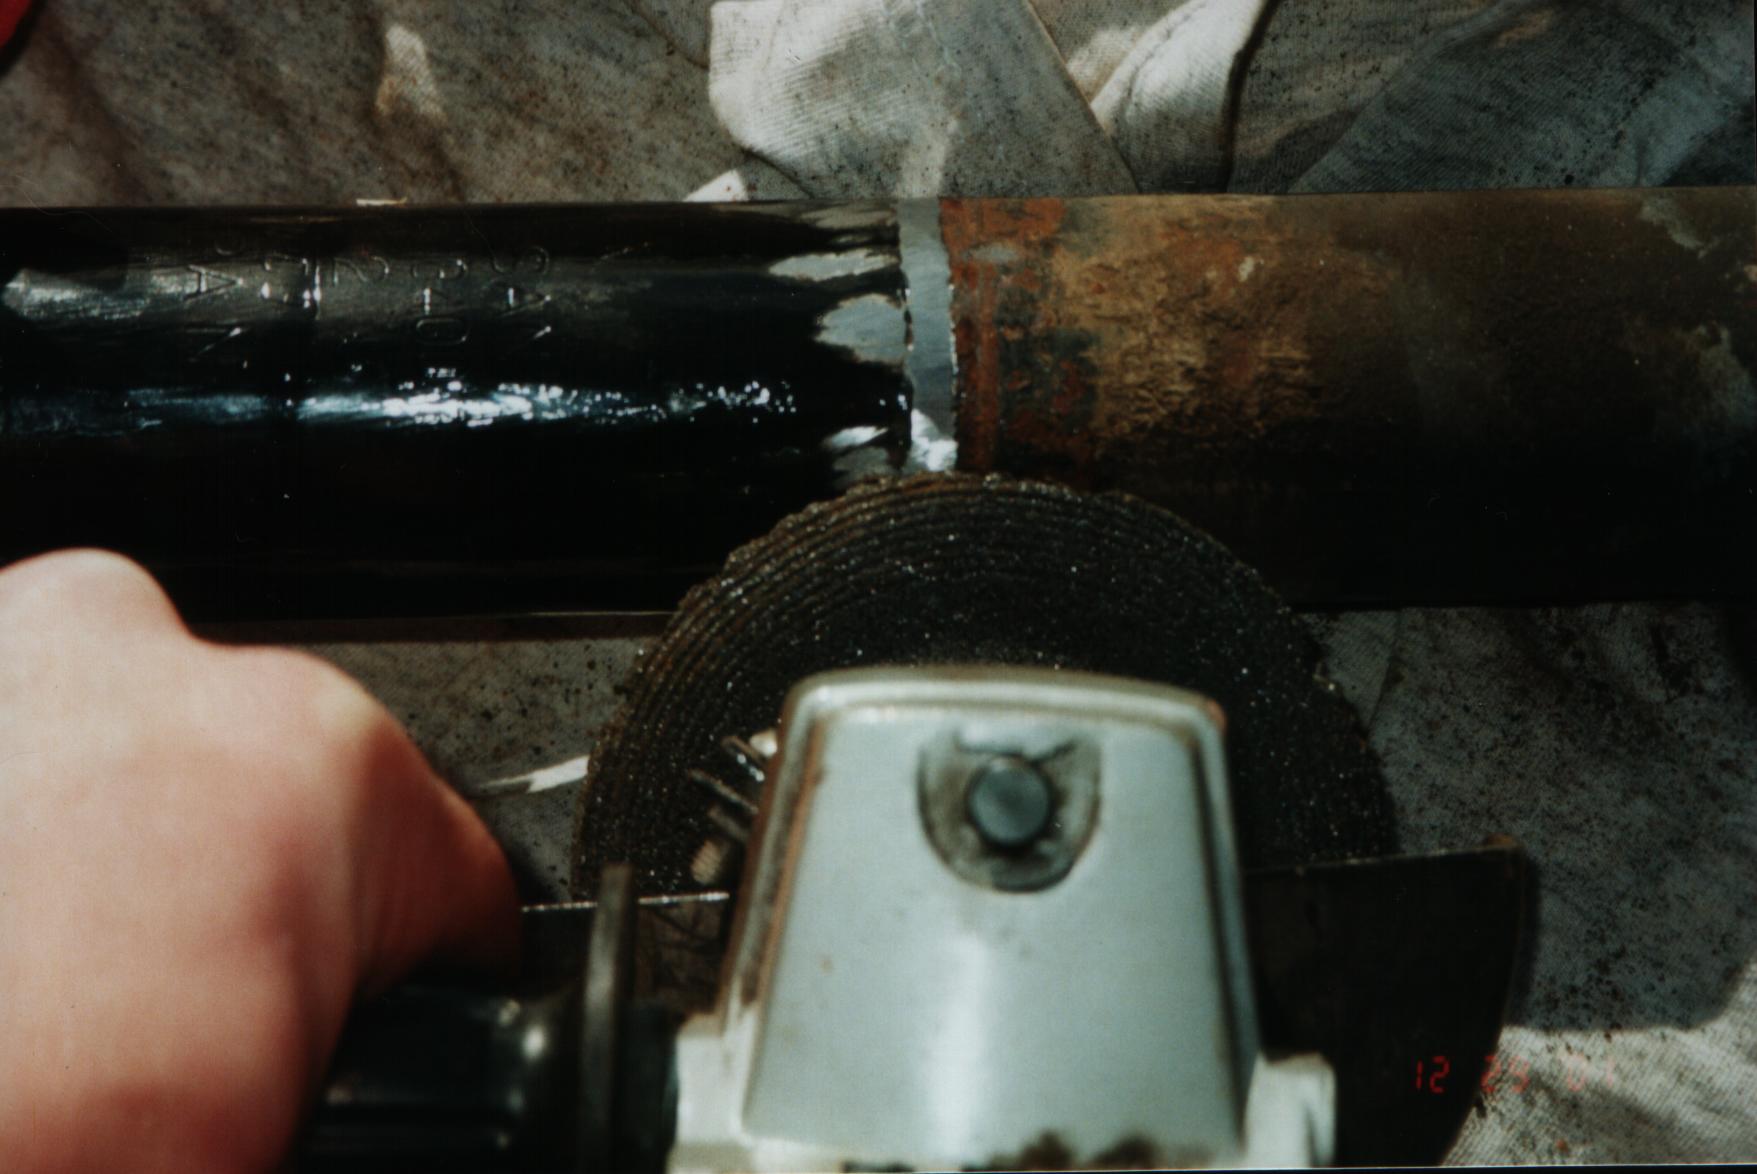
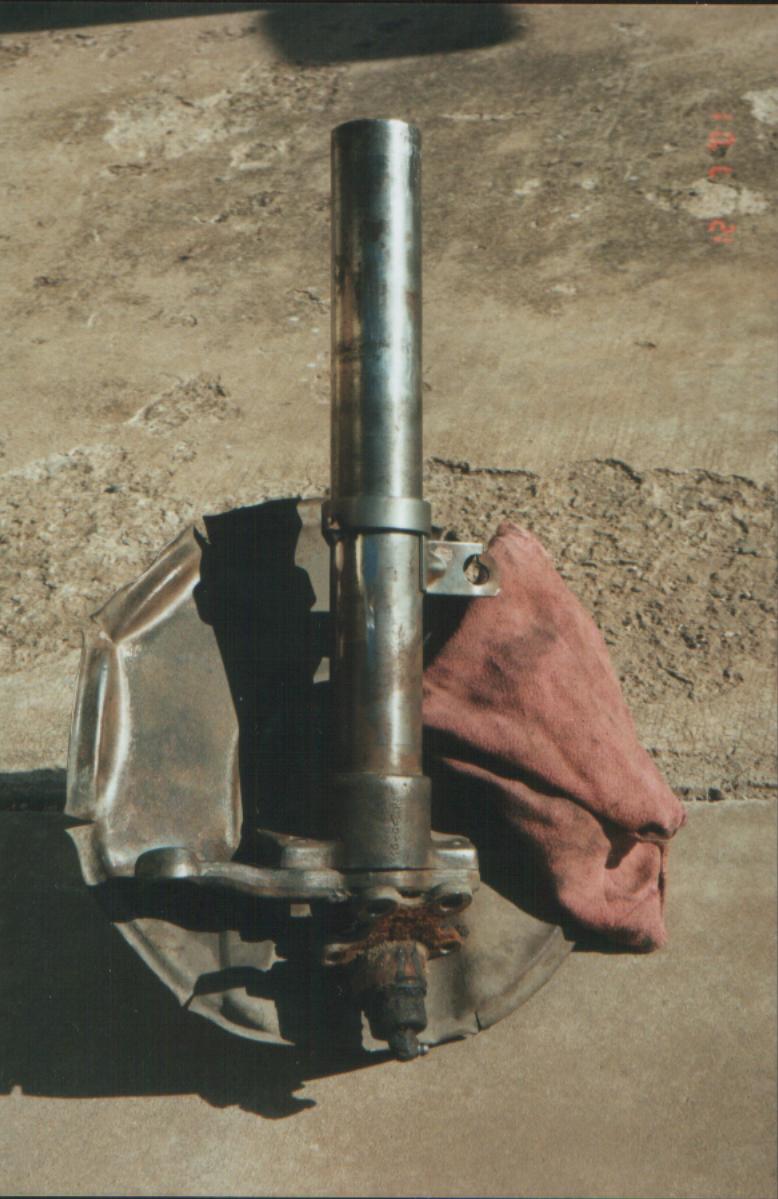
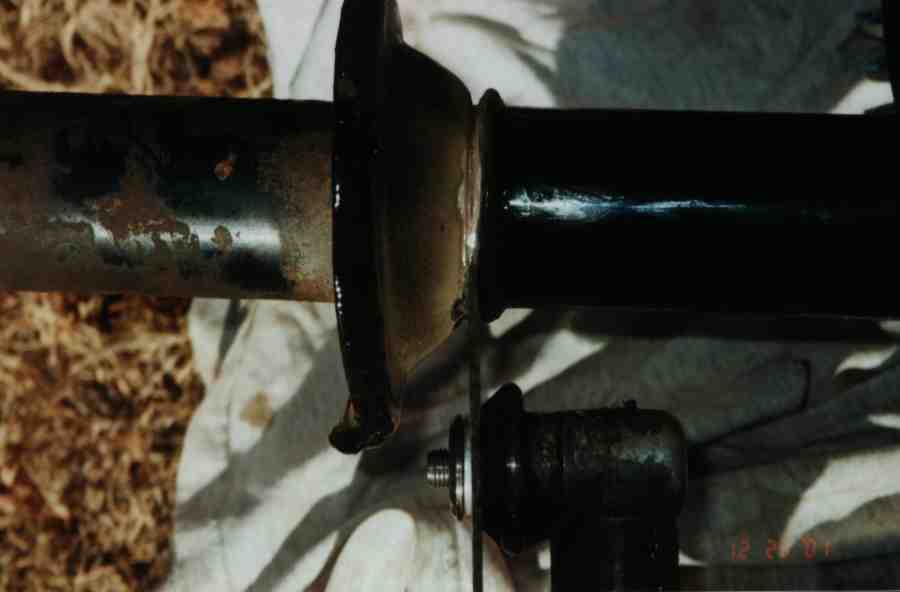
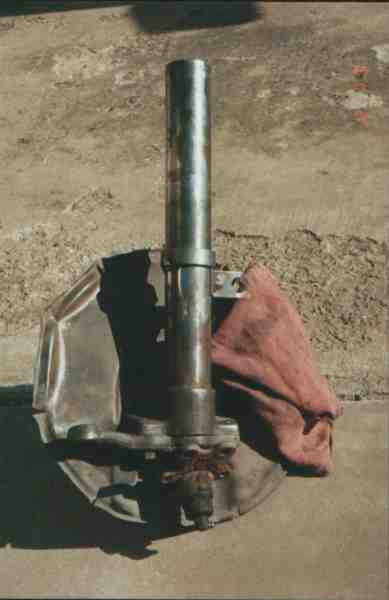
| STEP 2: Once the struts are removed, you're ready
to cut off the lower spring perch. A 1/16" cut-off disc is used to cut above
the weld as shown in the pic. Don't cut too deep! You'll know when you've cut
through because you will see the rusted tube underneath. |
 |
| The next STEP... Next, take a hammer and knock
the perch from the strut tube. Break out that $9.99 grinder and carefully grind away
the weld. |
 |
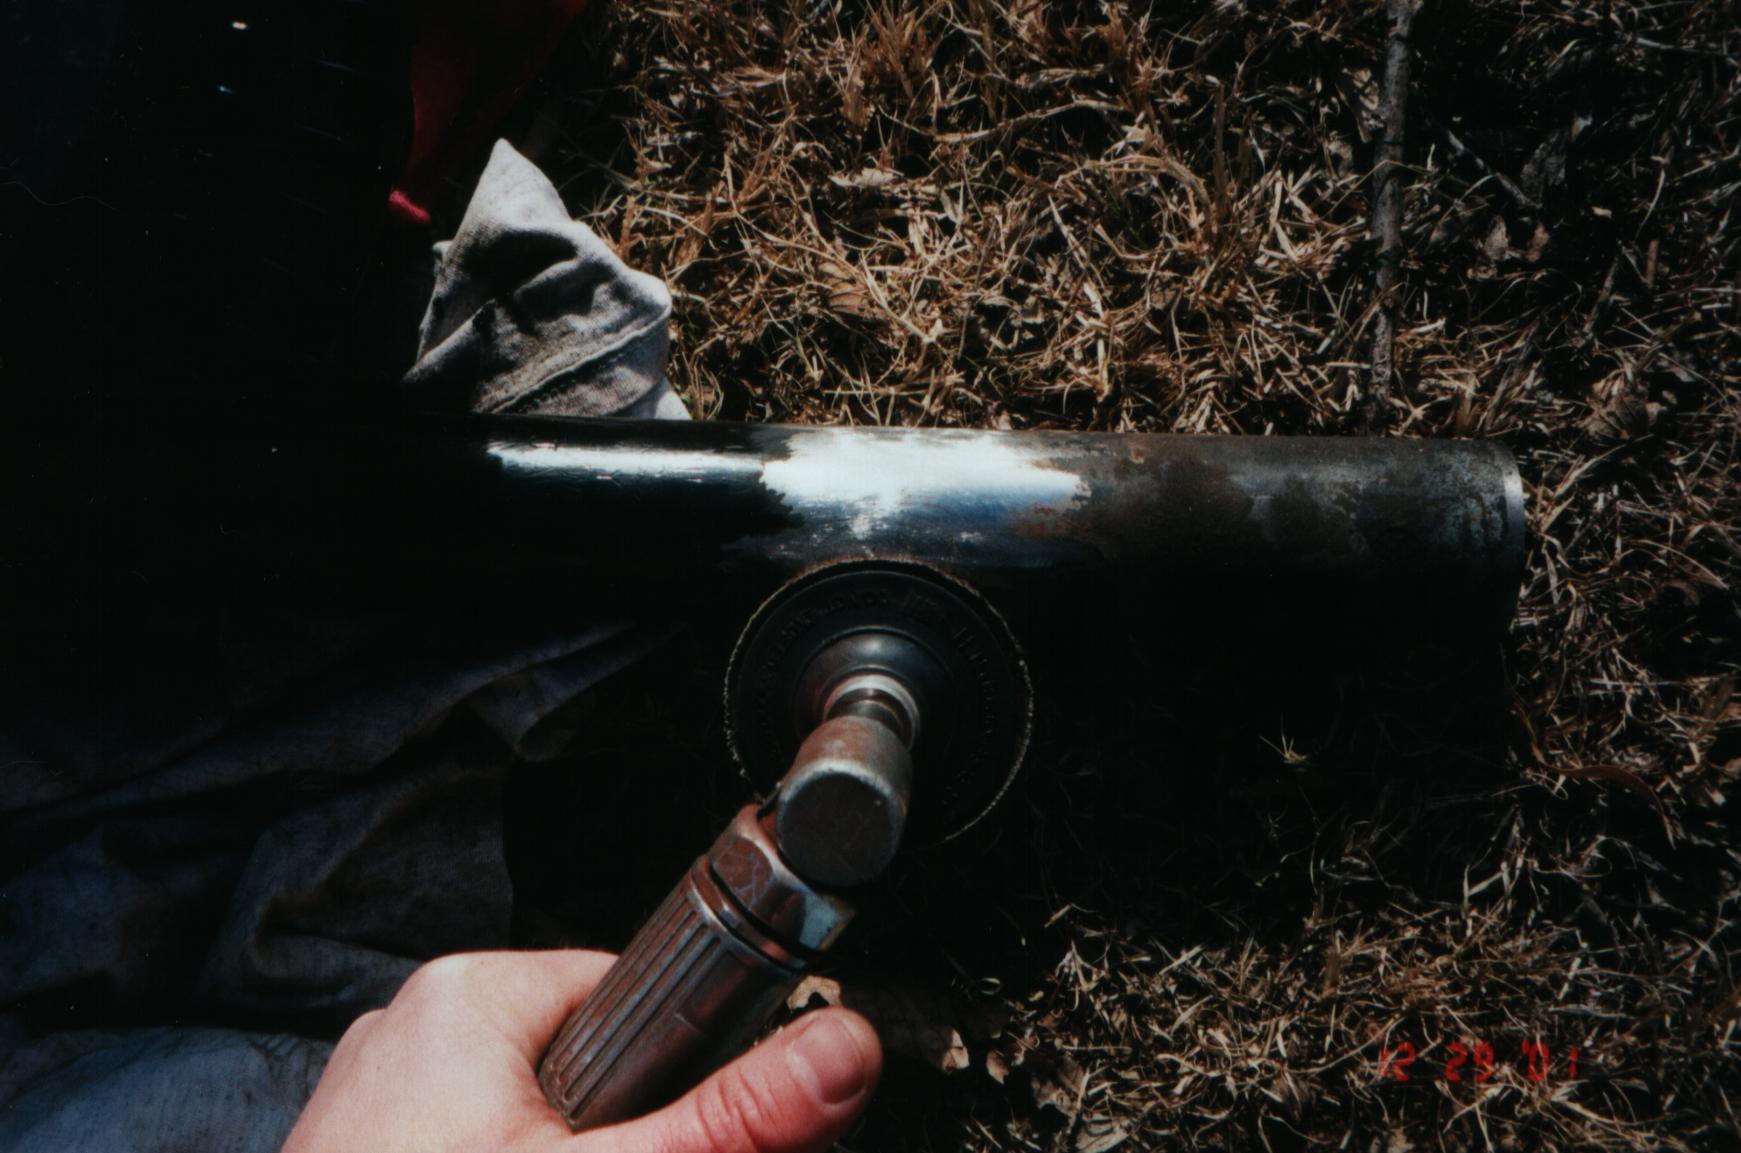
| And so, and so forth.... Dress it out with an
80-grit sanding disc. While we're at it, let's go ahead and remove the paint and
rust from the top of the tube. This will allow our close tolerance support sleeve to
slide over without hanging. |
 |
| It's time to locate your support sleeves. Loosely reassemble the
suspension so that we can determine the location of your spring support sleeve.
Next, jack up the wheel hub until the center is at the required distance from the fender
lip. This is based on that "trim height" dimension we measured at STEP 1. If
you're wondering - yes, this is the rear suspension leg. Just testing to make sure
you're still paying attention. |
 |
| Okay, break out the calculator. We know your spring rate, free
length and sprung weight, right? Given these bits of information, we can determine
just how far that spring is going to compress when the sprung weight of the car is sitting
on it. Compressed Length = Free Length - (Sprung Weight
� Spring Rate)
Using this calculated compressed spring height, measure down from the top
spring perch and mark the strut tube. This is where the bottom of the spring will
rest during real life operation. If you want your threaded tube to be in the middle
of its 5 inch range, measure down another 2.5" and make another mark. This is
where the bottom of the threaded tube will meet the top of the support sleeve. |
 |
| Slide the support sleeve over the strut tube until the top is aligned with
the mark made previously. Now make three welds, 0.7" long, at 120 degree
increments. There is no need to weld all the way around. Three welds will be
sufficient. Besides, what if we messed up and have the sleeve in the wrong
location? Grinding off three welds is much easier than a full weld.
Truth be known, I only used one weld directly opposite of the brake line support
tab. The tab actually supports that side of the sleeve (don't tell anyone). |
 |
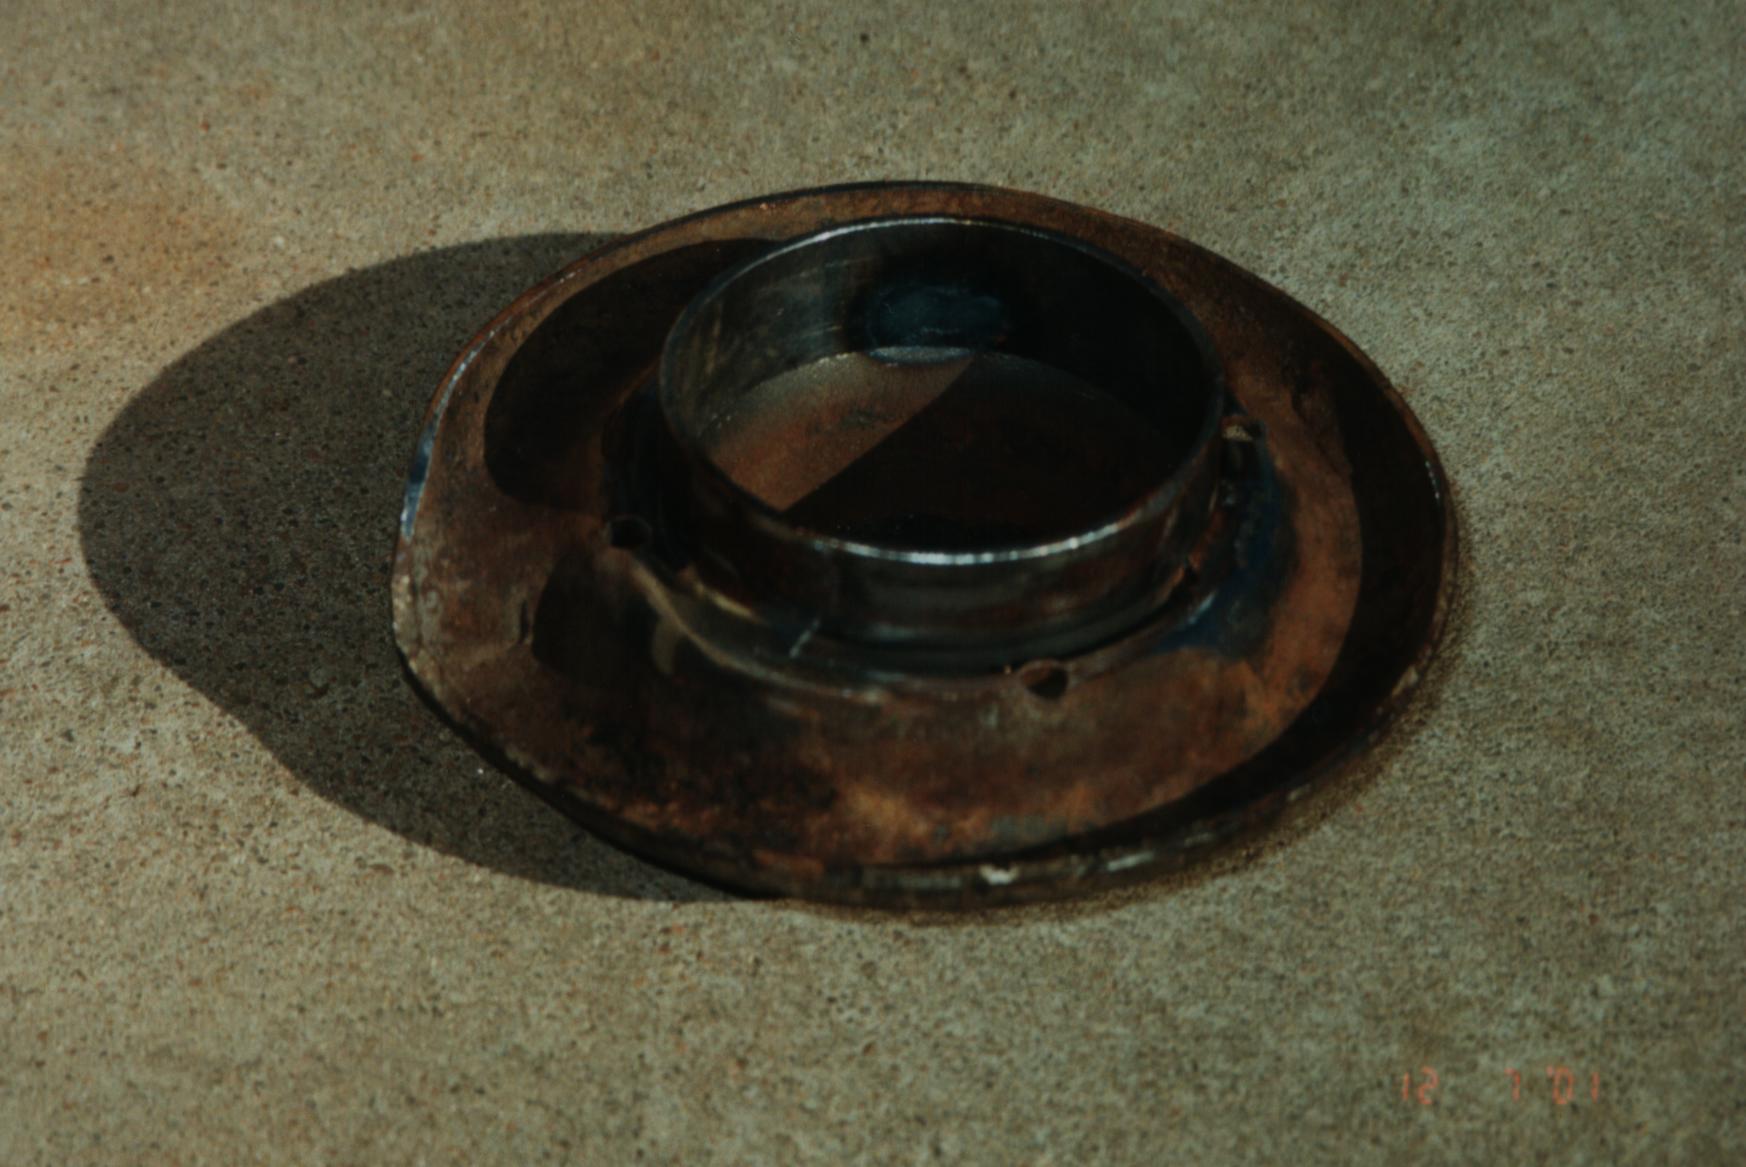
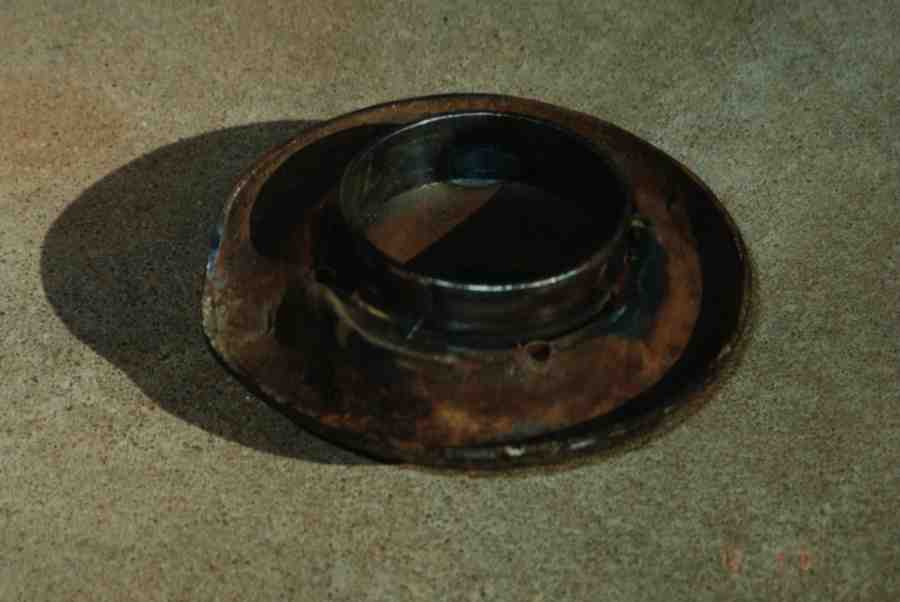
| Next, it's time to modify the upper spring perch so that it has a
centering tube for our new coilover spring. The centering tube is simply a piece of
2.5" OD, exhaust tubing cut to a .7" length. Center it on the old perch
and weld three, 0.7" long welds at 120 degree intervals along its outer
diameter. Try to get the weld to fill the groove between the tube and perch.
This is important, because you must grind the weld flush with the seat portion of the
perch so that the spring "sits" correctly. |
 |
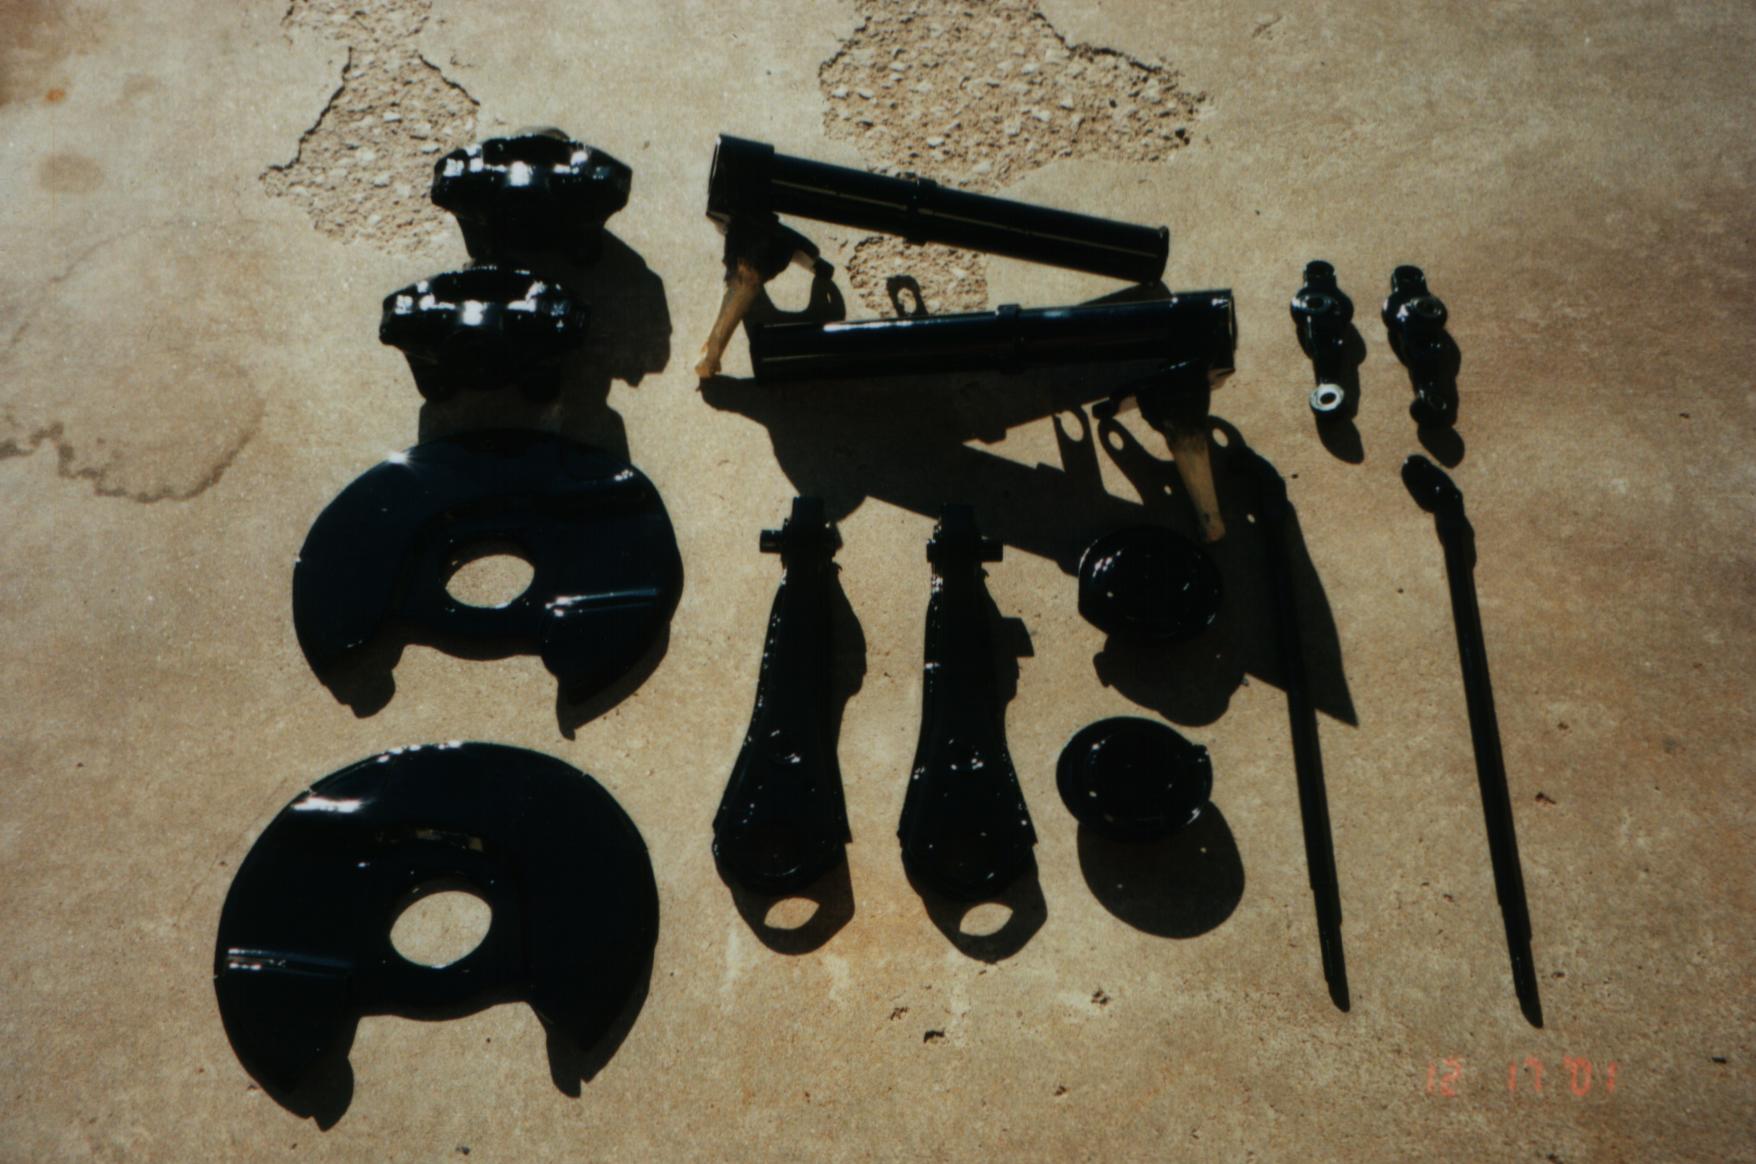
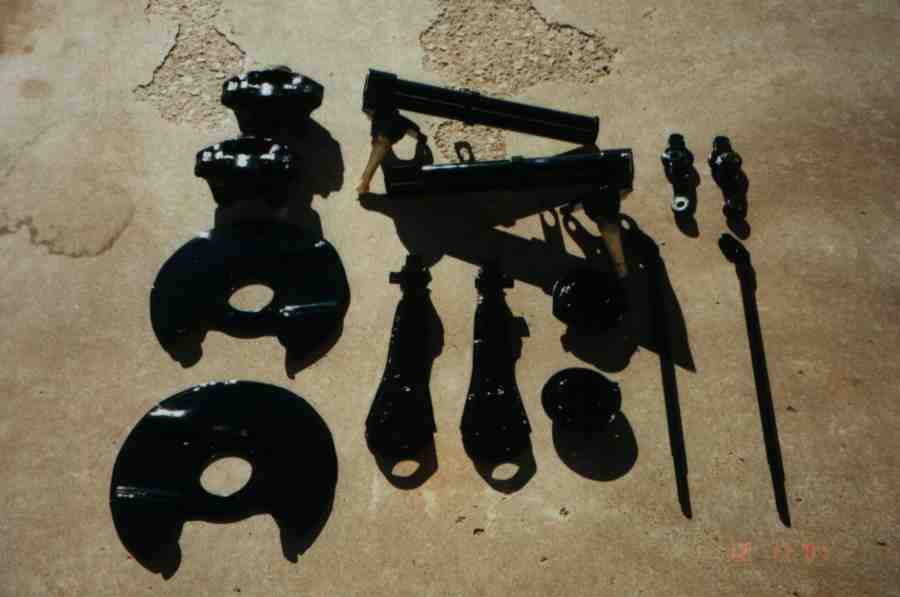
| With all the welding and grinding completed; a complete disassembly, clean
and paint is in order. |
 |
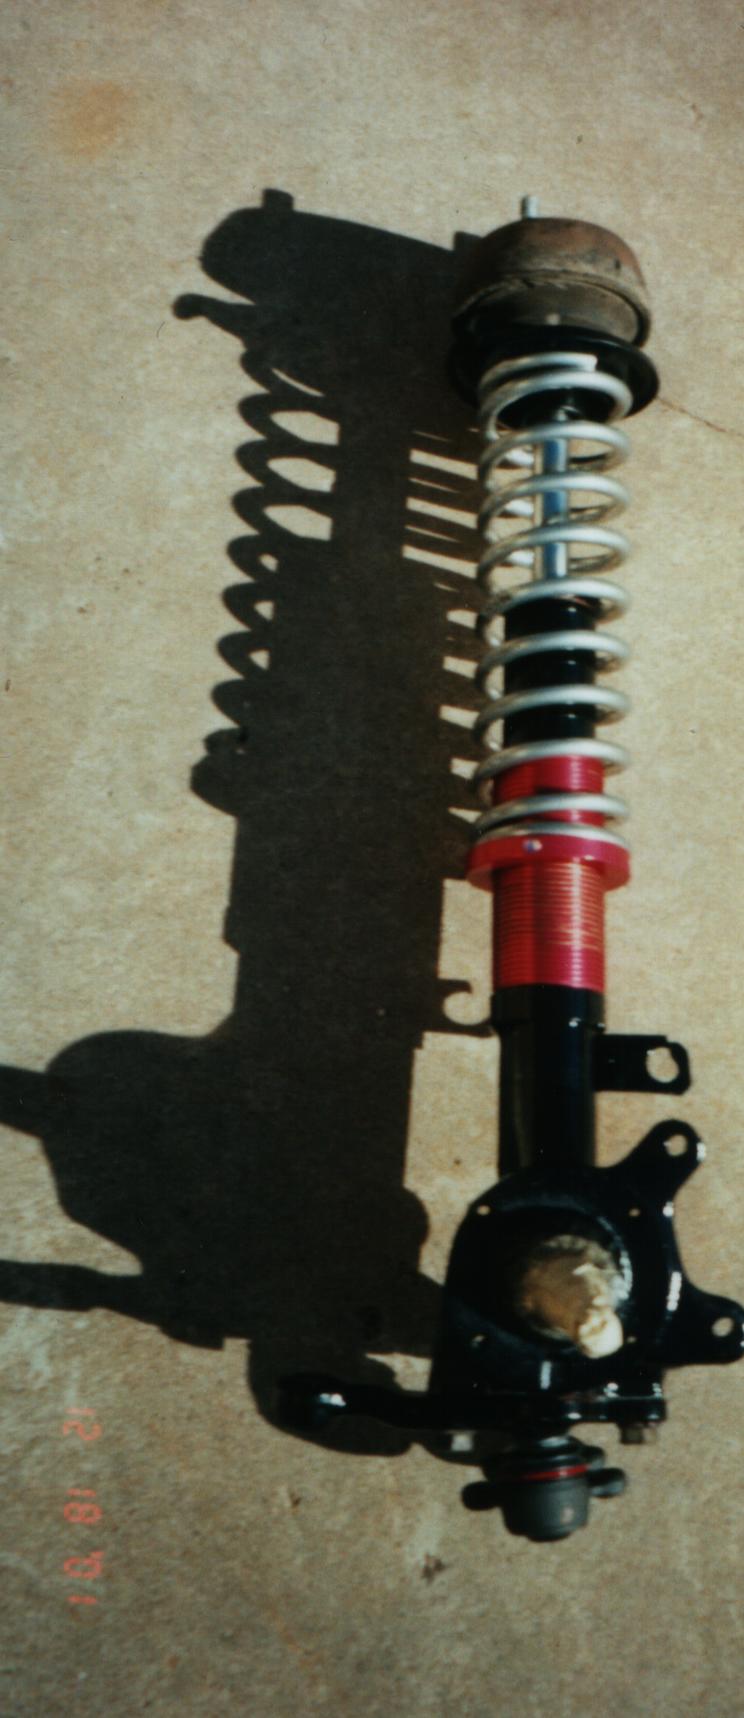
| After the paint is dry, you're ready to put it back together. While
you're doing this, you'll notice another benefit of coilovers - you won't need that
awkward spring compressor anymore! Simply assemble with the adjustment nut at the
lowest position, then turn it up by hand until the spring is preloaded. By
the way, this is also a good time to replace those worn ball-joints! |
 |
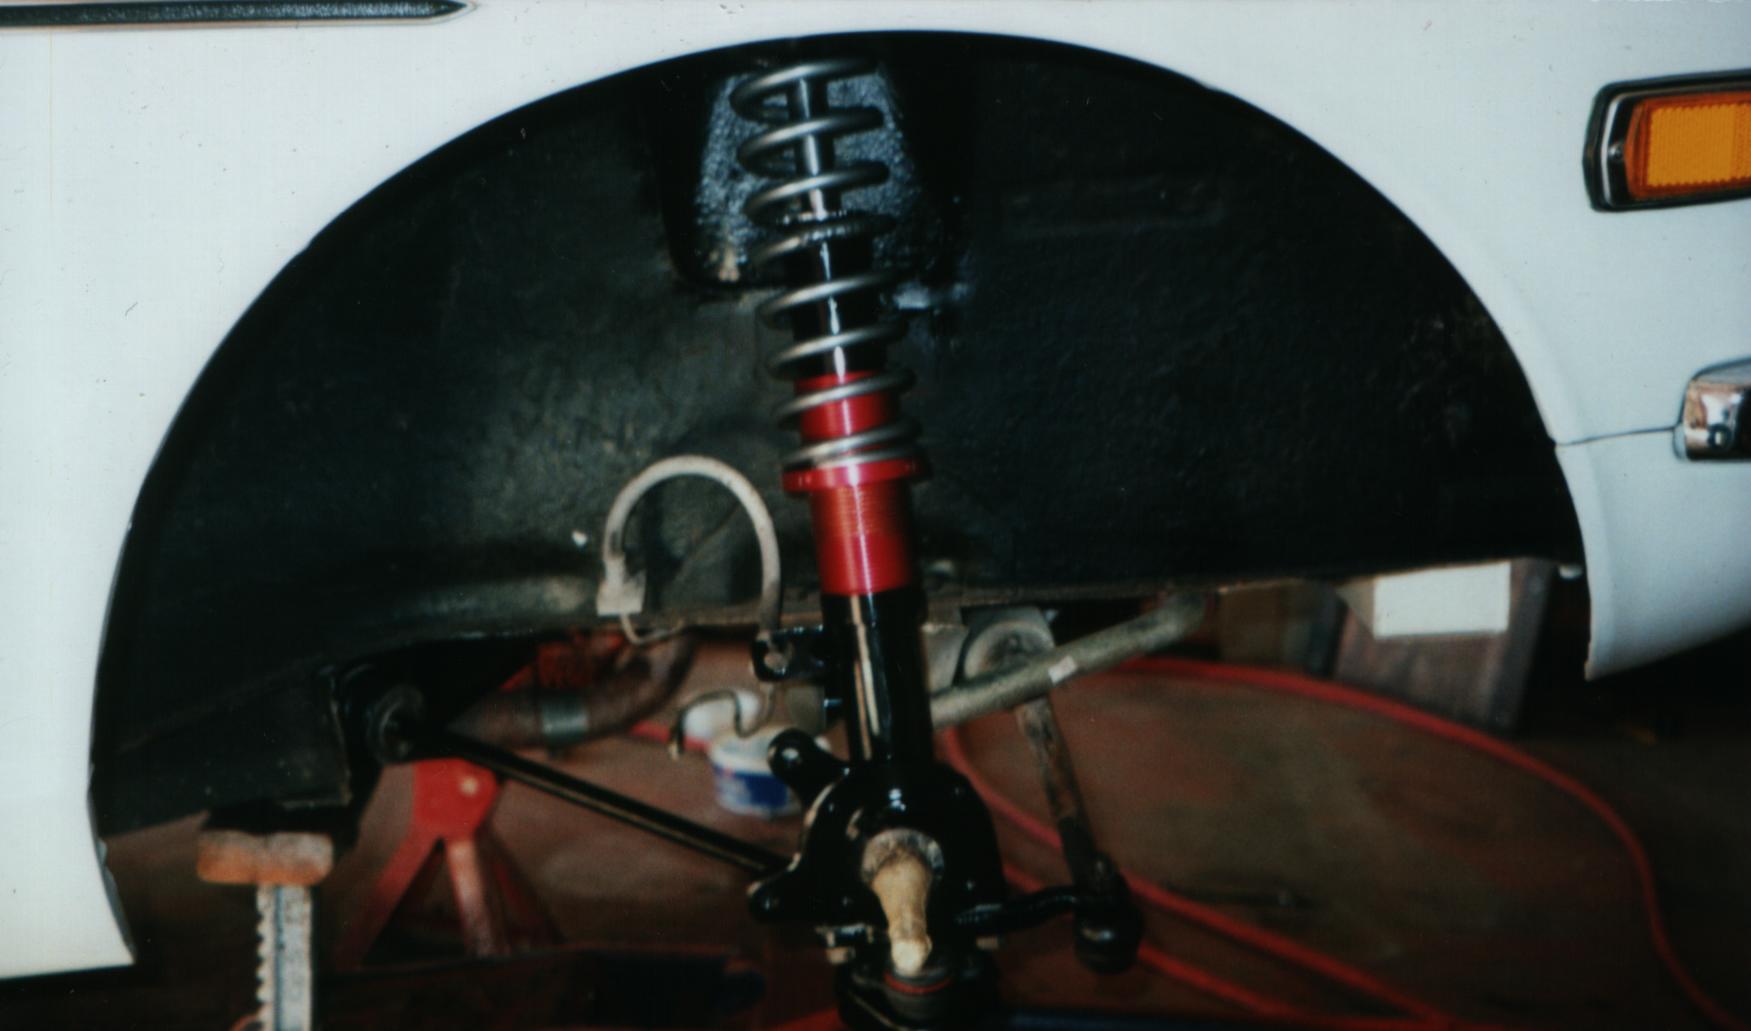
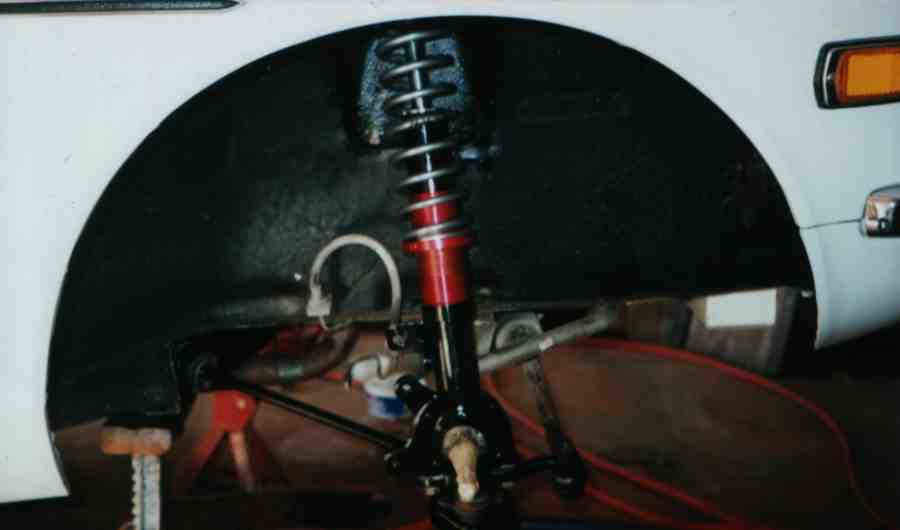
| Cool, looks pretty tight! We still need to
mount the caliper, rotor and wheel assembly; followed by fine tuning the ride height, and
alignment of the front-end (toe-in should be appx. 1/16").
That really wasn't that hard was it? Much easier than removing the
spindle pins from the rear control arms.... |
 |
|