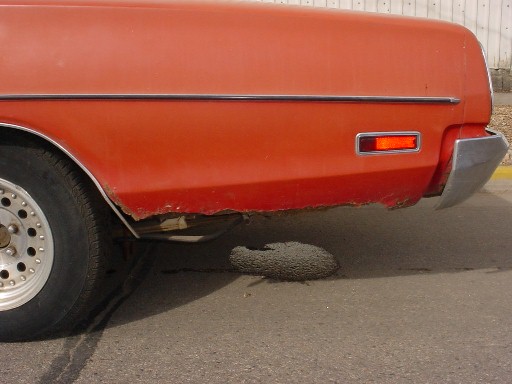
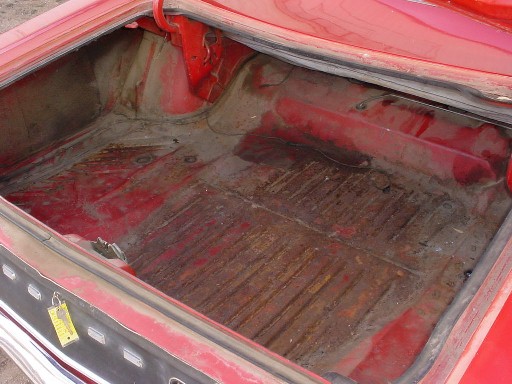
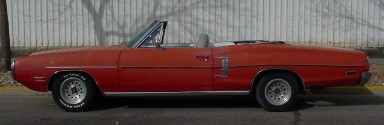
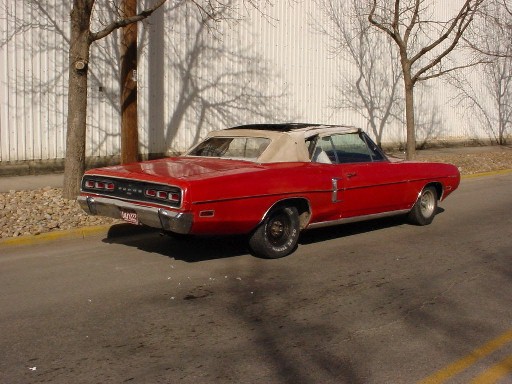
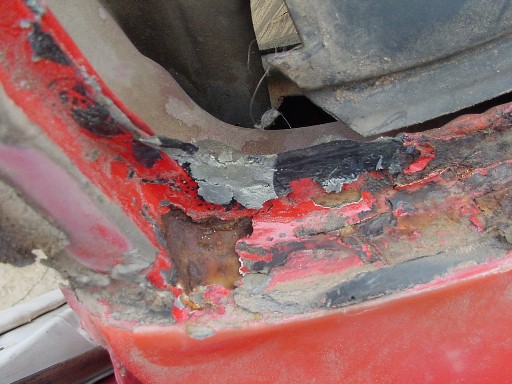
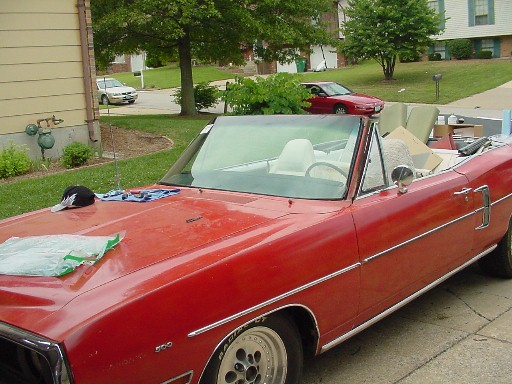
These are pics of the 1970 Coronet 500 Convertible I have just purchased, April 2003. I purchased the car from the Classical Gas Station. As best I can tell from the paperwork, the car resided in Arizona for the better part of it's life. There is little rust as you can see with the only bad part being the drivers side quarter panel and the trunk. The hood is faded, but it still looks good from the rear.
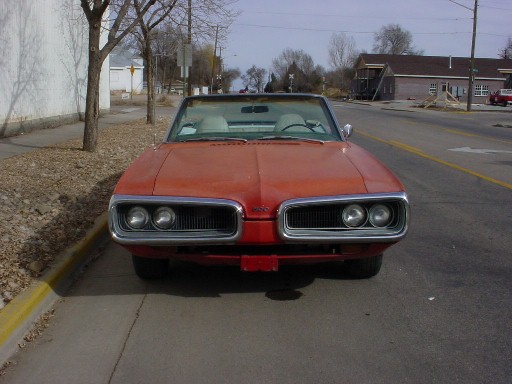
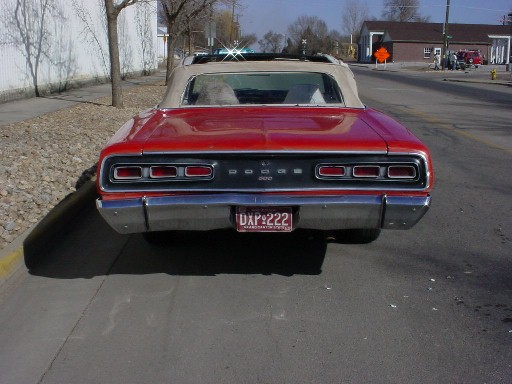
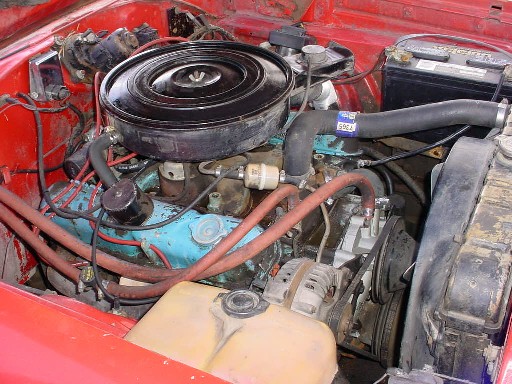
I have a drivers side front profile, an engine shot, a straight on drivers side profile, a rear profile from the passenger side and the rear. This is a great starting poing for a nice resto car.
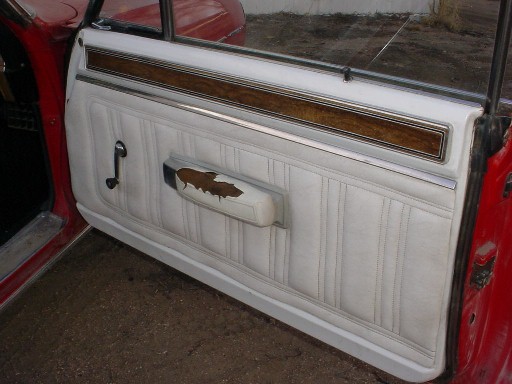
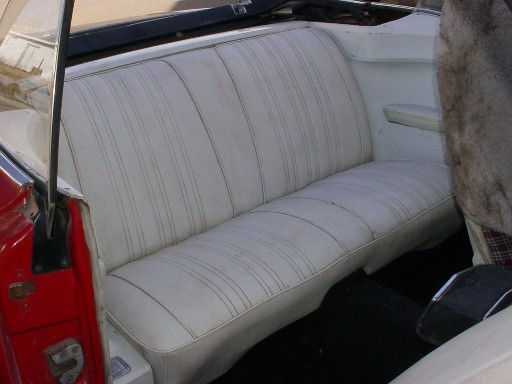
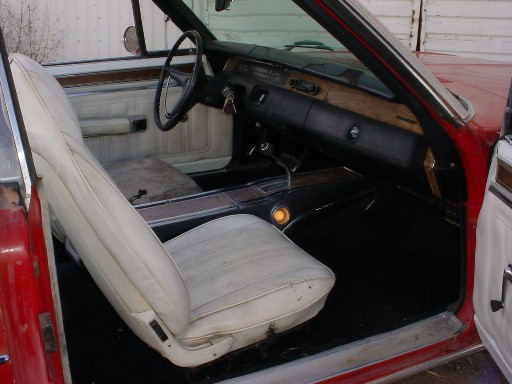
The interior is typical for a 33 year old that has lived in the desert, dry cracked and showing it's age. Here's the passenger door panel. Pretty rough, eh? Here's the and lastly, two views of the rear seat, one from the driver's side view and the other from the passenger side view. As you can see, parts of this car need restored, but other parts just need cleaned up.
Some Console Repair Stuff
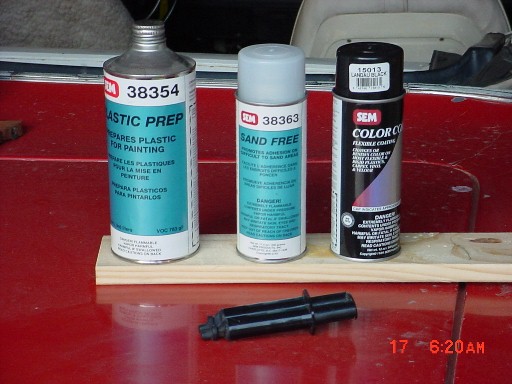
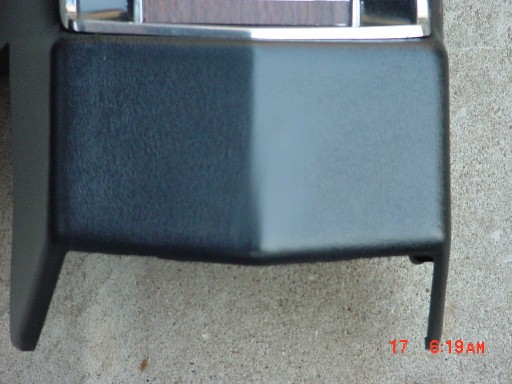
The console was in bad shape so I painted it, repaired a crack in it and in general restored it. I used SEM Paint Products to paint the console. Our consoles are notorious for cracking on the back side. They are just not strong enough to be used as an arm rest for 30 years. Here's the repaired crack in back of the console. I used a two part epoxy, sanded it down, and kept applying it until the crack was filled and even with the top of the console. Here's some general views of the console; the passenger side view, the driver's side view, and the top view. Now, if I just remember how to put all these back on somehow!
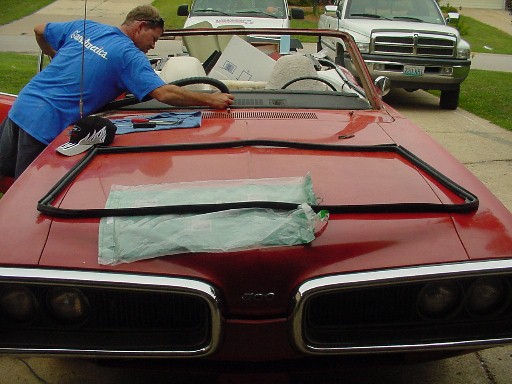
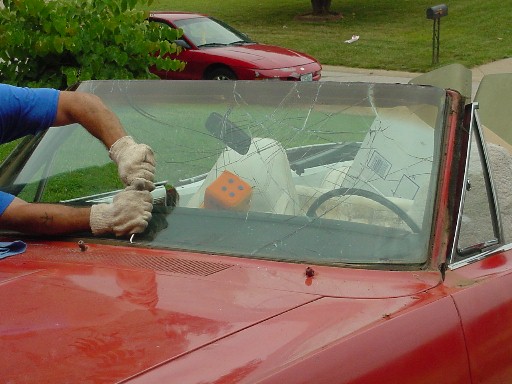
Some Winshield Repair Pics
August 6 2003. Windshield installed. I used Glass America. I bought the gasket from Year One, it was around $70 delivered with my MOPARTS discount. The windshield was $210, installed at my house.
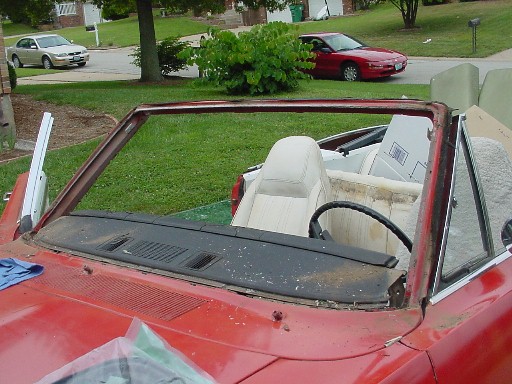
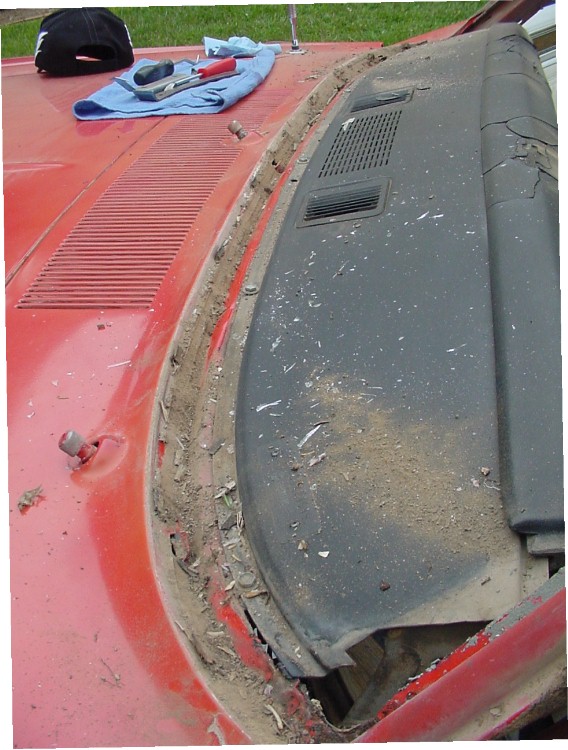
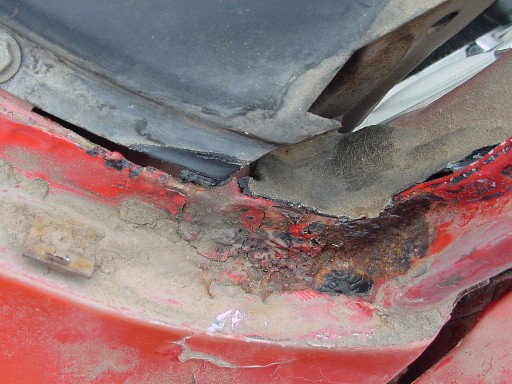
First thing ya gotta do is get the old windshield out. The guy removed all internal and external trim, then got in and pushed on the windshield from the corners. He did break it. Here is the windshield just before it comes out. What you are then left with is your frame. This is the time you can assess the condition of your frame. As you can see, mine was dirty but the driver's side and passenger side corners were not in too bad of shape at all. So, the guy cleaned up the area, then he put in my new gasket. The windshield is laid into the gasket from the bottom, then the sides, and lastly the top. Then what you are left with is a gorgeous new windshield.
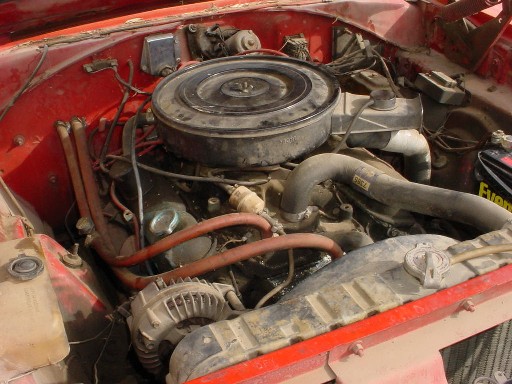
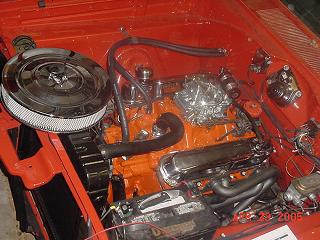
Some Engine Stuff UPDATED 9 JUNE 05
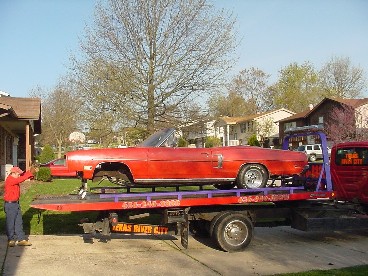
Ok, so it's been a coon's age since I updated. Let's look at the dirty old engine. So, since that would not cut it, I cleaned it up so it at least looked like clean old engine. But honestly, it still looked like crap. So we yanked it and
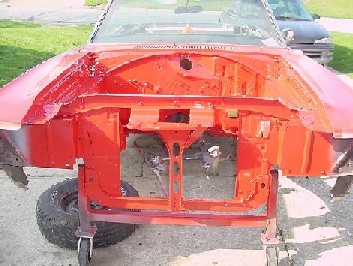
stripped the engine bay. Called up a local body shop and they said they would paint the bay for $300. Not too bad so called the tow truck and off it went. The engine bay looked really good when it came back painted.
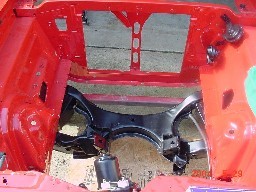
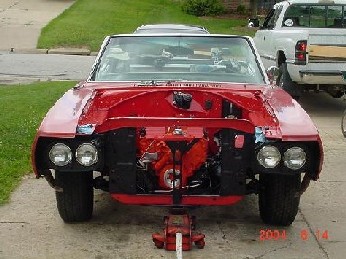
Next the cleaned up K frame was re-installed. The new 360 was dropped in. Work ensued to get it all reconnected. Now it is a running gorgeous new 360.
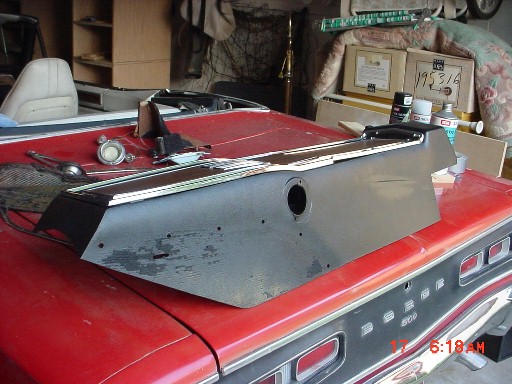
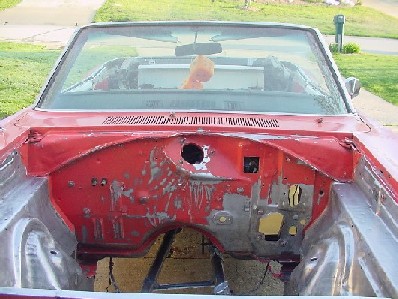
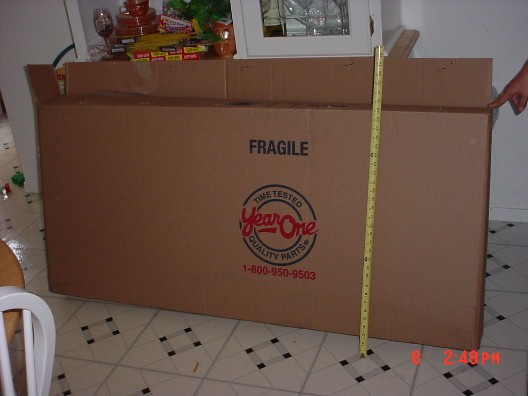
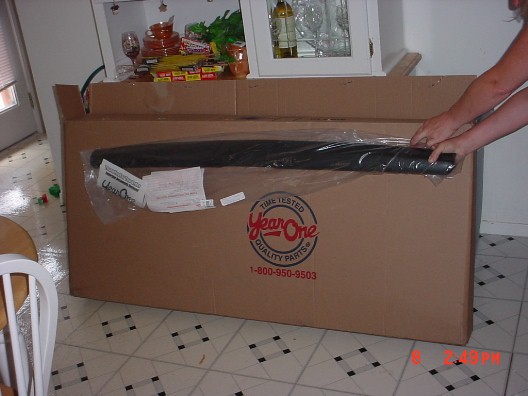
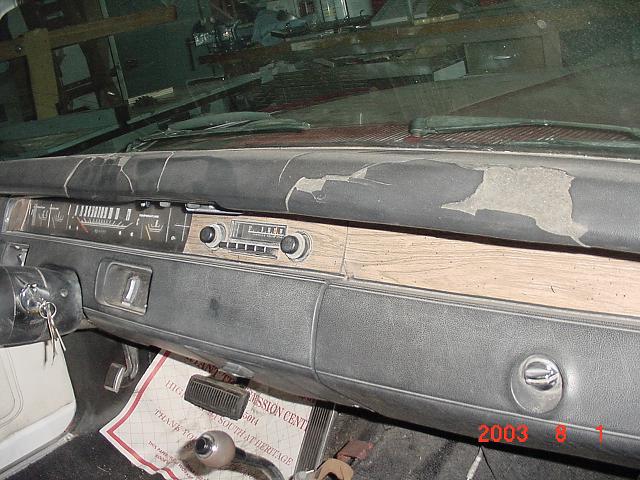
Some Dash Board Repair Pics
If you remember from above this picture, you will see the dash needs replaced. Since I have not found a suitable dash pad, I bought a dash cap. I bought it from Year One, $65. It was shipped to me in a ridiculous sized box considering the actual size of the dashcap, but it certainly was protected.
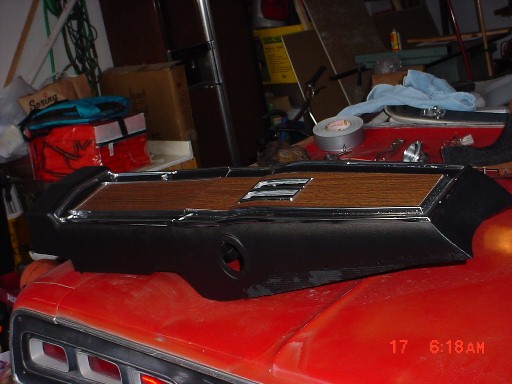
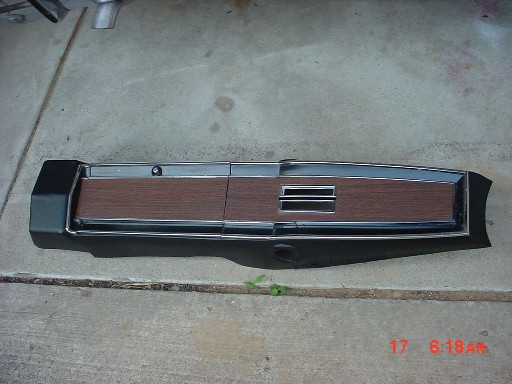
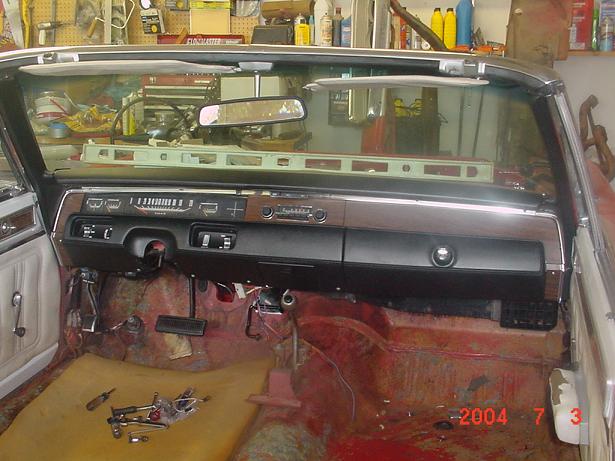
I canned the dash cap. Found a great dashpad. Did not take any interim pics of it though. I redid the entire dash, woodgrain, trim, paint, pad, everything. Not too shabby since this is what it looked like when I got it.
Next will be the suspension and interior install pics! 'Til then, Mopar to ya!