This modification should be performed at your own risk. The meter will need to be re-calibrated BEFORE it is installed on the car or a severe lean condition at WOT will result, possibly resulting in engine damage. The author assumes no liability for such incidents.
SETUP: To start you'll need a couple things. One is a Dremel or die grinder with bits specifically for grinding metal. You'll also need eye protection and ear protection. A small drywall saw will also come in handy.
STEP 1: Using a tamper-proof TORX wrench, remove the two screws at the back of the cener vane and discard it. Also, remove the electronics from the top of the meter with the same wrench. The filaments are VERY fraigile, so store the electronics in a safe place!
*****You should now be able to see through the hole where you used to be only able to see the filaments. This is the sampling tube and MUST be left intact. If you grind this away, the meter will be junk!*****
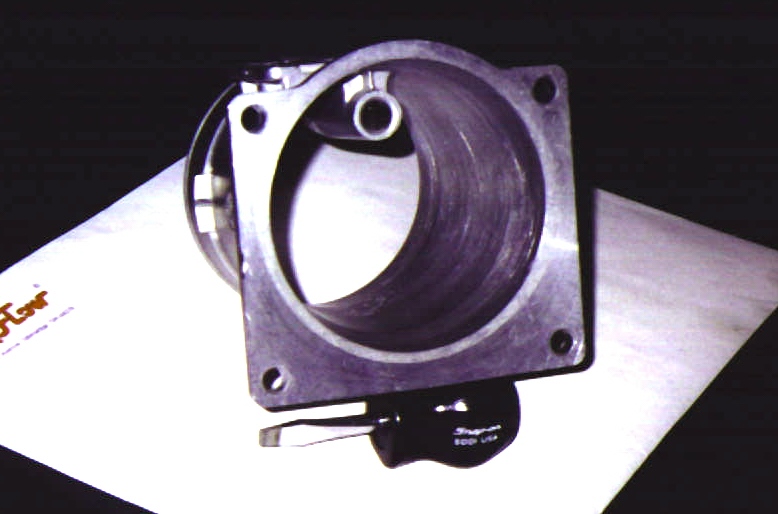
STEP 2: The easiest way to start is to remove the largest chunk of the vane you can in one piece and grind the rest away. I used a reinforced cutting wheel on my Dremel Flex-shaft, but I think a drywall saw would have worked much better. The picture at the top of the page is after removing a chunk from the vane.
STEP 3: Using some of the metal-specific bits, grind away the remaining vane. Be careful not to go too deep or it will leave large divets in the aluminum. Grind until you are happy with the look of the meter.
STEP 4 (optional): Using a combonation of 200 grit sandpaper and 1000 grit wet/dry sandpaper, sand smooth the portions you ground on or do what I did. I used the sandpaper and, by hand, sanded the entire inside of the meter until it was very smooth. This also makes it MUCH less obvious that the meter has been ported. Here's a pic of the final product: