Most of the technical information (dates of calipers etc.), how to information, and custom parts were obtained from Ross Corrigan at

Modern Motorsports

www.modern-motorsports.com


Choice of Wheel Size

My original plan was to continue to use my 14x6" wheels with 70 series tires for street use. I liked them for the street because of the tall side wall and narrow tread, which made steering inputs very light. The wheels fit over the rear disk conversion with just a very slight grinding of the outside lip of the caliper (we're talking only about 1/32 of an inch or less here). The front was a different story, however. The front wheels fit over the calipers with no interference issues due to the diameter, but there was a serious back spacing problem. I was going to grind the fins off the caliper, then see if I needed a spacer to get the popper offset. Before I did that though I test fit my 15x7" race wheels and they fit with no problem. So, since I just bought an identical set of wheels I decided to buy a set of 225/50 Bridgestone Pole Position SO3s for street use.


Vented Front Brake

There seems to be a lot of misinformation out there about this conversion, much of which I found out the hard way. Hopefully this will clear some things up a bit. All the information here has actually been applied to my car.

Parts needed

 '84-'85 300ZX non-turbo brake rotor  KVR carbon fiber sport pads (optional) Modern Motorsports has them.
'89-95 Toyota 4x4 Pickup caliper or 89-91 Toyota Forerunner 4x4 caliper and the machined spacer from Ross Corrigan at modern-motorsports.com OR  Stainless steel brake lines (optional) MSA has them.
'92-95 Toyota 4-Runner calipers and the machined spacer from Mike Gibson at fonebooth.com. He doesn't have very good customer service though and his web page doesn't have much information on this particular upgrade, so I recommend getting the parts from Modern Motorsports.  


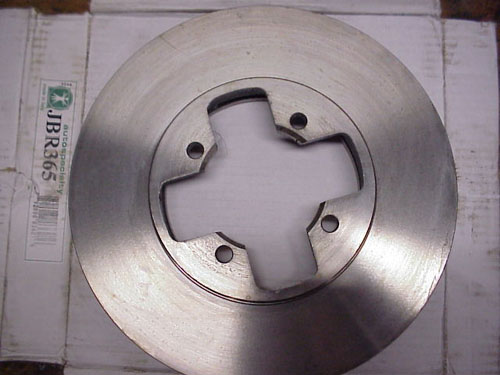
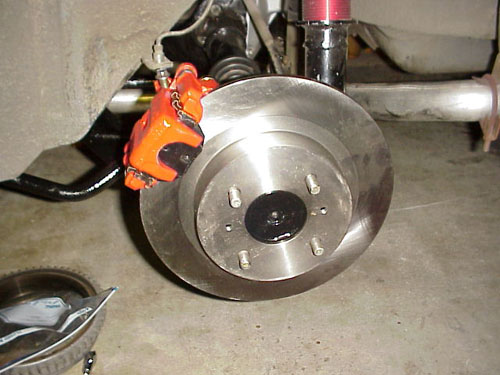
Above: This is the front rotor. It has the right bolt pattern, but not the right offset. I needed a machined spacer to get the right offset and center the rotor in the caliper.

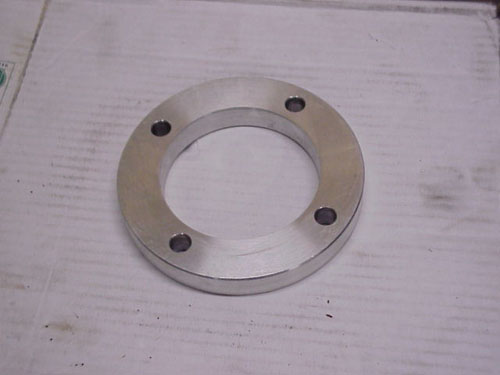
Above: I got this spacer from Mike at fonebooth.com. It is an aluminum piece that matches the bolt holes on the hub and rotor perfectly. It has an outside diameter that matches the hub, but looks really small on the rotor and leaves it with an unfinished look. On my particular set up it also didn't locate the rotor exactly in the center of the 89-95 truck caliper I used.

Ross at Modern-Motorsports also makes a nice spacer that fits with the 89-95 Toyota pick up and 89-91 4-Runner caliper. That spacer has a larger outside diameter than the one above, which fills the gaps on the rotor and gives it a more finished look.

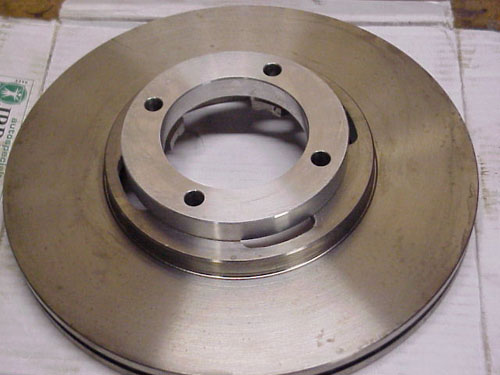
Above: I just set the spacer on the rotor to check how well it fit. The holes lined up perfectly.

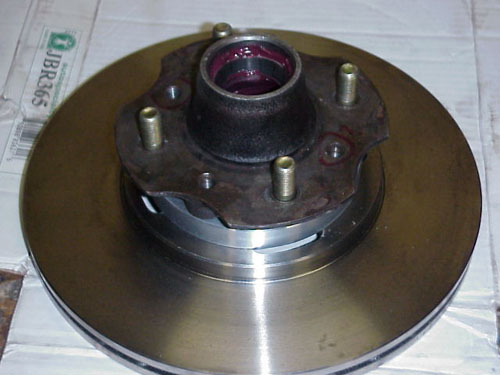
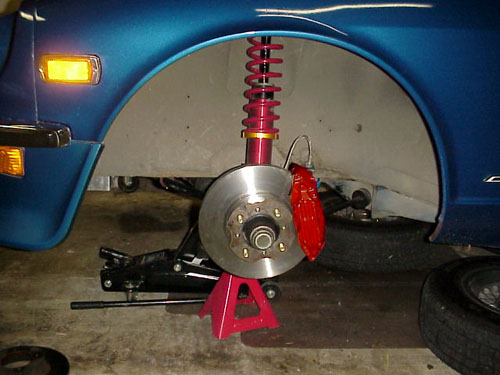
Above: This is how it looks when it is all bolted together. I put new wheel studs in since I had everything apart and one of them was bad. Nissan has a slightly longer stud (part # 40222-A0800) that I may have to use if I need a spacer to make my 14x6" street wheels fit.

Above: I originally went to the junk yard and got a set of 1986-1988 Toyota 4x4 front calipers and turned them in for cores. These calipers bolt onto the car just fine, but they have smaller pads than the later calipers so my KVR carbon fiber pads from Modern Motorsports did not fit. Thankfully the shop took them back and exchanged them for the right calipers.


Rear Disk Brake Conversion

Parts Needed

 '89-94 Nissan 240SX rear calipers  KVR carbon fiber sport pads (optional)
 11.38" Brembo solid rotor (I think this is the same as the early 300ZX but not sure. I got mine from Modern Motorsports)  Custom bracket to mount calipers on (Modern Motorsports makes a high quality bracket that bolts right on, is nicely plated, and even includes the bolts)
Custom brake lines (Modern Motorsports makes nice stainless steel brake lines that make the installation easy)  Custom emergency brake bracket (Modern Motorsports makes the bracket and includes the mounting hardware)
20" hard line for brakes  

This conversion is so easy I can't believe it. Anyone who wants 11.4" rear disk brakes can have them. It is a true bolt on conversion. Here are some pics of my process.


Above: First I removed my wheels, pulled off the drum and removed the brake shoes and all the springs.

Next I freed the brake lines from their supports on the body. I quickly unscrewed one connection at a time, pulled the ends out of the hole, then fastened them back together again. I used a pry bar to push down on the brake pedal and hold it part way down. That way when I disconnected my brake lines I didn't loose more than a drop or two of fluid. This made bleeding the lines much easier later.


Above: Next I needed to get the wheel cylinder out of the way. I removed the brake line from the back, disconnected the parking brake, pried off the rubber boot and removed the two clips that held it in. Then it just pulled right out. I wasn't ready to hook up the new calipers yet, so I just hooked the wheel cylinder back up to the brake line and hung it out of the way.


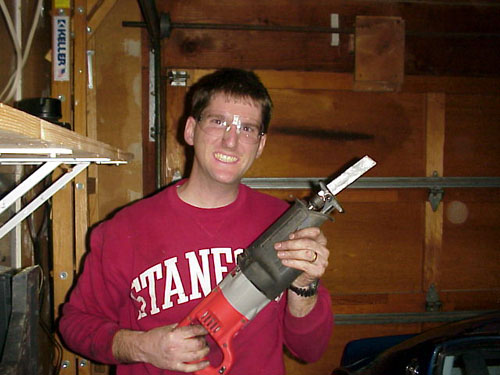
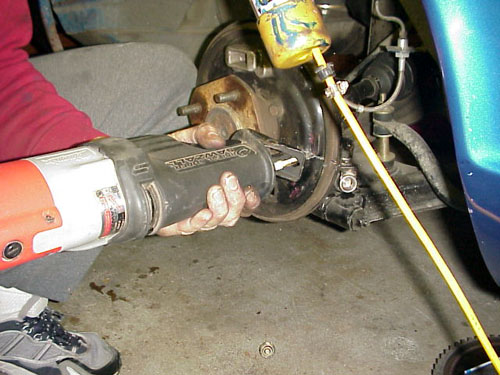
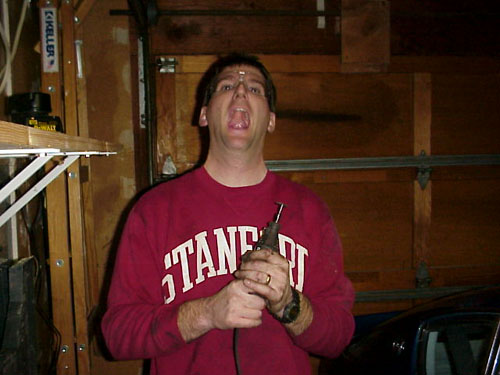
Above: Now the real fun began! I love it when I get to use power tools to cut up my car! :)


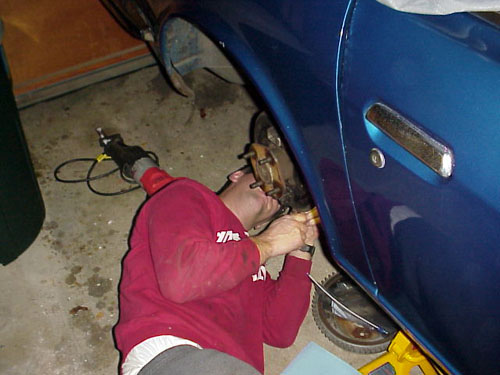
Above: The Sawzall really went through the backing plate quickly. I had to be careful not to cut into the hub. I stopped frequently to see how close I was getting. I cut both sides as close to the hub as I could.


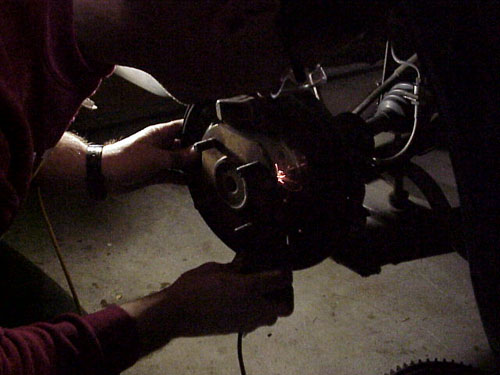
Above: Next I undid the 4 bolts that hold the backing plate up against the hub. A box end wrench works nicely for this. I pulled the plate away from the hub and used a Dremel with a cutting tool to cut as much as I could on both sides.


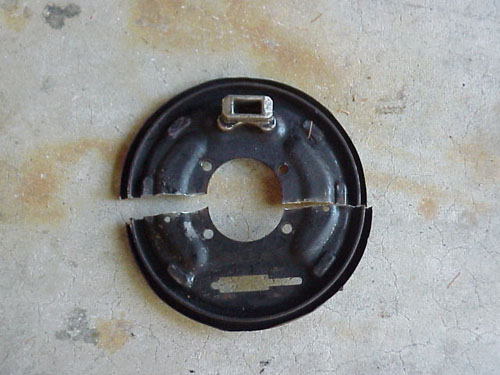
Above: I couldn't get the Dremel to cut it all the way through without going into the hub, so I just wiggled it back and forth 4 or 5 times and it came apart on its own.


Above: I painted the hub up nice and pretty so the project would look nice when it is done.


Above: The bracket from Modern Motorsports bolted right into the existing holes that the backing plate bolted to. The fasteners were even included in the purchase price so I didn't have to go searching for metric bolts.


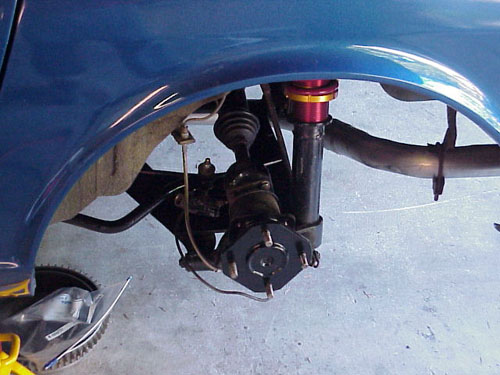
Above: This is basically what it looks like when it is done. I still hadn't hooked up the braided stainless steel brake lines that I got from Modern Motorsports when I took this picture, but that is pretty much what it looks like. Although, my calipers are really red not orange. I don't know why the camera did that.


Emergency brake hook up

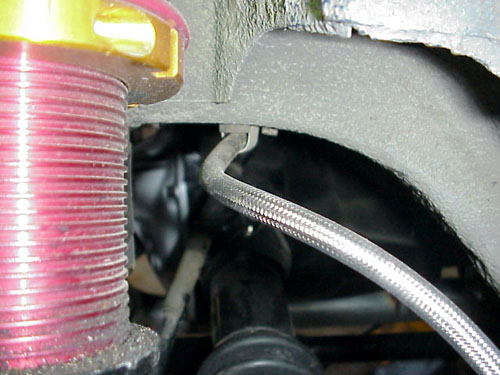
Above: In order to make room for the emergency brake cable I first routed the stainless steel brake cable using the brackets from the hard line that I removed. I had to cut the rubber isolator down for the new line to fit.

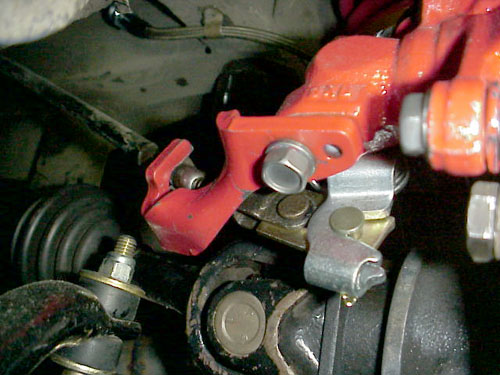
Above: The 240SX caliper has a tail like bracket that the ebrake cable hooks up to. I cut the old hard line bracket off of the frame to give a little more room for the 240SX bracket since I didn't needed the old one anymore.

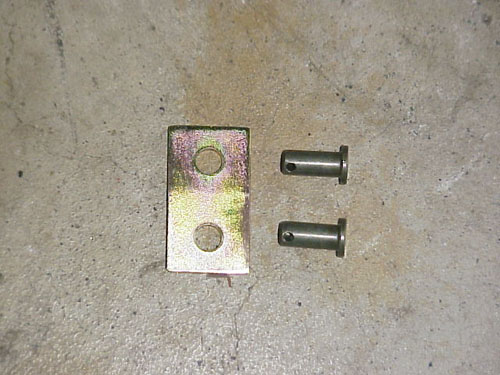
Above: This is the ebrake adaptor that Modern Motorsports sells. I suppose I could have made this part myself, but this one is nice because it comes already drilled to the right dimensions and includes all the connecting hardware. It is also nicely plated to match the rest of the parts.

When I went to hook up the ebrake cables to the caliper, the cable was way too long. It stuck out of the wheel well. A quick email to Modern Motorsports (their customer service is great) and I found out that if you switch the cable sides the lengths come out to be just about perfect. So, I moved the left cable over to the right and the right over to the left, switched the little springs that hold the cables up by hooking them to the floor of the car and everything lined up.

Above: This is what the ebrake cable looks like when it is all hooked up. You can see how the adapter plate works.


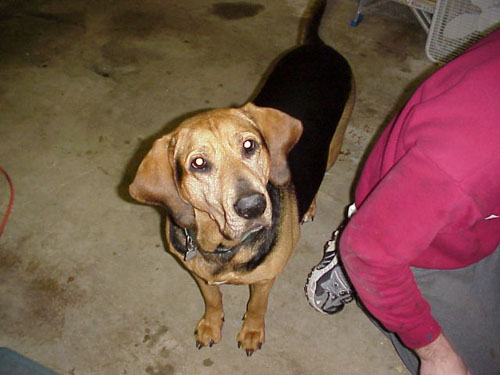
Above: Oh, and no car project is complete without a beautiful female. :)
Hosted by www.Geocities.ws

1