Miniature University Workshop: Mold Making
Lesson #3
Instructor: Mary Ann Stage
Email Mary Ann with questions: [email protected]
Visit Mary Ann's website at: http://www.picturetrail.com/ssmaryann
Two-Part Molds, Part 2
Materials/Tools Needed:
A 3-dimensional item to mold
A piece of ¼" or ½" Foam Core Board depending on size of item
Masking tape
Glue
Small ruler
Permanent marker
X-ACTO or craft knife
Wood stirring or popsicle sticks
Rubber Bands
Sandpaper
Paper Towels
Small, flexible, plastic cups you can throw away
Liquid Silicone Rubber (I use One-To-One/Rapid Mold Making Rubber from Micro-Mark). There are other products you can use but, this is what I use.
2-Part Casting Resin (from Micro-Mark)
Rubber to rubber mold release (from Micro-Mark)
Floral Clay
Flat surface to work on
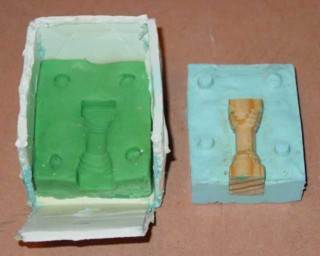
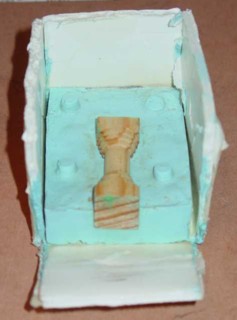
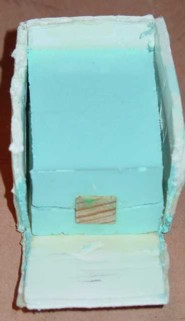
After the 4 hours carefully cut two corners of the box and pull one side of your box down and pull away two other sides until you can pull the whole piece (clay and rubber) out. This way you won't have to make another box. You can use the same box for the second part. Try and keep your item in the silicone rubber part and pull off the clay part. You will then have your item in the silicone rubber and 4 hole impressions will be visible. Next, put the silicone rubber and your item back into the box and tape up the torn edges. Brush mold release on the rubber surfaces only and into the locking keys all around your item (anything that is blue). This will prevent the two mold halves from sticking together and ruining your mold. Mix more equal parts of silicone Part A and Part B together and pour it into the box again making sure to go about 1" over the top of the item. Then, let this cure for another 4 hours.
When 4 hours are up, break your box away from your mold and gently pry open the two parts. You can then take out your original item. You now have your two-part mold.