Miniature University Workshop: Mold Making
Lesson #1
Instructor: Mary Ann Stage
Email Mary Ann with questions: [email protected]
Visit Mary Ann's website at: http://www.picturetrail.com/ssmaryann
One-Part Molds
Materials/Tools Needed:
An item to mold
A piece of ¼" or ½" Foam Core Board depending on size of item
Masking tape
Glue
Small ruler
Permanent marker
X-ACTO or craft knife
Wood stirring or popsicle sticks
Small, flexible, plastic cups you can throw away
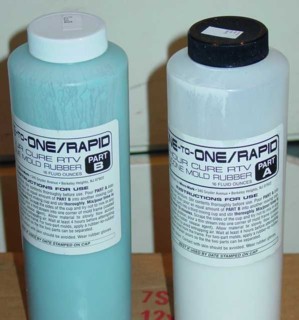
Liquid Silicone Rubber (I use One-To-One/Rapid Mold Making Rubber from Micro-Mark). There are other products you can use but, this is what I use.
2-Part Casting Resin (Also from Micro-Mark)
Paper towels
Sandpaper
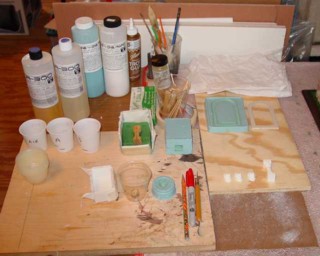
Flat surface to work on
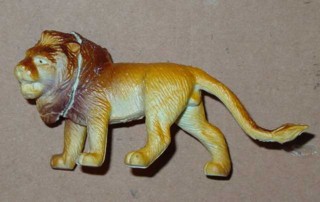
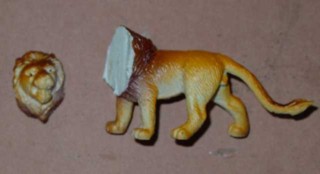
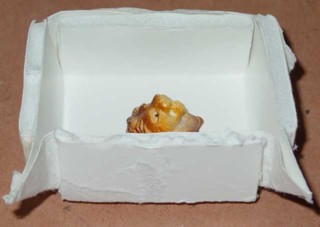
For this lesson, I'm showing you how to make a simple one-piece mold. The first thing you need is an item with a flat surface. I bought a rubber, toy lion and cut off the head cause that is what I wanted to make a mold of. The head then had a flat surface I could use. I usually work on a large piece of plywood cause your work surface can get messy and a flat surface is good for keeping your work flat and putting your finished molded object onto so it will dry flat. I also keep plenty of paper towels handy for spills.
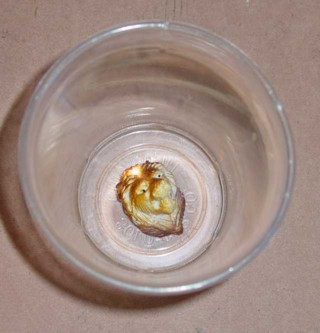
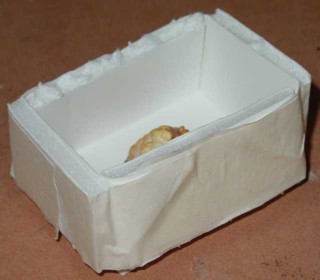
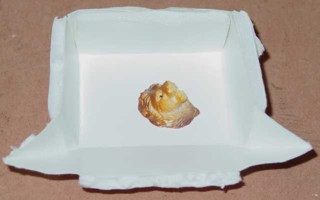
Take your item and glue it on the bottom of a small plastic cup or you can make a small box out of foam core to glue your item into. If your item is small you can just use the plastic cups instead of making a box as long as there is about ½" space all around your item. If you choose to make a box out of foam core, use your craft knife to cut the foam board and tape the sides and bottom together with glue and/or masking tape securely so you will get no leaks. What I've found is you can cut your foam core through the paper only on one side and fold up for your sides. Do this on all four sides of your box then pull off the square foam part on the corners only, leaving the paper only on all four corners then, simply fold the sides up and tape securely and there will be no leaks. (Sorry if I haven't explained this clearly but the picture might make more sense) Then, glue your item in the middle of the box and let the glue dry.
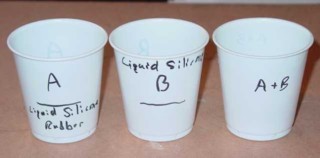
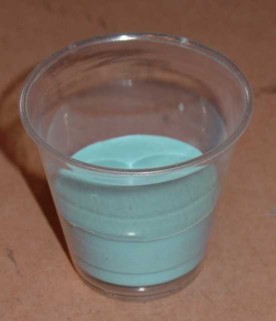
Next, measure out equal parts of rubber silicone - part A and part B. I use the small plastic cups marking an A on one and B on the other. I also mark a line on the cups showing how much I pour into each cup. It's kind of a guessing game to figure how much of both parts you need to cover your item. If you don't have enough the first time, you can always mix more and add it to your box since it takes 4 hours to cure anyway Next, pour both A and B cups into another bigger cup and mix thoroughly until the mixture is one solid color. Part A is usually a white color and B is usually blue so, you can see when they are completely mixed. This can take up to 3 minutes depending on how much you have used.
You can use a brush to paint a thin layer of the rubber onto your item to make sure it goes into all the cracks and spaces. This is to insure there are no air bubbles. Then pour the rest of the mixture over your item until it is completely covered and about another half inch or so higher. It helps if you mark a line ½" over your item, then you will know when to stop pouring. The set up time for the mold is 4 hours so now you can rest after you throw away your 3 cups and mixing sticks!
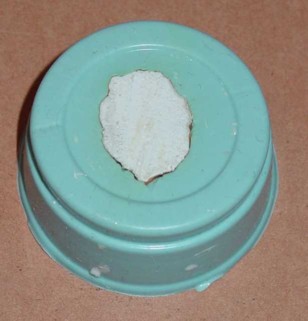
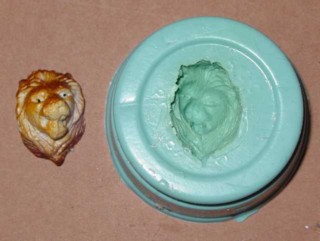
After the 4 hours you can take your box apart or cut your plastic cup up to your mold and simply pull your mold out. The rubber mold will be flexible and allow you to gently pull out your original item. You now have a mold to pour resin into and make as many items as you need for your project.