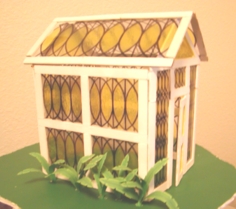
Exterior Landscape Plants
Materials/Tools Needed:
-
sheet of white printer paper
-
color printer
-
scissors
-
craft knife
-
white/school glue
To make large leafy plants that appear to be "planted" along the outside walls of your greenhouse...
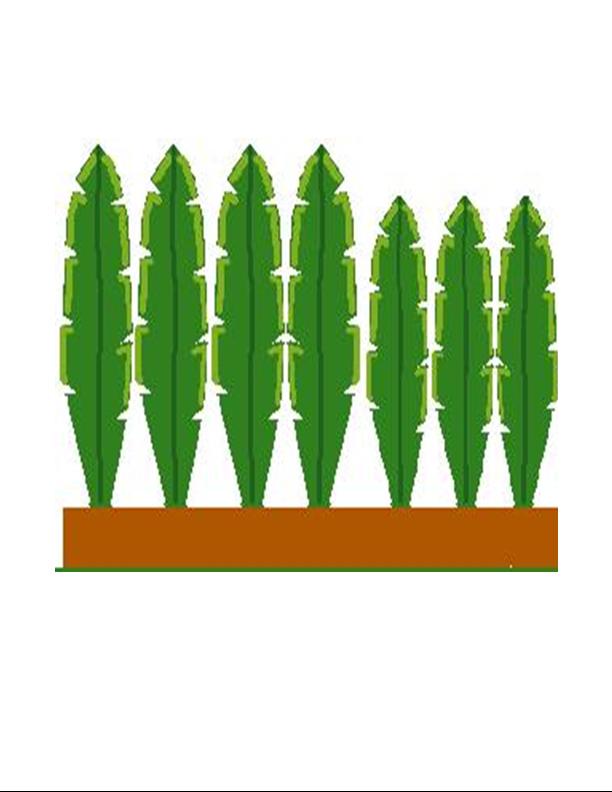
1. Print out a copy of the leaf pattern below, then print the leaf pattern backside (also below) onto the backside of your printed leaf pattern.
1/12th Scale Leaf Pattern
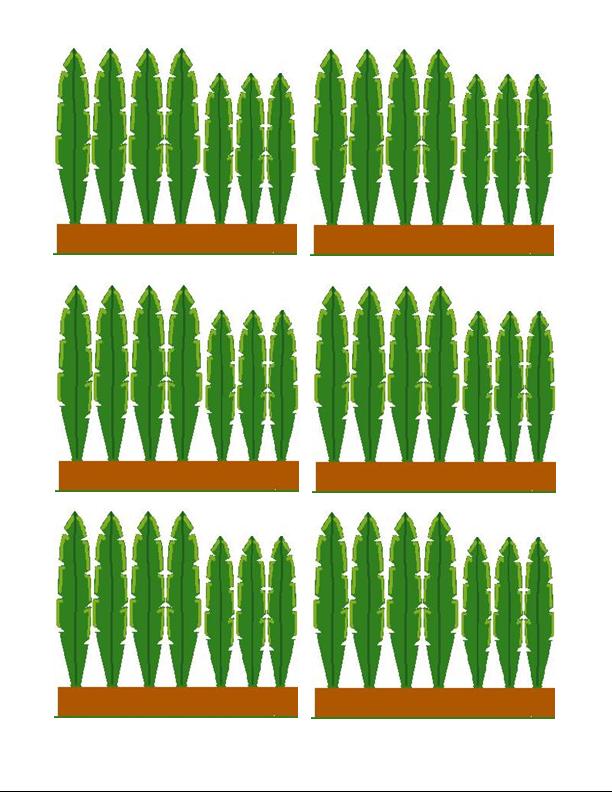
1/2 Scale Leaf Pattern
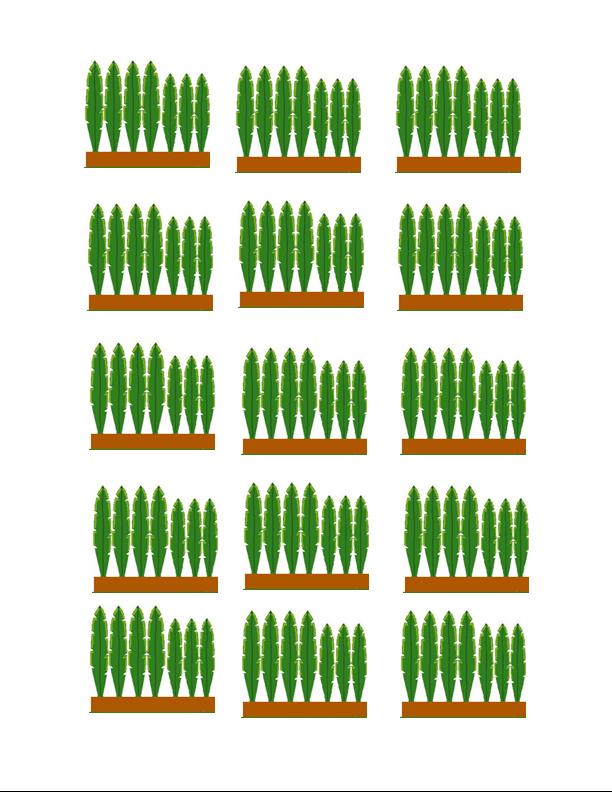
1/4th Scale Leaf Pattern
Leaf Pattern Backside

2. Cut out each row of leaves. Also cut out the small V shaped notches along the edges of the leaves.
3. Gently roll up each row of leaves with the leaf design to the INSIDE of the roll. Use a small spot of glue on the base of the leaves to hold them in the rolled up position. Set aside.
4. Use a craft knife to cut a small hole in your greenhouse base, close to the outer walls, that's just large enough to fit the base of the rolled up leaves into.
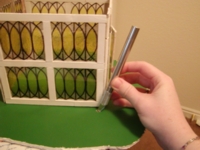
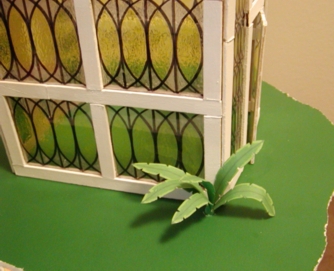
5. Spread glue around the outside of the rolled up leaf base, then insert it into the hole you just made in the base with the craft knife. Let dry completely, then gently spread out the leaves a bit for a more natural look. Repeat several times to create a row of tall plants along the walls of the greenhouse. You can even add some plants near the edges of the base for a more "lush" setting!
More Ideas for Landscaping:
-
Another wonderful landscaping effect is to use May's project for making masking tape plants (see the archives, Plants & Flowers folder, Lesson #3). You can make the masking tape plants exactly like the project says, then instead of inserting each plant leaf into a pot, you can insert the wire end of the leaves directly into the base (no hole for planting needed!).
-
Either paper or masking tape plants near the greenhouse walls also make a wonderful backdrop for NoraJean's polymer clay flowers.
-
To create a "mulch" flower bed around the clay flowers, try spreading a thin layer of white school glue all around the bases of the flowers, then heavily sprinkle coffee grounds over the glue.
-
You can also repeat Dori's stone flooring OUTSIDE the greenhouse to create a stone sidewalk that leads up to the front door.
-
And be sure to look for an upcoming Scenic Water workshop where you can learn how to add a pond to the side or rear of your greenhouse as well!
I hope you enjoy making and decorating your greenhouse as much as I have enjoyed making mine for this workshop, and let's all be sure to give Dori a huge thank you for her wonderful lesson making stone flooring! Please feel free to email either of us directly if you have any questions as well!
Many mini hugs,
Melissa Darnell
Co-owner