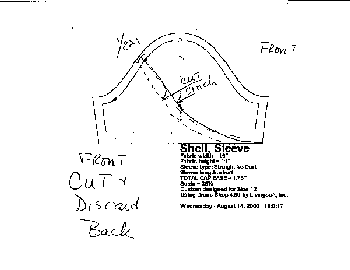
Tulip Sleeves:
These are not really hard to make just be precise and when you have finished your marking and cutting
Make sure to overlay the pattern pieces as they will be stitched to make sure you have the curve you like as well as the shape you like in general.
its easiest to leave the bodice pattern print side up on the table and walk the sleeve print side down stitch line on stitch line ( this will also prove your ease amount. and is part of normal pattern preparation.
match the marks on both sleeves
see the attached gifs there are two tulip front and tulip back
Tulip sleeves are generally lined in either the same fashion fabric, a contrast or a simple white lining ( I often use white batiste)
I started this draft finding the midway mark between apex and notch marks......you can place this higher but not at the very apex point... always leave at least 1 to 1.5 inches down from the apex.
use a saucer, French rule or simply sight draw your curve.
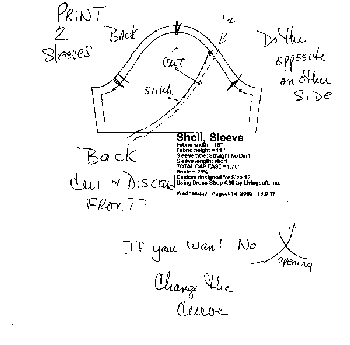
Stitch the lining to the sleeve back and turn and press, then do the same for the front .
Now install your sleeve matching apex and notches.
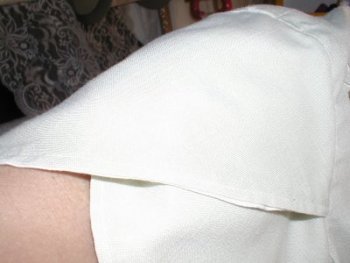
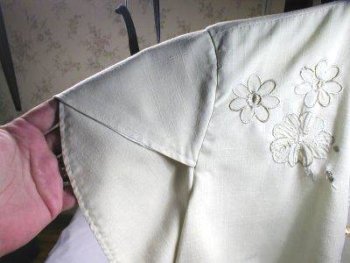
I personally prefer the front to overlap the back though the example ( which is the closest one to hand is back over front.) This is a handkerchief linen blouse in a pale sage green with a little tone on tone variegated thread embroidery on front .. nothing fancy the sleeve alone is lined with a cotton batiste. Its fun to wear and just a bit dressier than a plain shell.
(of course someone has gained a little weight since it was made......but we wont go there!) GGG
© 2002 Kaaren Hoback, Dryden, New York, www. patrns4u.com