Making SELF Fabric BIAS
You can use a device sold by clover and others called a bias maker.. comes in a variety of widths or you
can do it by hand.
Select desired FINISHED width that will show.
The following is an example of a finished 1/4 inch bias which is what I personally like
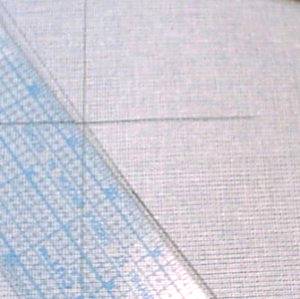
First find your cross and long grains and mark with chalk or a pencil
then find true bias and mark , measure and cut strip
step 1
Select width and multiply by FOUR for your finished strip width.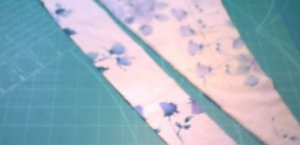
Grain your fabric, find true bias and cut a strip 4 times desired width by your fabric width
Get out your iron
there is a difference between PRESS ( up and down) and IRON moving the iron along the fabric.... don’t
IRON.. PRESS
Step two :
fold each side in towards middle and press as you go 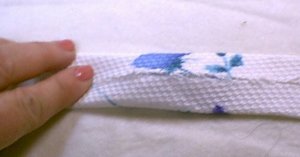
 or
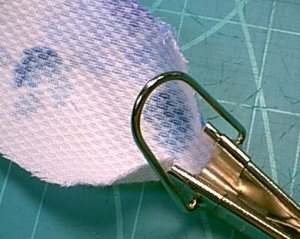
use the tool called a bias maker Use a pin to pull the tip of the strip into the
bias maker.
or
use the tool called a bias maker Use a pin to pull the tip of the strip into the
bias maker.
The strip now has two folds in towards center Press as you make
the strip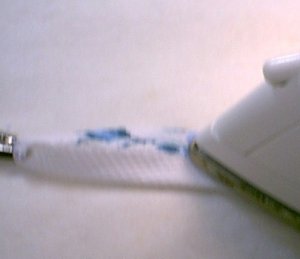
step three
:fold the strip again in half so NO raw edges show Press as you go
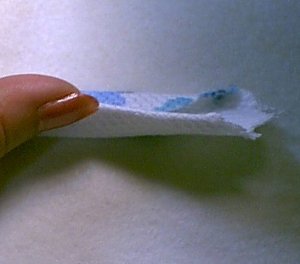
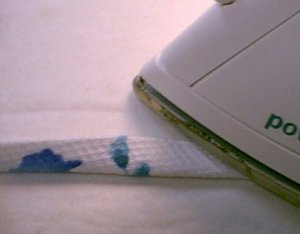
Step 4 :
this is critical.. its called swirlingHold the tip of the bias strip now folded in your left hand and with iron in right lay the point of the iron just
below your fingers ( beware of steam give your fingers a break and don’t get too close) press with your
body weight on the iron as you pull the fabric up and away to towards the right and follow the curve with
your iron ( some do it opposite down and away and to the left) when you have extended your arm as far as
it Comfortably goes reposition your fingers and keep going till you get to the end of the strip... you have
now curved the strip so it will lay flat against either neck or arm hole curves.
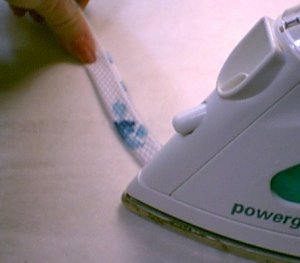
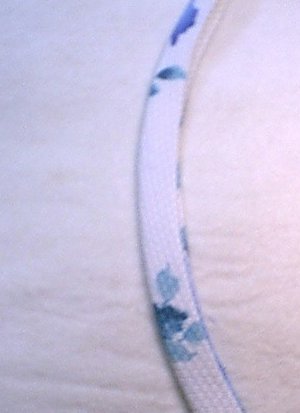
Now here’s the trick don’t pull the bias so much as to make it go thinner this takes a little practice but its
worth it.
You want an evenly sized 1/4 inch strip that has a very gentle curve to it.
LET cool before moving too much
Now open the strip in half GENTLY , then open the one side so you can clearly see the first set of folds
one of those crease lines is going to be your stitch guide.
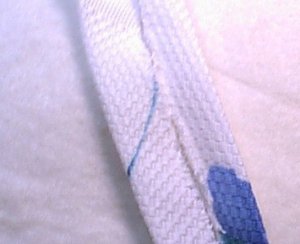
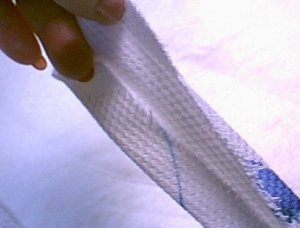
Place the bias to the blouse right sides together, machine stitch almost on the fold with both raw edges(make sure you have removed the seam allowance from bodice neck and arm holes!)
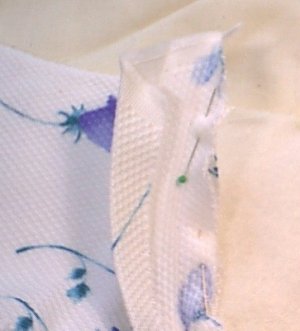
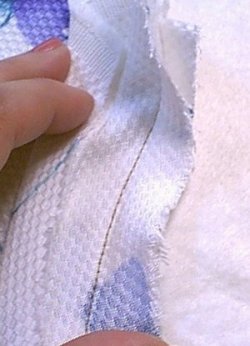
lined up. Leave an extension on each end you will finish after applying the strip. For neck edges start at
center back on a no opening garment, at neck opening for buttons or zipper closure garments and the
underarm side seam on arm holes.
refold the bias where it was pressed over the raw
edge of the blouse Push the seam allowance up.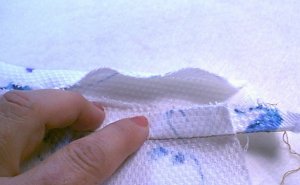
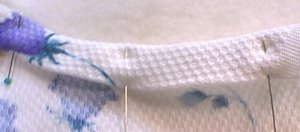
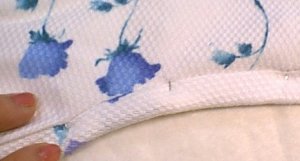
it will fit over it perfectly.. some machine stitch the inside of the blouse edge down in the "ditch".. I don’t..
ever.. I never NOT miss a tiny spot.. and I hate seeing a stitch here and there where I wasn’t 1000% on the
right spot. I simply pick up a needle and thread hide the knot underneath and carefully and quickly catch
stitch the inside edge down....leaving NO stitch marks...takes 12-14 minutes for an entire neck edge and its
gorgeous! ( I have no allergy to hand stitching.. I actually LIKE it)
Now you have two extensions left over
trim the excess down to about 1/4 inch on each end..... fold in so the two folds butt each other......or lay one
down, trim and overlap the top one turning in a tiny allowance to hide the raw edge ( I like them butted)
catch stitch.
Does the hand stitching hold....I have blouses I’ve washed well over a couple dozen times, I nap on
the sofa fully dressed most afternoons ( hard on arm holes and neck edges) and have never yet once
replaced the hand stitches.
Neat trick.. on a back neck zip on a dress.. use the extensions to form a tiny crisp little bow...put the
hook/eye assembly on the LEFT bow end and let it extend over to the right side which you end straight to
top of zip edge.
© 2002 Kaaren Hoback, Dryden, New York, www. patrns4u.com