 |
Creating
a CD Case
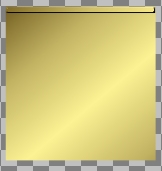
Open a new transparent
image 400 x 400.
Plenty of room
to work on.
Add a new layer.
Next using your selection
tool, set to rectangle,
start at 100, 100 drag out to
250, 250. Flood
fill with a gold fill. You can
use the image below
or choose one
of your own.
|
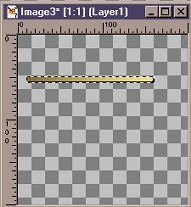
Open a new transparent
image 200 x 200.
Using your selection
tool and starting
at 10, 50 drag
to 160, 57.
Flood fill with
the gold fill.
Next Inner Bevel/Soft
Edge using
the default settings.
 |
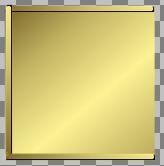
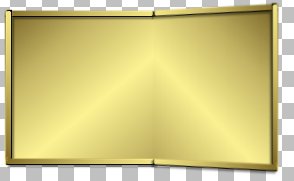
Copy and paste as
a new layer
and position the
selection on the
top part of the
cd back, as shown
below.
 |
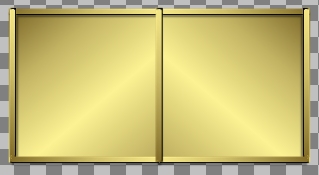
Next, we will copy
and paste the selection
twice more and
position them one on
the bottom of the
cd back, and the other
rotate 90 degrees
and postion on the
left side of the
cd back. If your edge
is not long enough
to cover the
back of the cd
case use
your deform tool
to lenghten.Don't
close this image
yet,we will
use it one more
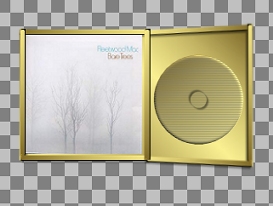
time. Your image
should now look
something like this.
 |
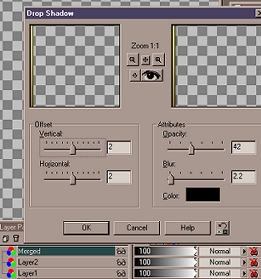
Now hide layers
one and two and
merge visable the
three thin rectangles.
Now we will add
a drop shadow, using the
following settings.
 |
Now turn on layer
two and merge visable.
Copy and paste
as a new layer, mirror
and position as
shown below.
 |
Next, copy the thin
rectangle and paste
as a new layer,
position it in the center
of the cd case.
 |
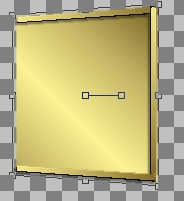
Now make sure that
the center rectangle
layer is active,
click on the deformation tool
and deform to fit.
Next turn off all
layers except layer two, click
on the deform tool
and while holding down
the control key,
pull bottom right corner down,
then move the middle
right node in and
apply deformation.
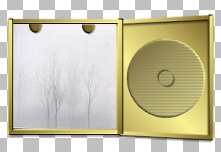
Your image should look
something like
this.
 |
Add a new layer.
Using the selection
tool, circle, make a
circle on the right
side of the cd. Flood fill
with the gold fill.
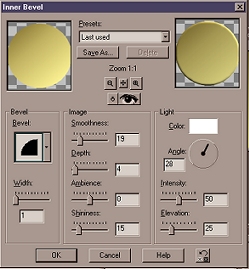
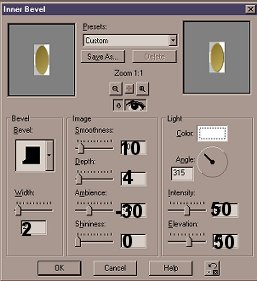
Next Inner Bevel using
the settings below.
 |
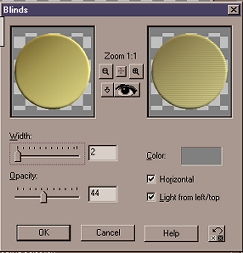
Keep selected and
go to Image/Effects/Blinds
using the following
settings.
 |
Next, selections/modify/contract
and contract your
selection 40-50.
I used 43, but it will depend
on the size of
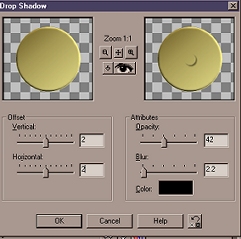
your circle selection. Next, Drop Shadow,
using the following
settings.Then another
drop shadow using
-2 for H and V.
 |
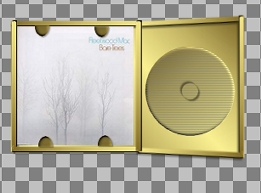
Now open the image
you want to use
for the inside
cover of your cd case. I have
some images you
might want to
use zipped up.
Just some ramdom
images I found
on the web.
Resize your image
and copy and
paste as a new
layer. Use your deform
tool if needed
to fit the image
inside the cd case.
 |
Next, add a new
layer. Using your selection
tool, ecllipse,
antialias checked make a
small oval and
flood fill with your
gold fill.
Inner Bevel using
the settings below.
Deselect.
 |
Next, using your
selection tool,
rectangle make
a small selection over a little
more than half
of your image, and hit the
delete. Now position
the small
ecllipse at the
top of the cd case.Copy
and paste as a
new layer, position this
at the top again
only over to the right.
Your image should
look like this.
 |
Turn off all layers,
except the
two small ecllipse
layers and
merge visable.
Turn all
layer back on.If
you are using
a light colored
image you can
use a drop shadow
on your ecllispe,
if your background
is a dark color
the drop shadow
does not show
up very well.
Next, copy and
paste your merged layer
as a new layer
and flip and position
at the bottom of
the cd case. Hopefully
it looks something
like this.
 |
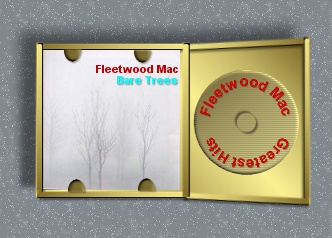
Now all that is
left is the text.
I used State of
Entropy Text
Around a Circle.
The link is below.
http://www.state-of-entropy.com/
My finished CD Case
 |
I hope you enjoyed this tutorial!